USB Flash drives are storage devices that are commonly known as flash drives or pen drives. They are well known for their portability and capability of storing large amounts of data. Because of its portable property, it is easy to transfer data from one device to another. However, it is not free from corruption.
As soon as the pen drive is corrupted, files become inaccessible on the pen drive leaving you with no clue about how to recover files from a corrupted USB. In this article, we have discussed how the USB gets corrupted and some solutions to fix the corrupted USB and also find the test case environment too to recover the files from the corrupted flash drive.
If you want to jump straight to recover files from corrupted USB directly, then click on the Skip.
How Does USB Flash Drive Get Corrupted?
There are various reasons behind a USB flash drive getting corrupt or damaged or even inaccessible. Some of the most common reasons are as mentioned below:
- Abruptly eject the pen drive from your laptop or PC without using the “Safely remove option”.
- Sudden system shutdown or any interruptions while transferring data from a flash drive to another storage device or vice versa.
- Malware or corrupted files present on the pen drive make the data inaccessible.
- Firmware issues on a pen drive or operating system malfunctions might also lead to data corruption or data loss.
If you are a Mac user, refer to this article to find out how to repair a corrupt USB drive on a Mac.
What are the Signs of a Corrupted USB Flash Drive?
Here are some of the signs that show your USB is corrupted.
- If your USB drive is corrupted, your files might randomly disappear.
- Sometimes when you try to open the USB drive, your files might not be recognized.
- You might receive errors like “Please insert a disk into USB Drive (X:)” or you might receive an error that you need to format the USB drive.
Can A Corrupted USB Be Fixed?

Yes, we can fix a corrupted USB drive but before you go ahead make sure your device drivers are up to date. Try connecting the flash drive to different ports or computers and see if you are able to access the files, else you can move to the next section of the article to fix the corrupted USB flash drive.
How to Fix Corrupt USB Flash Drive?
| Methods to fix corrupted USB | Scenarios | Repair Rate | Time Consumption | Risk | Steps |
| 👀Check for any debris | To remove foreign particles | Medium | Not much | Not much | Simple |
| 🎰Assign a new drive letter | If your drive is corrupted and has become inaccessible | Medium | Not much | Not much | Simple |
| 💻Update device driver | If your drive is corrupted and has become inaccessible or corrupted | High | Not much | Not much | Little complex |
| 🔌Enable USB in Device manager | To fix Drive issues | High | Not much | Not much | Little complex |
| 🛠Error checking tool | To fix the file system errors | Medium | Slightly time consuming | Not much | Simple |
| 🕹Command prompt | To fix the file system errors | Medium | More time consuming | There might be chances of losing your files | Slightly complex |
Solution 1: Check for Any Debris
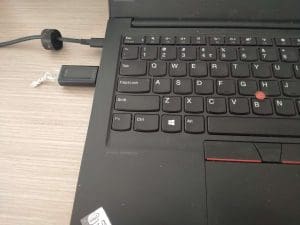
First check if your USB drive is properly connected, else try to connect your USB drive to the other USB port. If the issue still persists then you can connect your USB drive to the other computer and see if it is working properly.
Else, check if there are any foreign particles stuck in the USB port or in the USB drive. Take a cotton swab and gently try to remove any debris stuck.
Solution 2: Assign Drive Letter
When a USB drive gets corrupted usually they become unrecognizable or inaccessible. You can fix inaccessible USB drives by making use of Disk Management to assign a drive letter. Follow the below-mentioned methods to assign a drive letter to a corrupt USB drive letter:
- Right-click on Disk Management, open disk management.
- In Disk Management, right-click on the USB disk number and click on the Change Drive letter and Paths
- Select the drive letter that’s already assigned and click on Change
- Choose a drive letter from the dropdown list and assign it to the corrupt USB drive
- Now try accessing the USB drive from Windows Explorer
Solution 3: Update Device Drivers
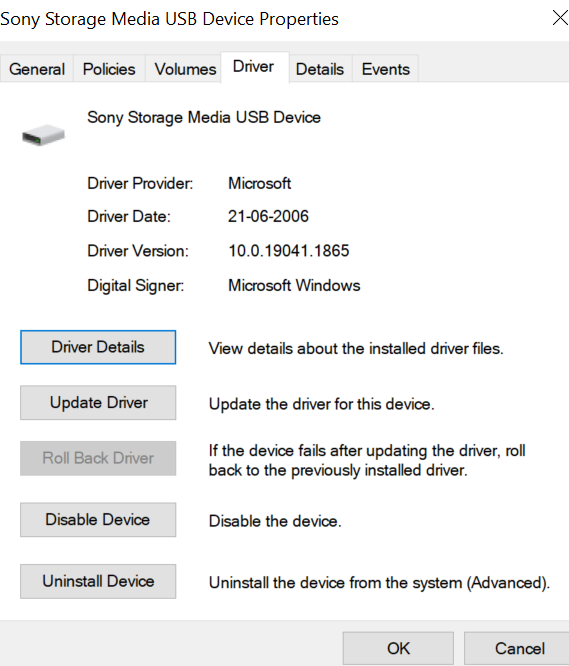
Sometimes outdated device drivers can also be a reason behind USB drives not being recognized or corrupt. Follow the below-mentioned methods to update the device drivers and fix corrupt USB drives.
- To update device drivers, you need to get to Device Manager by right-clicking on the Start button.
- In the Device Manager Window, click Disk Drives, select the USB drive, and Uninstall the device.
- Once you uninstall the device drivers and connect the USB device again, the new device drivers will be automatically updated. The USB device will be recognizable after this.
Solution 4: Access the Flash Drive by Enabling the USB Drive in the Device Manager
Sometimes, Flash drives can get disabled automatically due to driver installation errors too. Follow the steps mentioned below to access the flash drive and get back the data present within.
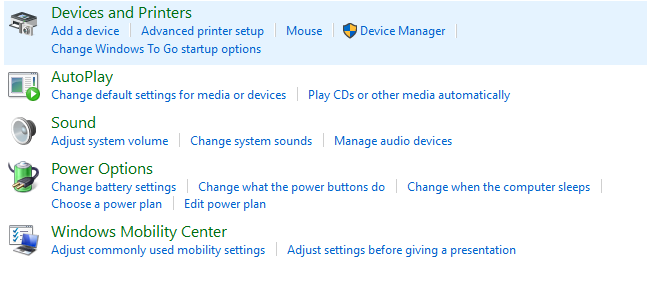
- Open Control Panel, go to Hardware and Sound, and click on Device manager
- Expand the Disk Drives list
- Double-click on your USB drive and click on Enable device.
- Click Next and finish.
Solution 5: Fix File System Errors on USB Drive
The file system on a USB drive helps in organizing data and maintaining a directory that will be referred to for any data transaction. Any errors in the file systems also lead to corrupted flash drives and result in data loss. Here’s how to fix file system errors in pen drives on Windows 10 or Windows 11.
- Go to This PC and right-click on the inaccessible pen drive and select Properties.
- Click on the Tools tab and select the Check option
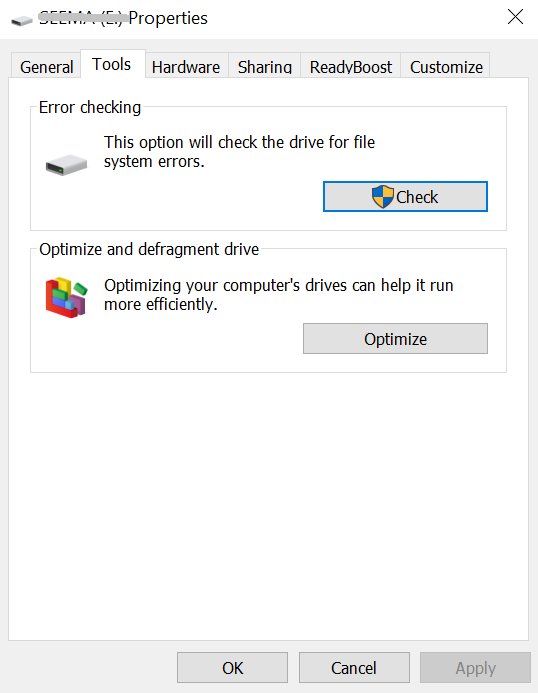
- Check both the Automatically fix file system errors and Scan for and attempt recovery of bad sectors boxes
- Click on Start and the scanning process will start. Wait till the process is complete and click on Close
Note: If your system is running on any previous version of Windows like Windows XP, Windows Vista, Windows 7, etc. Follow these steps to fix your file system errors on the USB drive.
- Go to My Computer and right-click on the inaccessible pen drive and select Properties
- Click on the Tools tab and select Rebuild
- Once the scanning process is started, wait for the scan to complete and click on Close
- Eject your pen drive using the Safely Remove Option and then plug it in again.
If you are being prompted to format your corrupt USB, do not format. Instead, know how to fix flash drive issues without formatting with free methods given in the highlighted informative write-up.
Solution 6: Restore files from corrupted USB by using Command Prompt
Command Prompt could be a quick yet effective resolution to recover corrupted USB. Follow these steps carefully to fix errors and recover files from the corrupt USB drive.
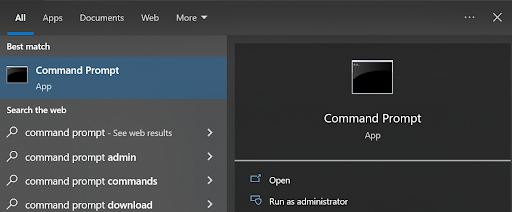
- In the Type here to search box, type cmd and click on the Command Prompt.
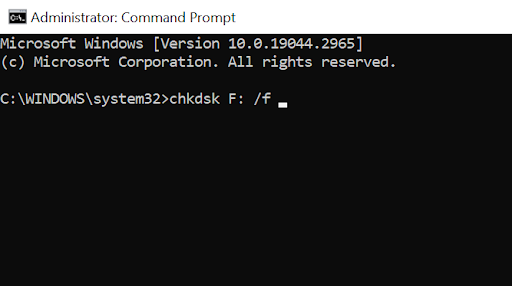
- In the Command window, type or copy-paste chkdsk F: /f. Replace F: with your USB drive letter,
- Once the process is complete, eject your pen drive using the Safely Remove Option and plug it in again.
In case you are unable to fix the corrupted USB drive, then the only option left is to format the USB. Formatting the flash drive using Disk Management might result in data loss. In case you have formatted the USB drive accidentally, then don't worry. You can still recover the data if the USB drive is not overwritten with the new data.
Can you Recover Data from a Corrupted USB Flash Drive?
Yes, you can recover data from the corrupted USB. The data on a USB will no longer be accessible if the entire USB becomes corrupted. This does not mean that the files or photos have been corrupted; rather, it means that the USB has been physically or logically damaged, preventing you from accessing your files.
If you have tried the above method using chkdsk, then the ability to recover data from a corrupt flash drive by using chkdsk is very less. The chances of damaging the files are also high. Hence, we recommend you to make use of an effective USB recovery tool by Remo.
To recover the files from the corrupted USB drive, we have run a test case scenario below. You can find the test environment under which we have performed the file recovery from the corrupted pen drive.
Test Case Scenario:
- Storage Device: Kingston
- Storage Space: 32 GB
- File System: FAT32
- Data Loss Scenario: Recover data from corrupted USB flash drive
- Softwares tested: Remo Recover
- Software Version: 6.0
- Software Compatibility: Windows, Mac, other external storage devices.
- Software Free limit: 1 GB
- Supported file formats: 500 Plus
- Price: (For Windows): 6 months licence - $79.97, 1 month licence - $69.97, (For Mac): Basic edition: $59.97, Media edition: $69.97, Pro edition: $179.97.
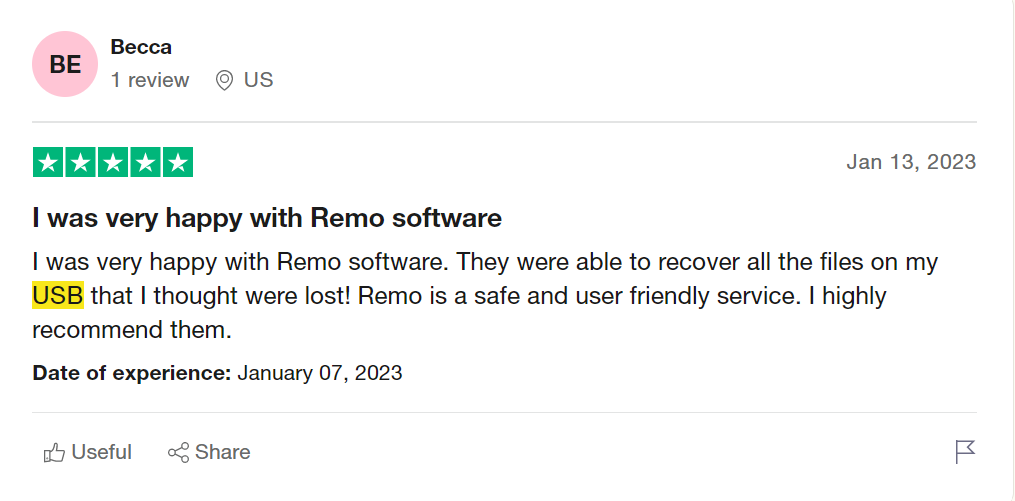
- Trustpilot rating: overall 4.5 stars out of 5.
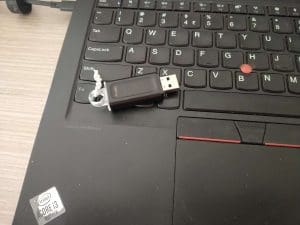

As we can see in the above images we have used the Kingston USB drive and that is corrupted. Now we will run a test on this corrupted USB drive and see if we were able to recover the complete data.
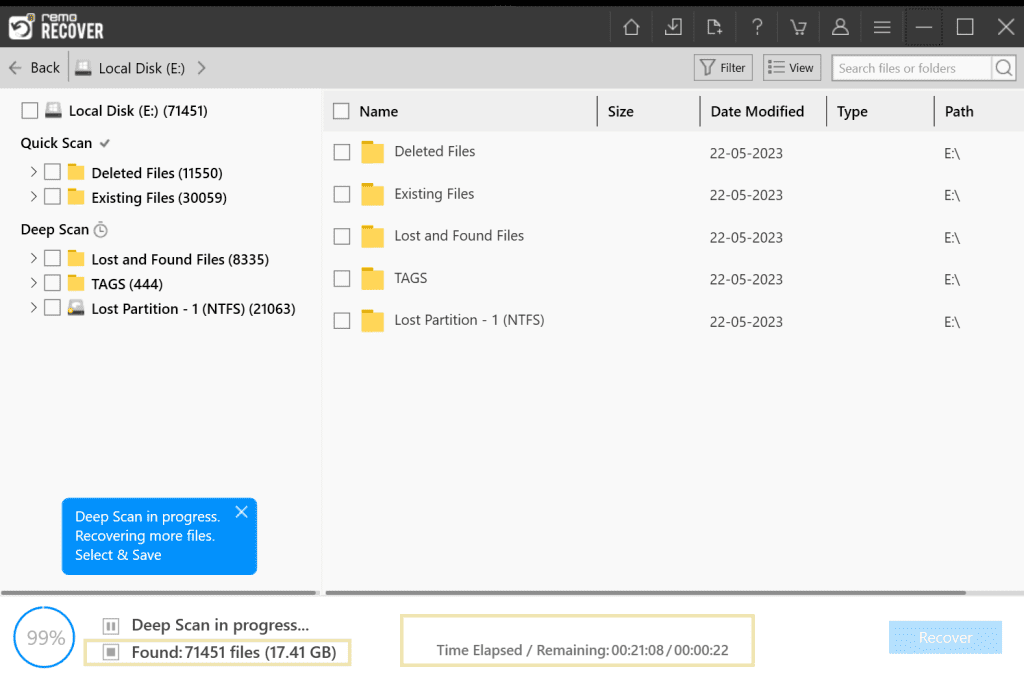
Final Verdict: As we can see in the above image, Remo Recover was able to find 71451 files. It took 22 minutes to recover the files from the corrupted pen drive.
How to Recover Files from Corrupted USB Flash Drive Using USB Recovery Software?
To recover files from corrupted USB flash drives, make use of powerful professional USB recovery software. Speaking about professional tools, we recommend you make use of USB recovery software by Remo.
This tool is built with a powerful recovery algorithm that can recover files from corrupted pen drives. The tool has got 4.5 out of 5 stars from a well-known review platform called Trustpilot.
Steps to Recover Files from Corrupt USB Drive?
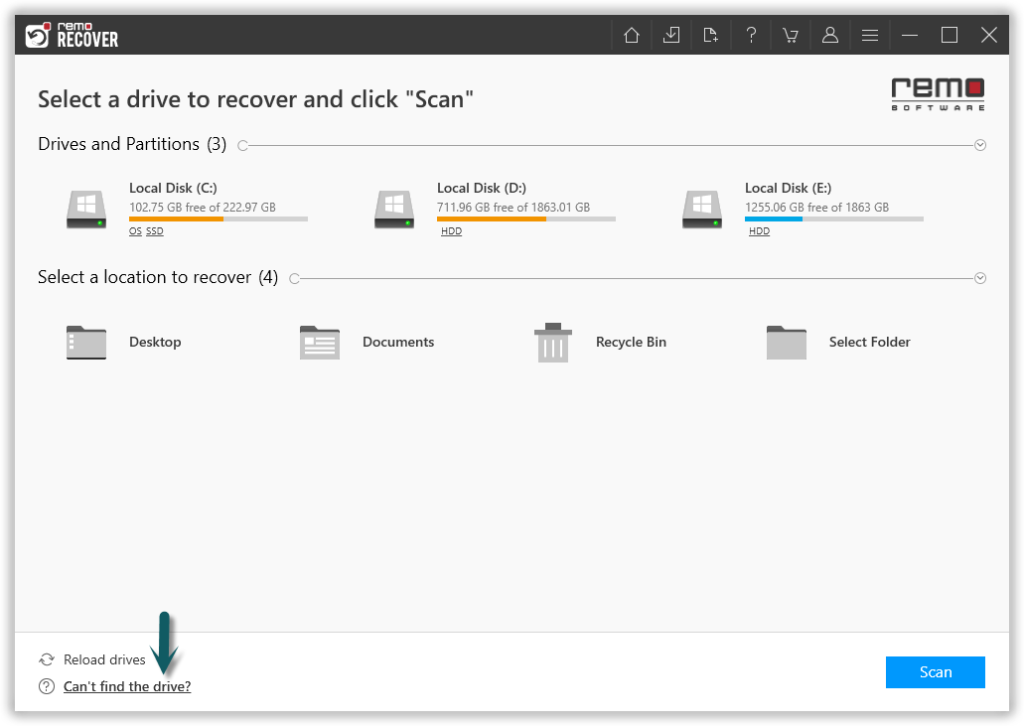
- Download, install, and launch the Remo Recover tool to recover files from corrupted USB.
- Select your corrupted USB drive and click on Scan to start the process of recovering data from the corrupted flash drive. If you are unable to find your drive, click on the Can't find the drive? Option.
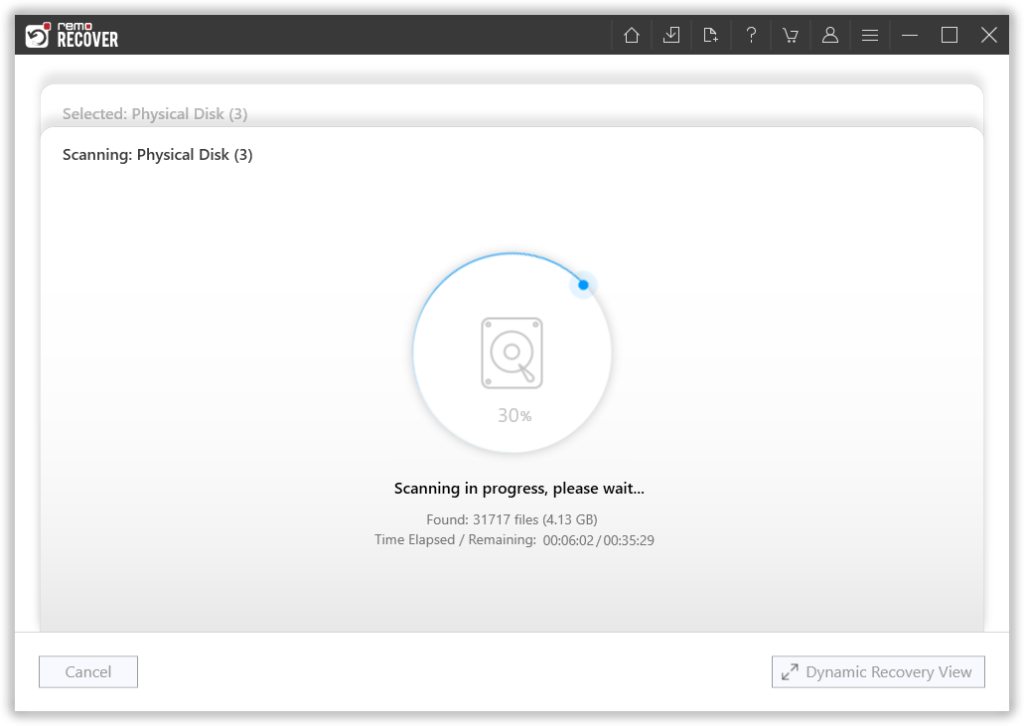
- The tool starts scanning the drive to recover files from a corrupt USB. Remo Recover lets you have a look at the files recovered even when the scan is in progress; simply click on the Dynamic Recovery View.
- Once the Deep Scan is complete, you can Preview your recovered files from the corrupted USB. Just double-click on the file that you want to view.
- Now navigate to the Lost Partition folder and select the files that you want to recover. Click on the Recover button and select the location where you want to save the restored data.
Once the data-saving process gets successfully completed, you can view the recovered files or photos in the location which you have selected. The time duration for the scanning process depends on the amount of data present on your pen drive.
Note: In case you have deleted files from USB drive and lost your files, there is a way to avoid data loss in future by enabling Recycle bin in USB. Yes, you heard that right. USBs have recycle bin and we wrote a piece about it. click on the above link to read more.
How Does Flash Drive Get Damaged?
- Flash drives are more likely used because of their portability nature. These drives can get corrupted or damaged due to the exposure of the USB drive to heat and moisture.
- Flash drives can get damaged while forcefully ejecting the USB drive. Now this will lead to a partition error.
- Flash drives usually rely on electrical components. Any interruptions, like power surges, voltage fluctuations, etc., while trying to transfer the files might result in data loss.
- Sometimes the flash drives might have manufacturing defects like loose soldering, faulty components, etc.,
- If the File System on the USB drive is corrupted with malware.
Fix USB Drives with Physical Damage
If you think your USB drive is not showing up or not getting recognized due to physical damage, then you have to try these quick fixes.
- Try and plug USB drives onto other USB ports
- Remove debris from the ports that might be potentially blocking your USB connection
- If none of the above methods works you might have to contact a professional recovery service
Final Words:
All the above-mentioned methods are most likely going to help you fix corrupt or damaged USB flash drives. However, it is recommended to be prepared for future data loss scenarios by taking regular backup of data. If you liked the article, do make sure you share the word and comment below if you have any queries.
Frequently Asked Questions:
When your USB flash drive gets corrupt. Most of the time you won’t be able to access the drive. Following the methods mentioned earlier in the article such as assigning a drive letter makes your drive accessible. Opening or accessing corrupt files can only be done using any good data recovery software such as Remo Recover.
Formatting is the only option left to revive any corrupt flash drive if all other methods fail. Formatting completely erases the file system of your drive and reinstalls a fresh copy of the file system.
If you don’t want to format your flash drive, then we suggest you go through this article to find out other ways to fix a USB flash drive without formatting.
The answer is almost always “NO”. Depending upon the severity of the corruption the manual methods might or might not work. Data loss is almost bound to happen, incase you don’t have a backup. So we recommend you recover data from your corrupted USB flash drive first using Remo Recover. Then, try the above mentioned methods.
Before you try to repair an unrecognized USB flash drive, check for the following things
1. If your drive is connected to Windows properly or not. If not, try to connect it.
2. Check if there is any debris stuck in the USB, if yes then use a cotton swab and try to remove it gently.
3. Try to connect the USB drive to the other USB port.
4. Try connecting the flash drive to the other computer and see if it is working fine or not.
1. Always eject the USB flash drive safely after transferring data to avoid any bending of the drive .
2. Avoid abruptly removing the Pen drive when it is still performing read and write operations.
3. Make use of an updated Antivirus software.
4. Avoid your USB coming into contact with moisture or heat.
Reformatting the drive is not the only solution that can fix a corrupted flash drive, before heading to format the drive try using Disk Imaging, Cmd, Error Checking tool, and Remo USB Recovery tool as mentioned in the above section of the article.
The answer is not generalized since fixing a corrupted Pen Drive can depend on several factors like:
1. Size of the USB drive.
2. What extent your USB is corrupted.
3. If the USB stick is broken.
Based on these factors it can anywhere take minutes to several hours to repair your corrupt Memory stick.
Here are some of the factors behind Inaccessible Memory stick are:
1. If your USB drive is not compatible with the Windows file system.
2. If you format the USB drive with some random file system.
3. If your file system is severely corrupted.
4. Any interruptions while transferring can sometimes turn your Pen drive into RAW.