Doesn’t it seem like we don’t go a day without struggling with slow internet speed – we all know those moments when we have critical work to do from home. In these situation fast internet is even more important. Here’s few tips to improve internet speed on Windows 10 PC.
But first thing you should do is to note down the current download and upload speed, so that you can verify latter. To do that, follow the below mentioned steps:
- Open your browser and type in net
- It will automatically identify your internet service provider, now press GO to start the speed test
- Wait until it finishes its thing and finally note down the download and upload speed of yours…

Here’s mine
Note that you won’t likely to get the same speed all the time, but your connection speed at least should be the minimum of the plan you’re paying for.
After you successfully note down your upload and download speed, it’s time to make tweaks in your system configuration
Method 1
Change the bandwidth limit to Zero
In general, bandwidth term is used for the range covered for data transmission between an upper range and lower range, which is controlled by ISP provider. However, Windows provide certain configuration to limit reservable bandwidth limit.
Windows by default keeps some amount of bandwidth for its application and operation requirements. You can limit the reservable bandwidth from Group Policy editor. Here’re I will show how to open up the settings for reservable bandwidth in Windows 10.
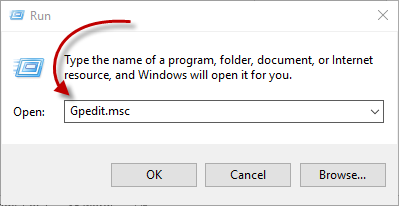
- Press Windows + R shortcut key to open Group Policy Editor from Run Command line
- Type in Gpedit.msc (make sure you’re logged in with an Administrative account), then press OK
- Now you should see Local Group Policy Editor window.
- Navigate the following path:
Computer Configuration >> Administrative Templates >> Network >> QoS Packet Scheduler >> Limit reservable bandwidth
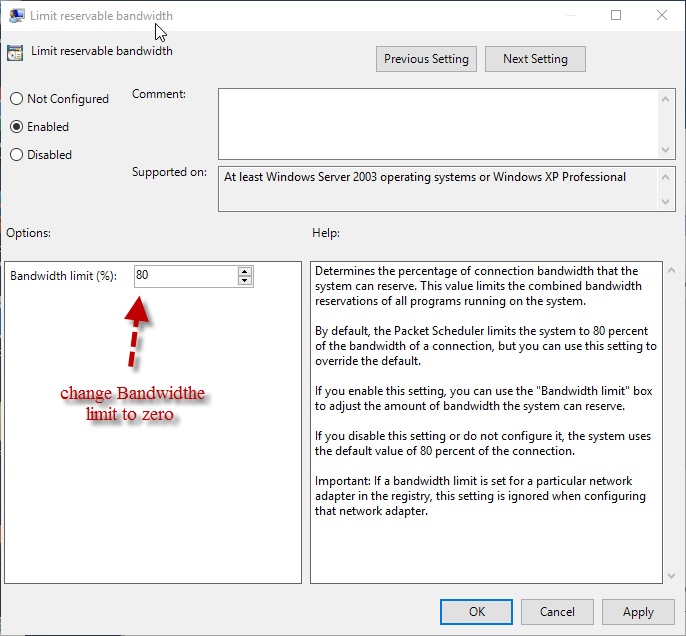
- When you click on Limit reservable bandwidth, it should open a new window, where it must be in Not Configured mode
- Change the mode to Enabled and reduce the Bandwidth limit to Zero
Method 2
Flush the DNS Cache
Every time you open browser or surf in internet, DNS resolution are made and your computers keep track of them. Caching these resolutions actually improves the page load time, as your computer no longer has to ask another computer the address of the page.
But overtime, it may store a bad entry which delays things. Ideally in every 24 hours your computer should update the DNS and remove these bad entries automatically. Such bad entries may prompt you with errors such as HTML5 video file not found, error 224003, etc. But you can flush the DNS cache manually too, Here’s how
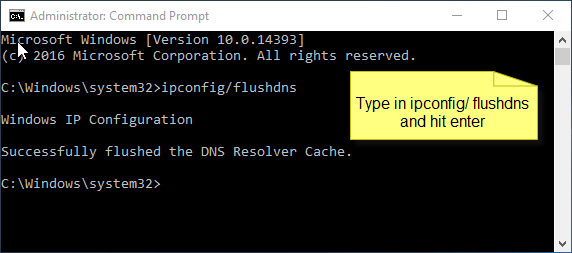
- Open “Windows command prompt”
- In the Command Prompt type in “ipconfig/flushdns”
- Press enter
Method 3
Empty the TEMP folder
Over populated Temp folder may reduce your browsing speed over time. Here’s how you can delete the Temp folder
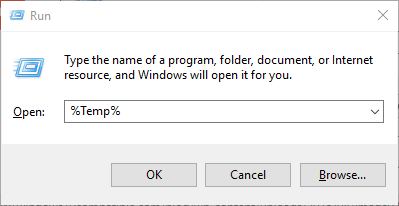
- Press Windows + R key to open Run command box
- The Run dialogue box should appear now, type in %Temp% and press enter
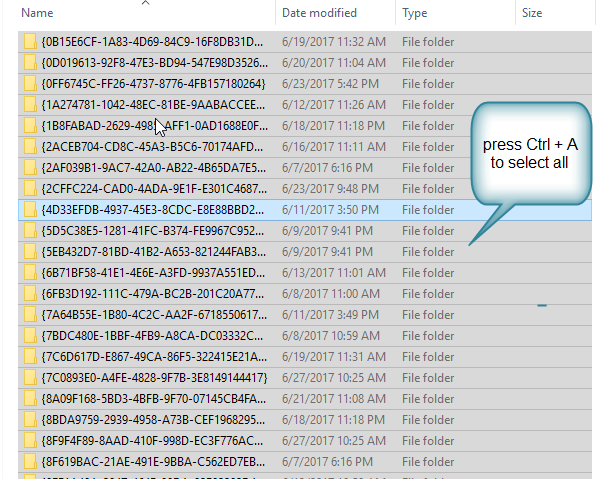
- Right click on any of the selection and from the menu select delete
So there is it, you should experience a improve speed after making aforementioned tweaks. Do not forget to verify the download and upload speed from speedtest.net.