Fix Drive Error with Drive Check Option
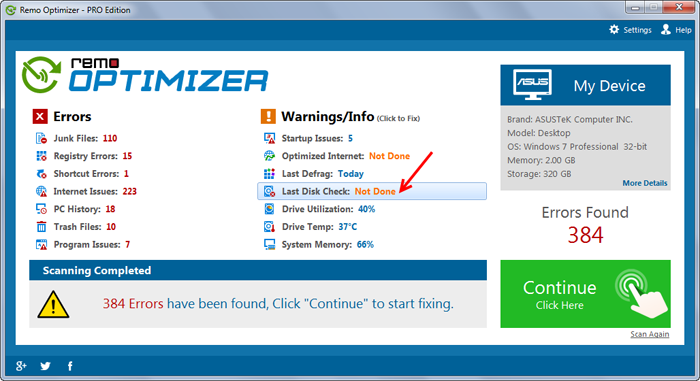
Step 1: Click on Last Disk Check option available under Warning/Info section to check out drive errors.
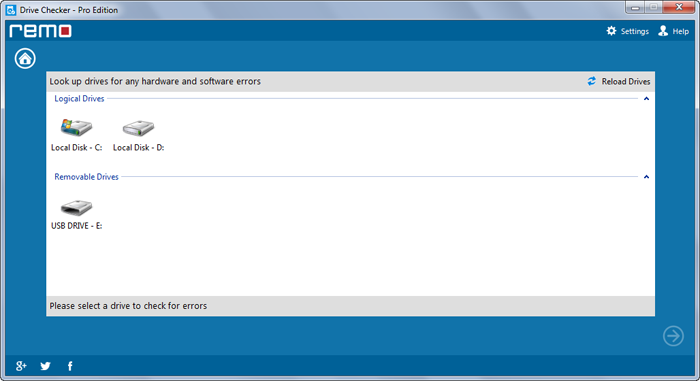
Step 2: From the next screen select the drive you want to check and click on forward arrow key.
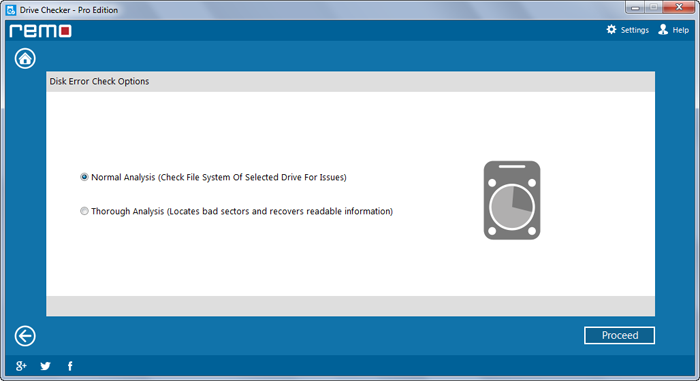
Step 3: In next screen you find two different options Normal Analysis and Through Analysis. Select “Normal Analysis” option if you just want to check the file system of the selected drive for issues. Choose “Through Analysis” option if you want to check the drive for bad sectors and recover readable information from it. Select any of the option using radio button and click on “Proceed”.
Step 4:
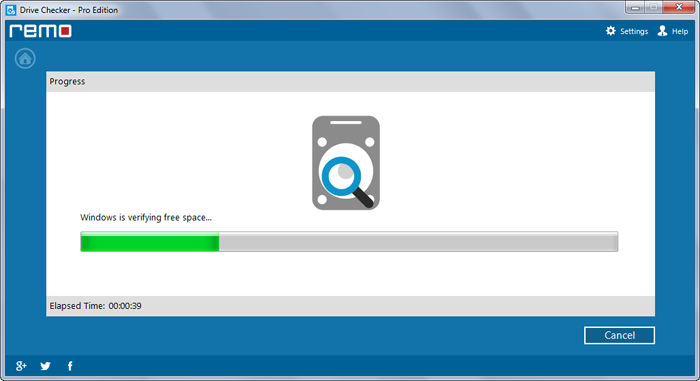
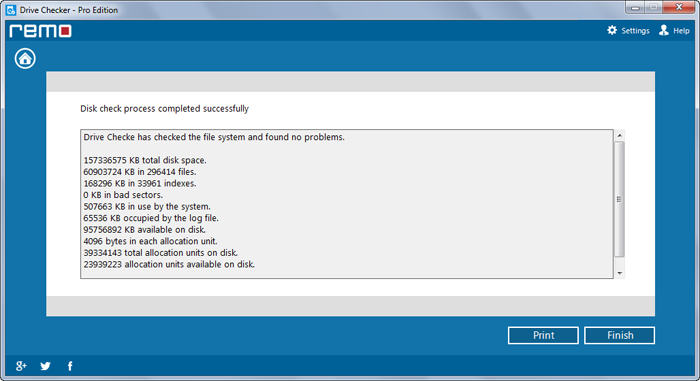
If you choose “Normal Analysis” option:
- The drive check will immediately start. You can monitor the process through progress screen. Click on “Cancel” if you want to terminate this process.
- After the completion of drive check process, you will get a list problems related to your drive file system. By using the “Print” button you can take a copy these issues. Click on “Finish” button to finish up this process or to perform drive check for some other drive.
If you choose “Through Analysis” option:
- A popup window will open with a message to restart the system. Click on "Yes" to restart your system. As soon as the system get restarted trough analysis begins.
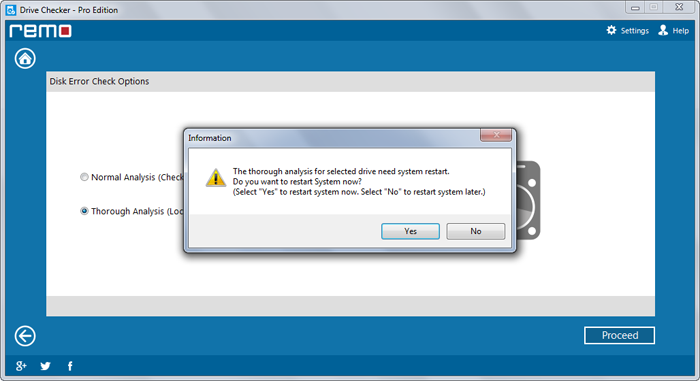
- If you don’t want to restart the system them click on “No”
- After the completion of through analysis process you will be able to see a list of problems found.