How to Recover Deleted or Lost Files on Windows?
The software provides a hassle-free approach to recover deleted / lost files
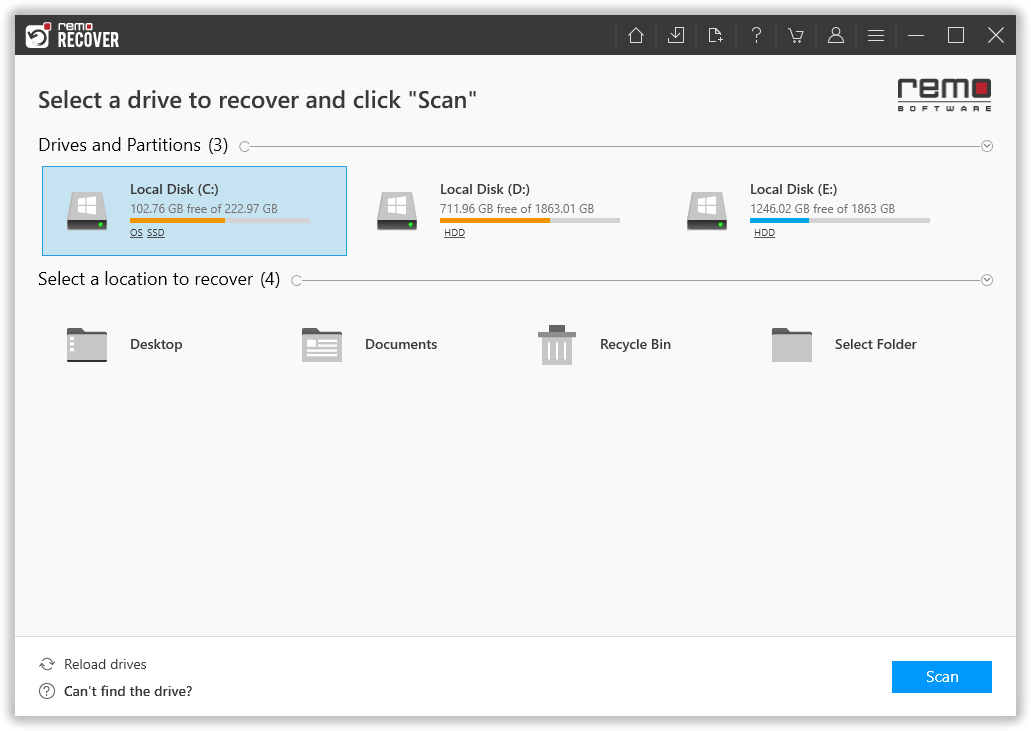
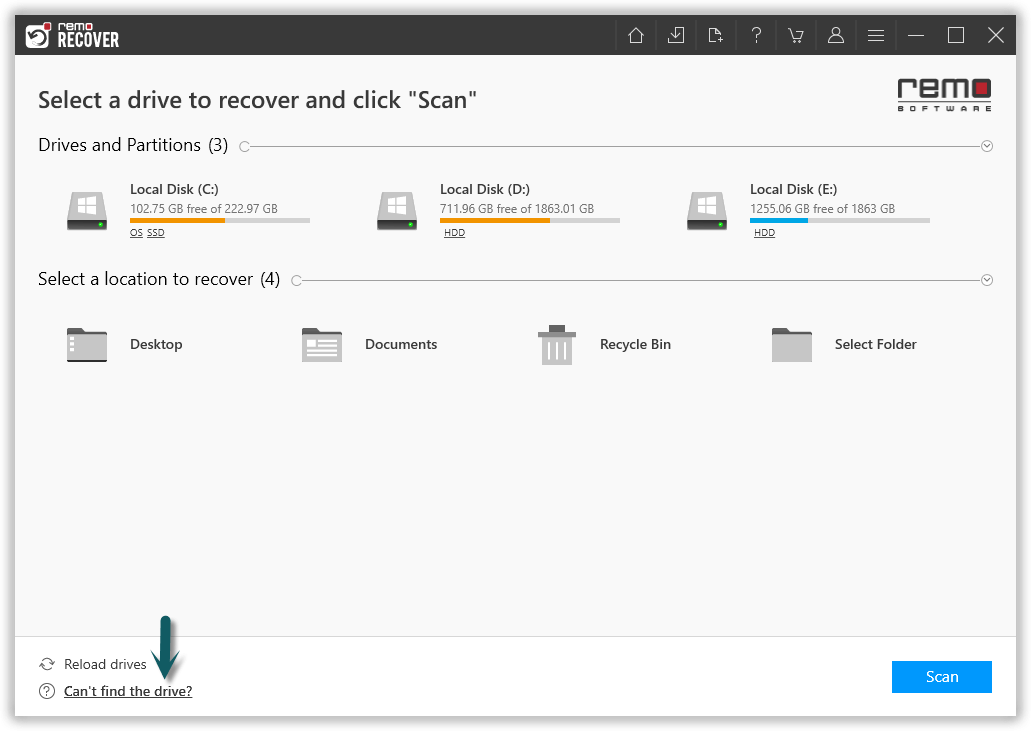
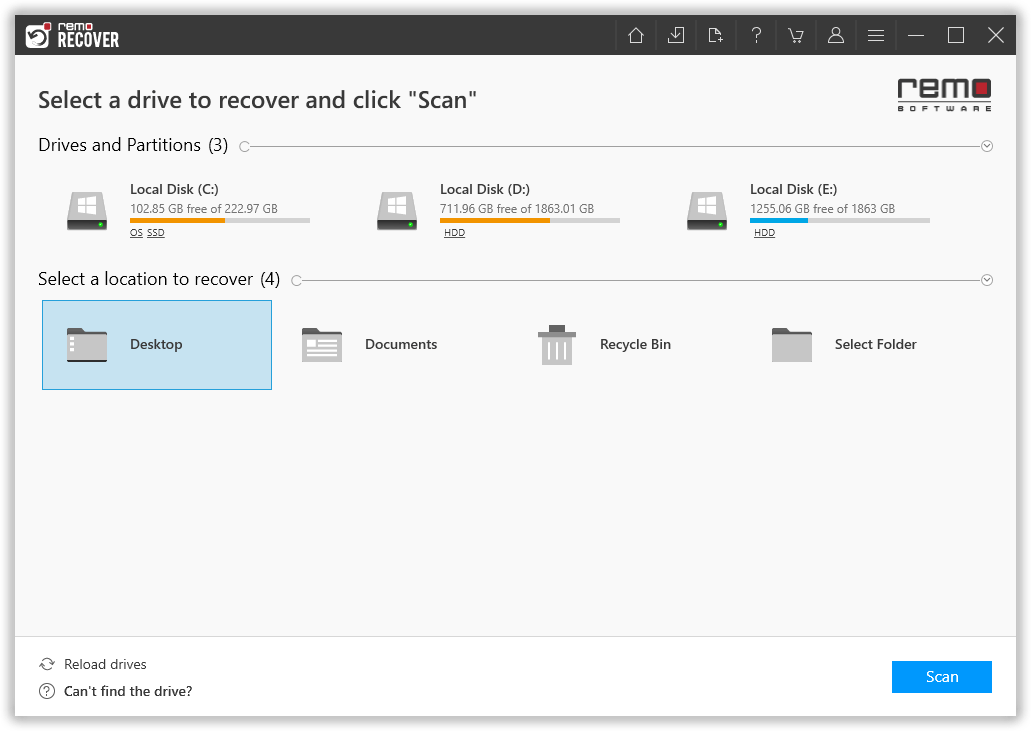
- Step 1: Launch the application and select the Partition/Drive from where you would like to recover deleted / lost files and click on "Scan"
You can also recover files from various customized options such as Desktop, Documents, Recycle Bin or select a folder.
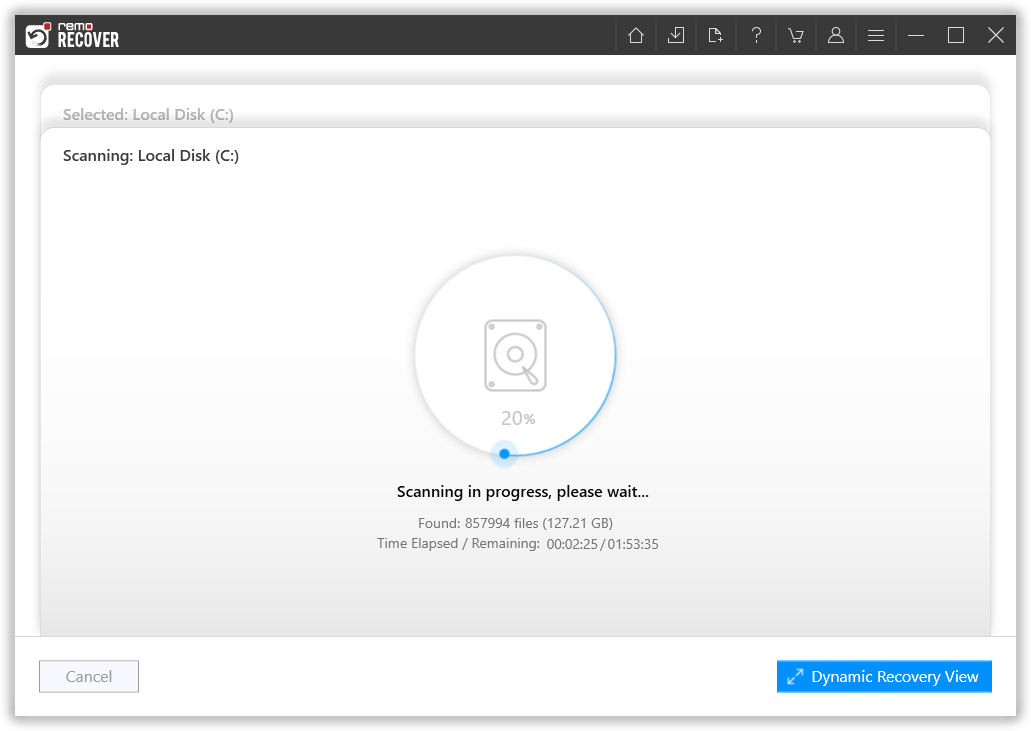
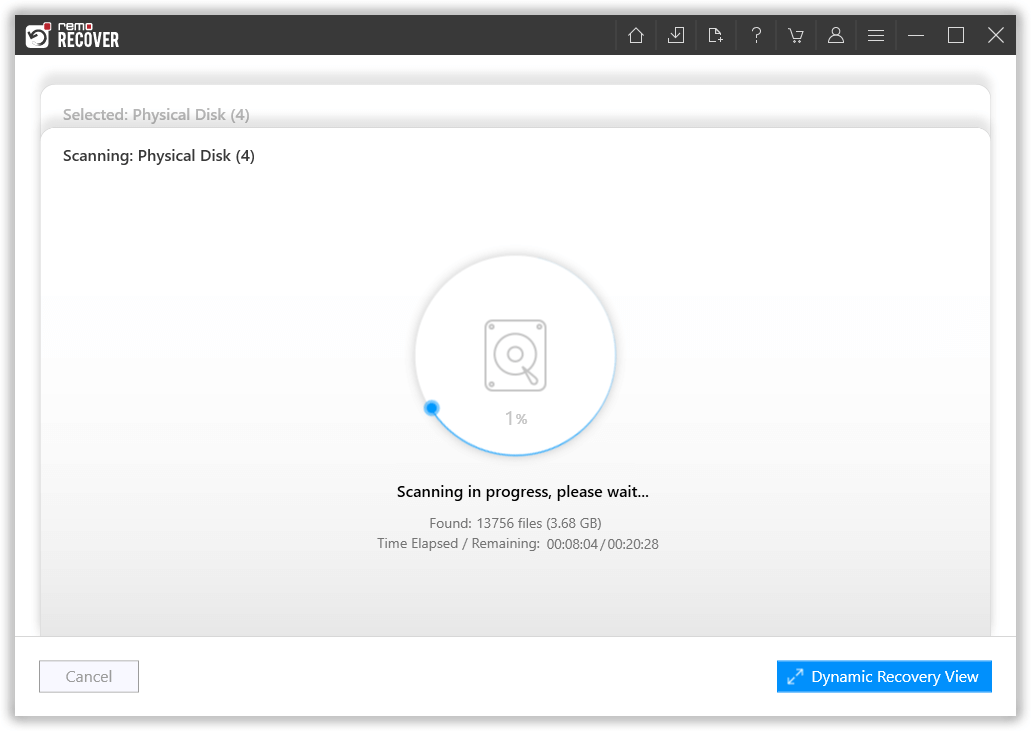
- Step 2: Software starts scanning the selected Partition/Drive to find lost files. This estimated time to complete the process will depend on the amount of data to be recovered, size of the drive and overall system performance.
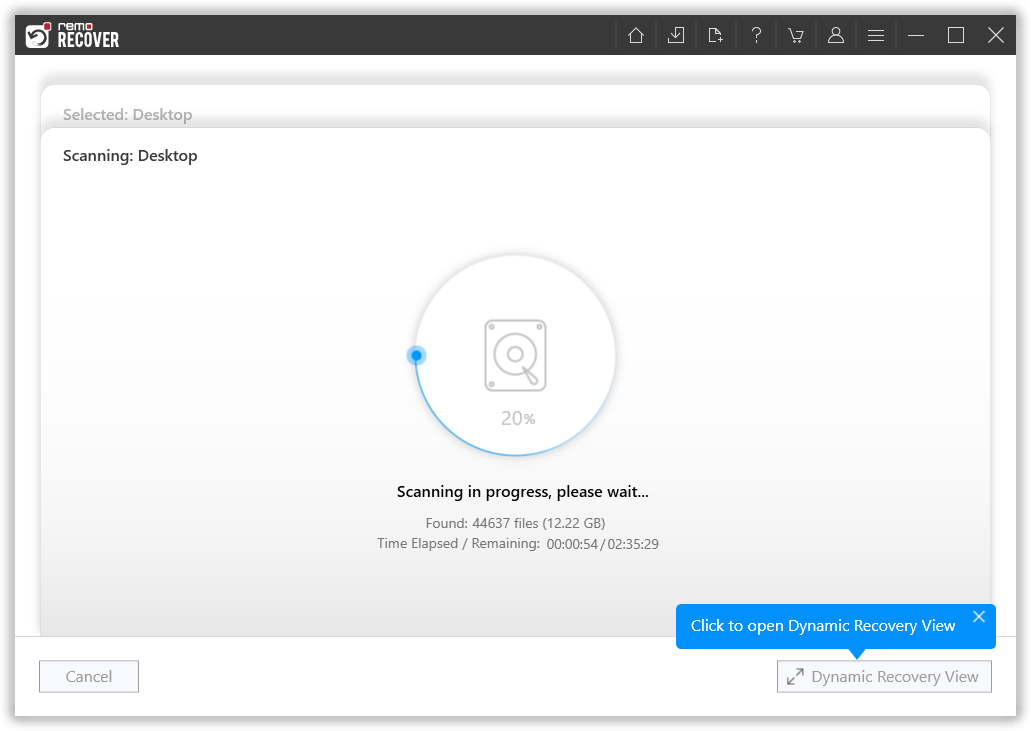
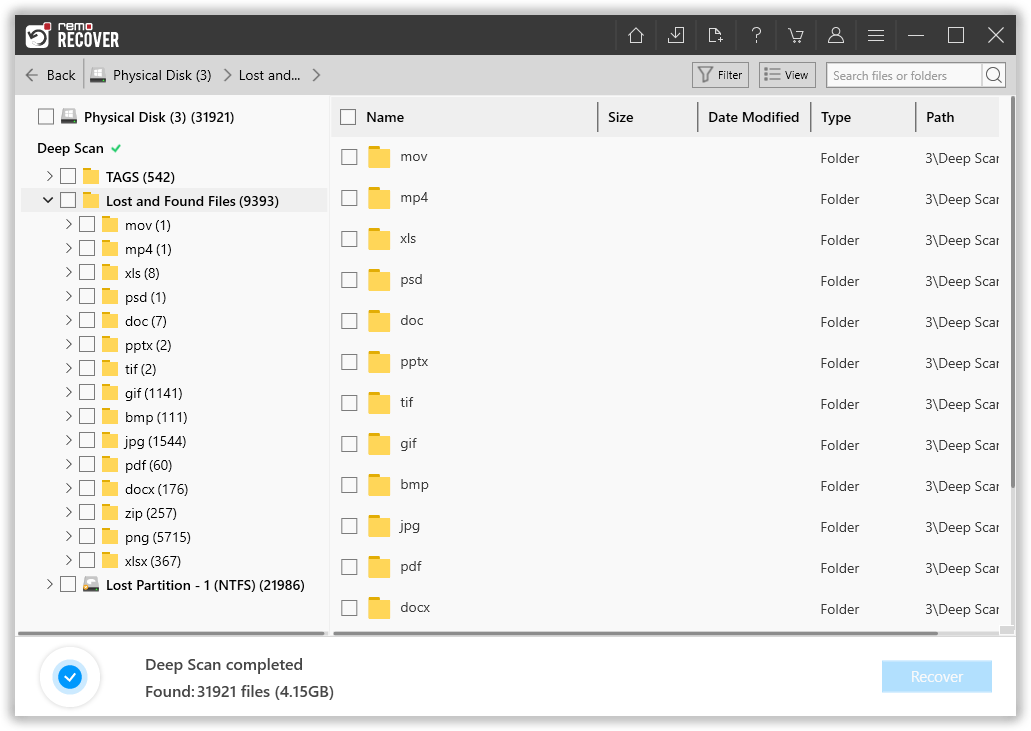
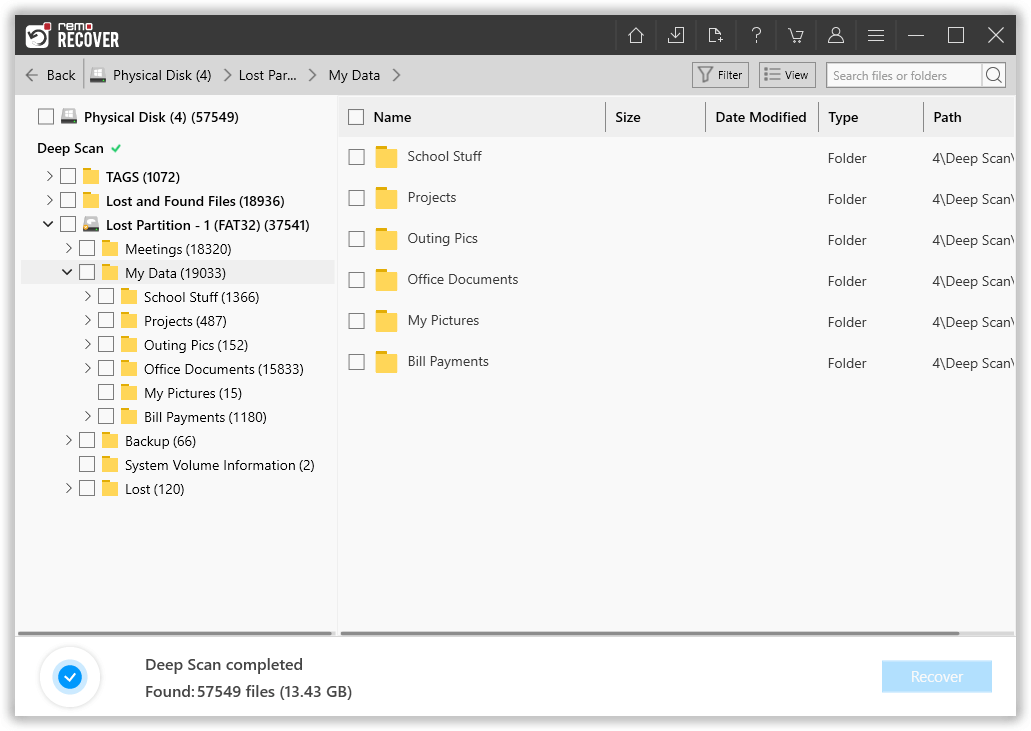
- Step 3: The tool offers Quick Scan and Deep scan. During the scanning process, you can click on the Dynamic Recovery View and find all your deleted files. In case, if you are not finding the desired files after the Quick Scan, then wait for Deep Scan to complete.
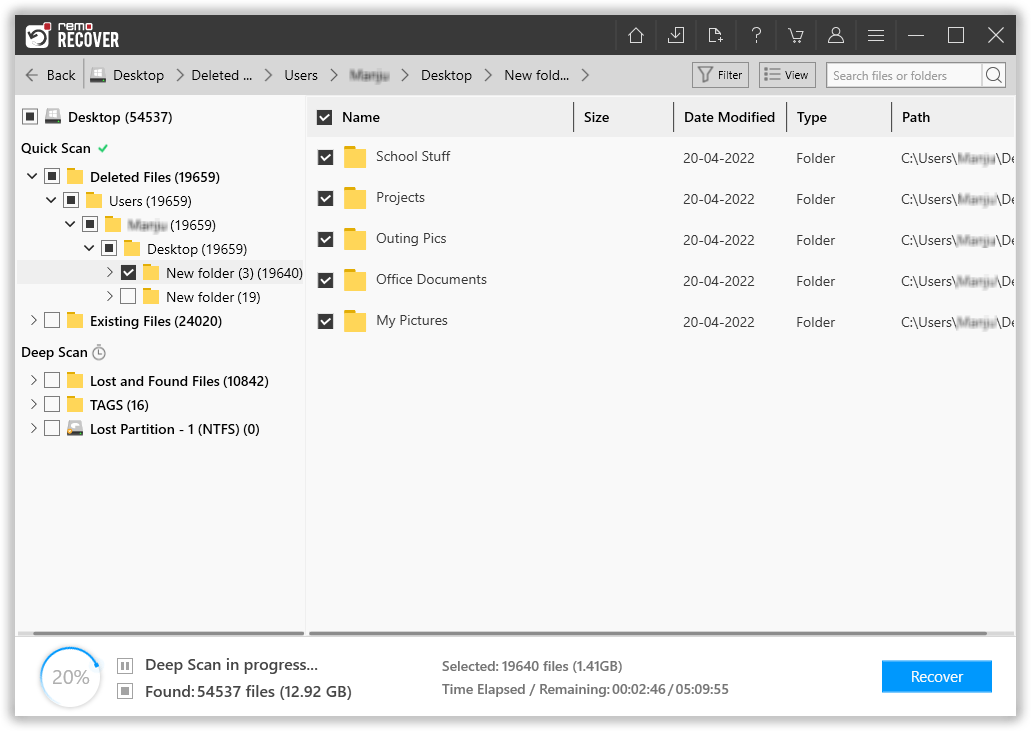
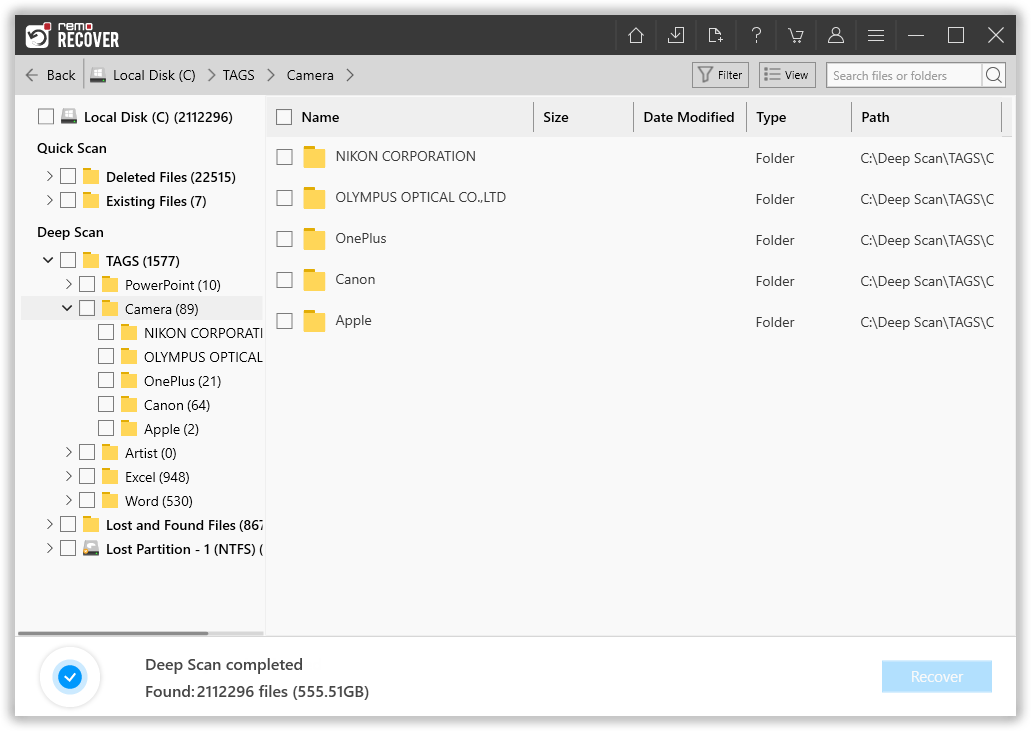
- Step 4: You can review the recovered data while scan is in progress, preview files that you are looking to recover and can save the recovery session.
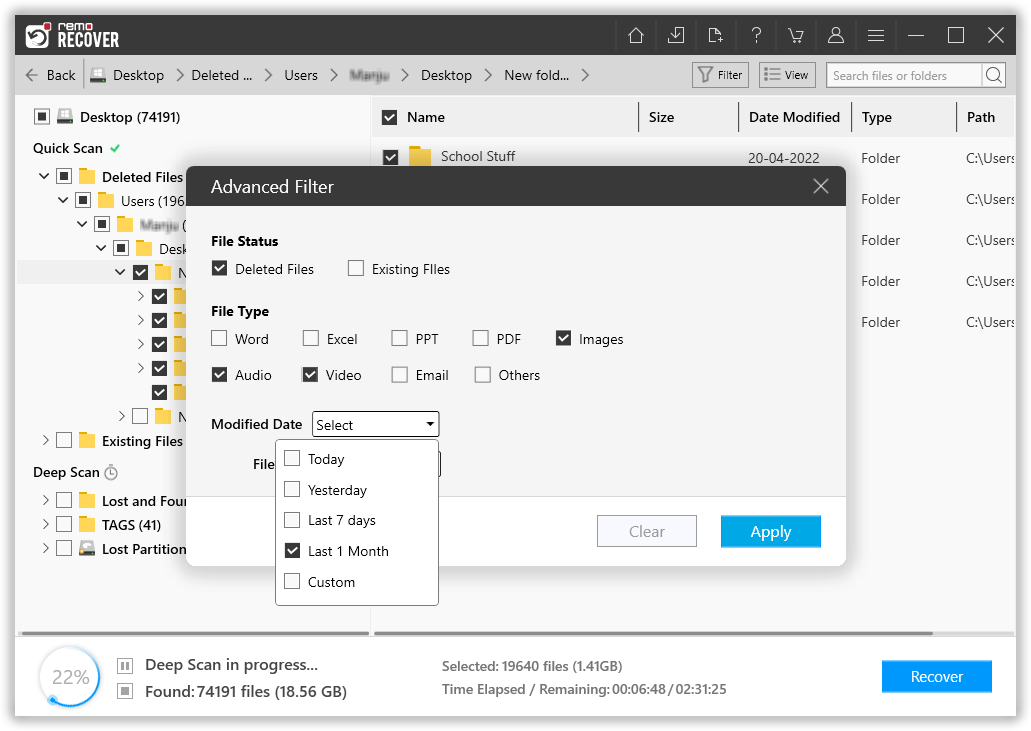
- Step 5: If you are looking to restore a specified file type, then click on the Filter option. This will allow you to sort the recovered data by Images, Audio, Video, Documents, and many more. Also, you can use the Advanced Filter to recover files based on Modified Date and File Size.
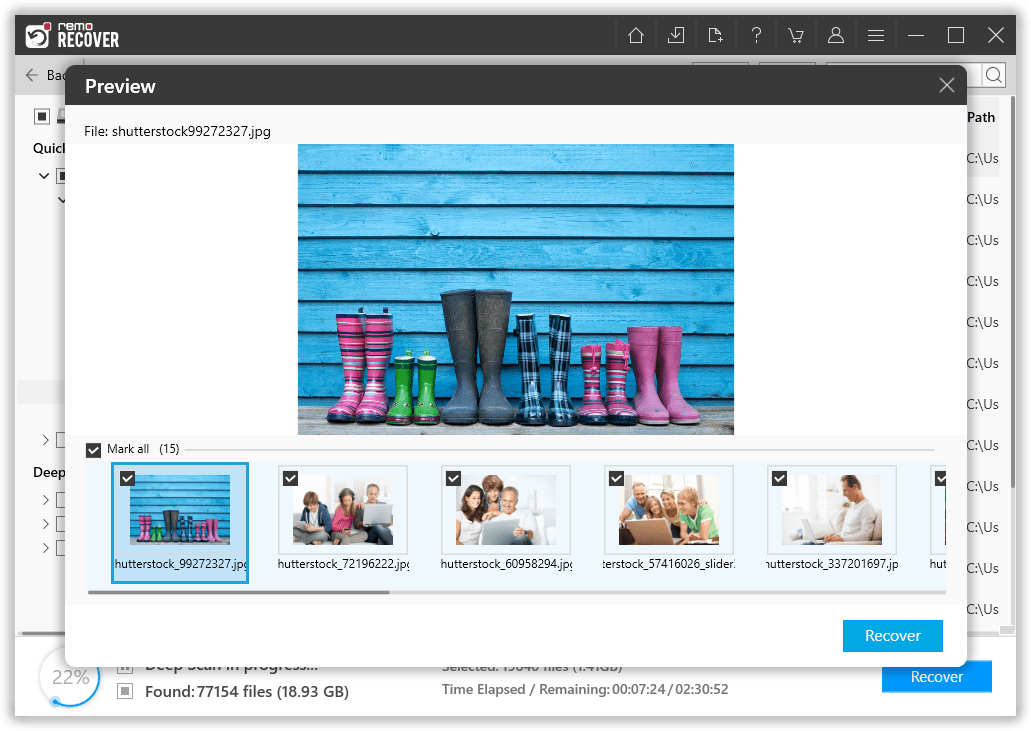
- Step 6: You can preview the recovered files by double clicking on them
Currently preview option is available for all major documents, photo, music and video, file types (Including support for digital RAW photos).
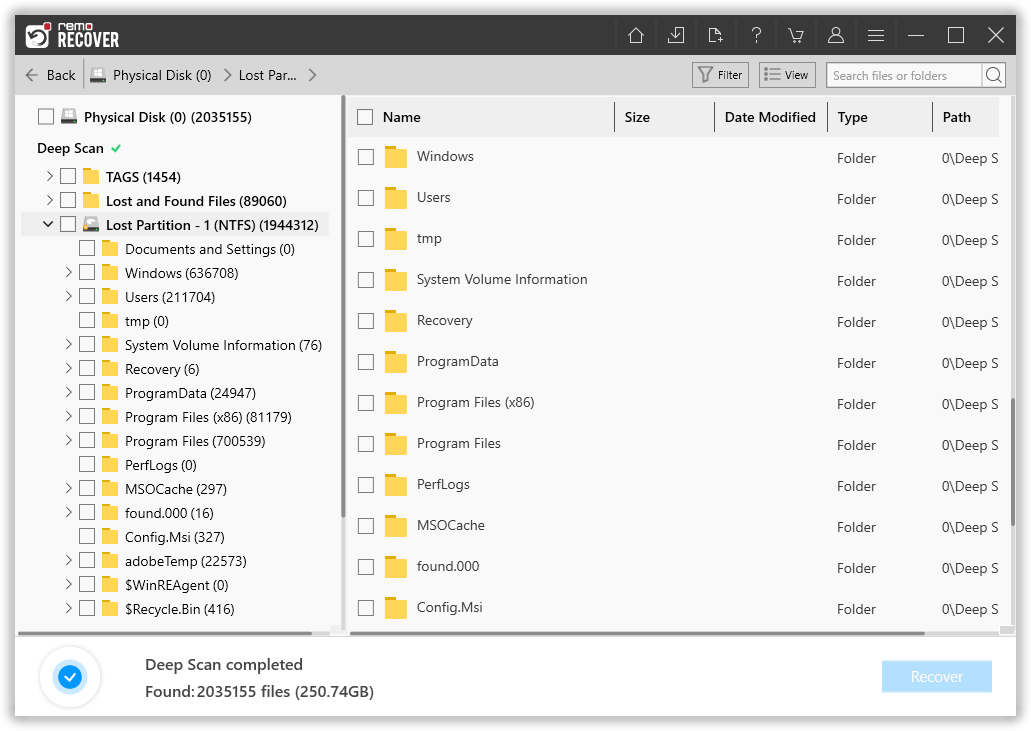
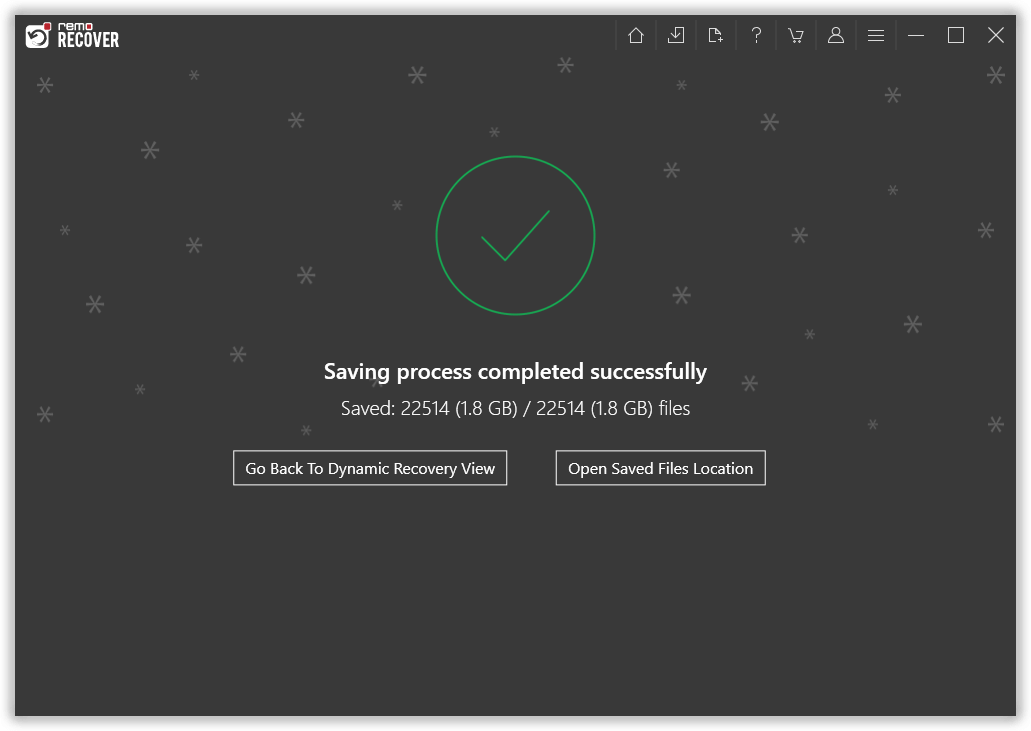
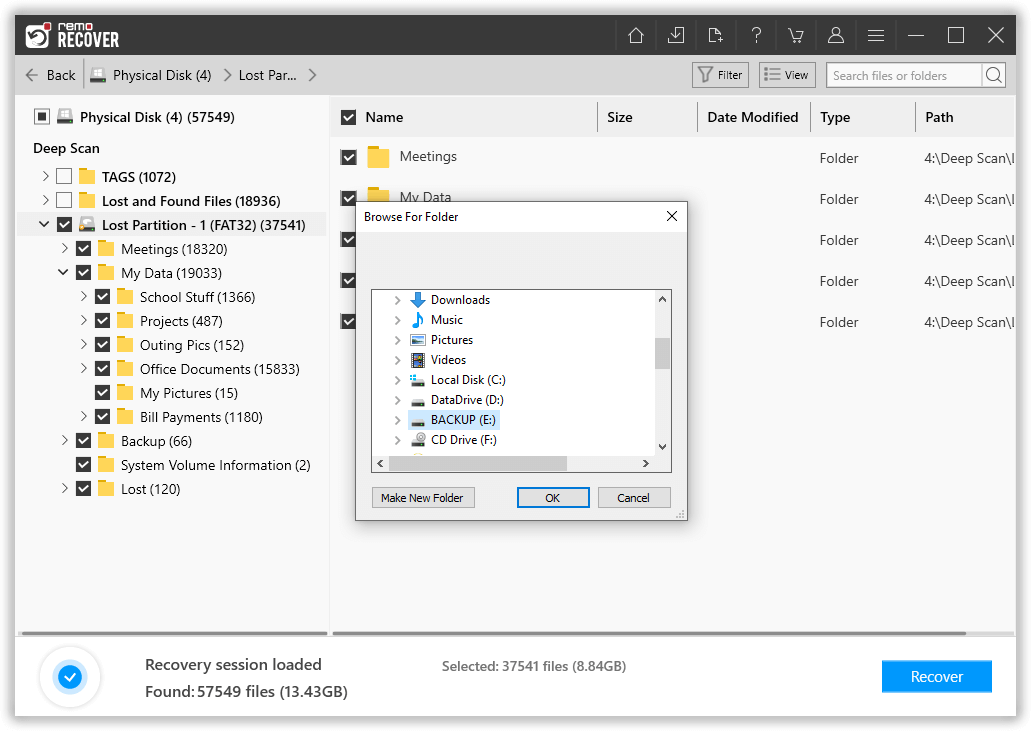
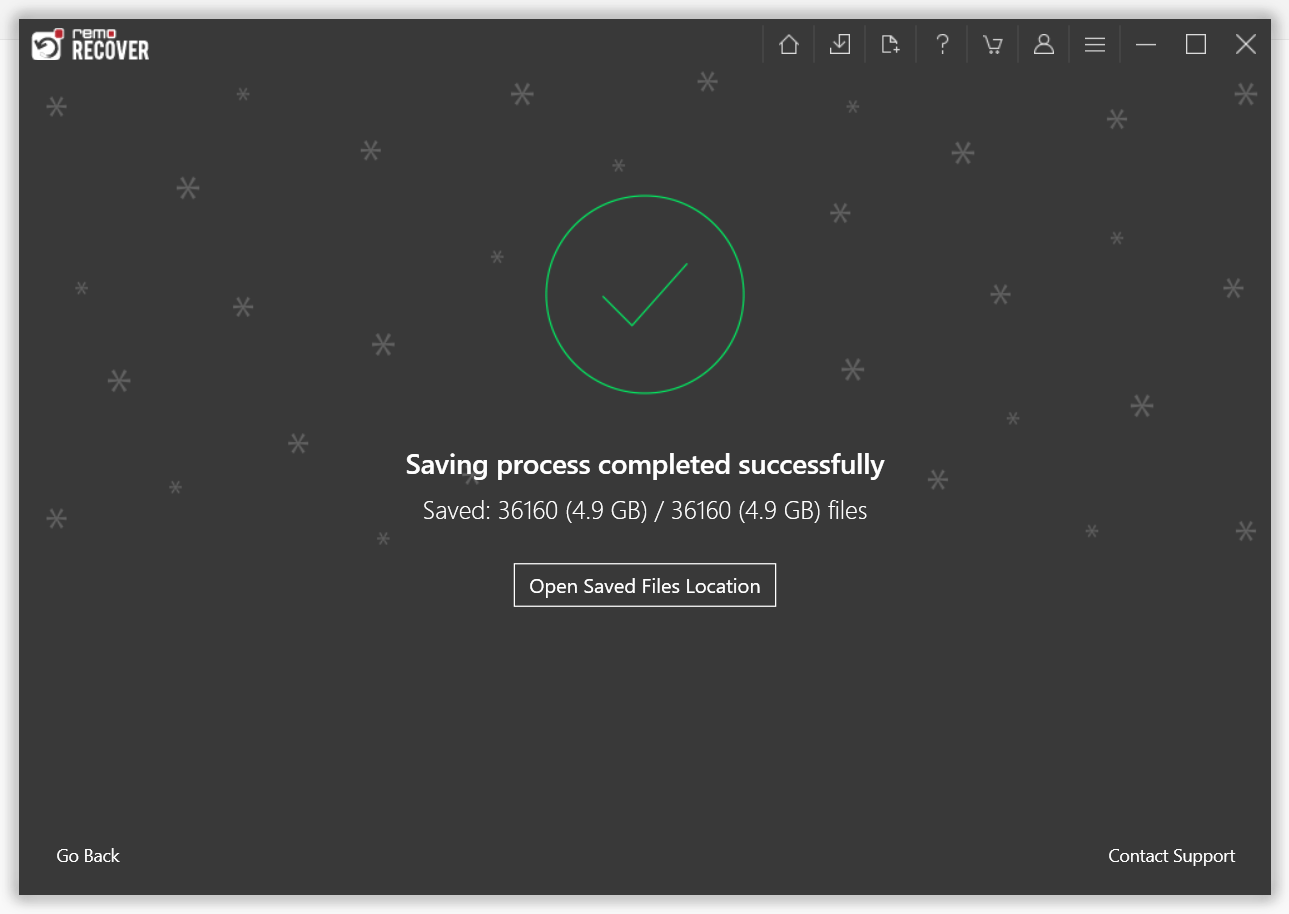
- Step 7: Saving process can be initiated by selecting the recovered files and clicking on "Recover" and select a location to save the recovered data.
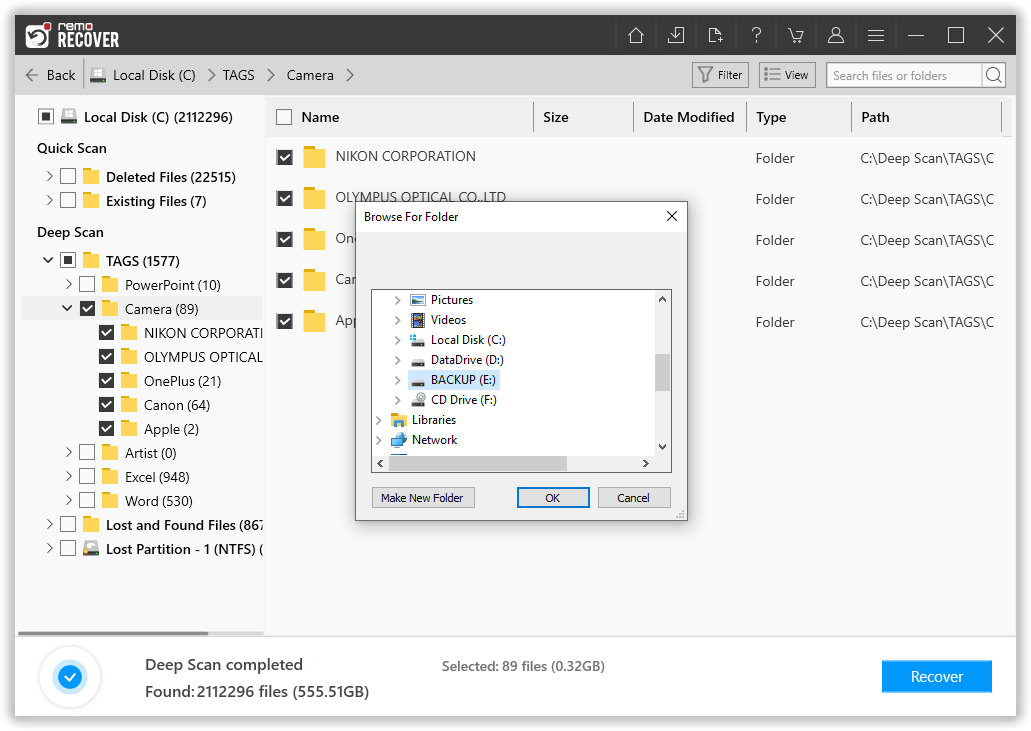
Important note: Never save the data to the same location from where the data is getting recovered. Saving the data to the same drive would result in permanent data loss.