With ever increasing internet speeds and hunger for data, it is no surprise if your hard drive is almost full. It must be a difficult choice to delete any of the files or folders since you want them all!
You then start to cram your internal drives to a point that affects your system performance. It is always advised to have a lot of free space on C Drive that contains your system files. The overall speed of accessing data becomes slower since the system does not have much space to play with to process these applications.
Let us look at few things you can do to better manage space on your system:
- Empty your Recycle Bin
Once you delete files from your system, they go to the Recycle Bin. Space is not freed up yet since only the address pointers of these files have been deleted.
You should empty all the contents of the Recycle Bin to free up space on your hard disk. Just right click on Recycle Bin and click Empty Recycle Bin. A warning message pops up asking you if you are sure about permanently deleting these items. Just click Yes.
- Remove temporary and downloaded files
A temporary file or temp file is a file that is created to hold information temporarily while a file is being created. Once the program is closed, you need to delete temp files associated with it.
When you download something on the internet, some files are automatically created. These files appear in your downloads folder and can quickly add up if you are someone who downloads a lot of content.
To clear this space, go to Settings -> System -> Storage -> This PC -> Temporary files.
Now checkboxes for Temporary files and Downloads folder (and don’t forget to empty the recycle bin) and click on the Remove files button.
- Disk Cleanup
As the name suggests, Disk Cleanup is an effective Windows built-in tool to delete several files – temporary internet files, system error memory dump files, as well as previous Windows installation files that still have space on your drive after your move to Windows 10.
Go to Windows Start Menu -> All Apps -> Windows Administrative Tools -> Disk Cleanup.
Now select the drive to clean up and click on OK. Disk Cleanup utility now calculates how much free space can be had. If you want to get rid of old system files (from the previous installation of Windows), click on Clean up system files.
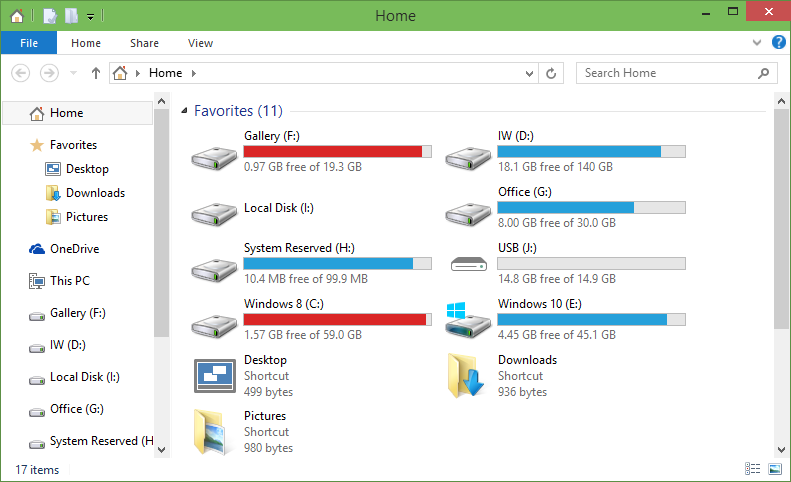
- Use a different drive
If there is free space available on other drives or partitions, make use of them. You can use this drive for saving apps, music, videos, documents and so on.
Go to Settings -> System -> Storage. Now under the Save locations option, you can select a drive for each of these categories. Note that you can select your external hard drive as well for storing this data.
- Uninstall unnecessary apps
There might be apps on your system that are of no use right now or you seldom use it. If you feel that the app is taking too much space and is not required anymore, go to Settings -> System -> Apps & features. Now select Sort by size.
Just click on the app you no longer need and click Uninstall.
- Use External Drive
To free up space on your internal drives, you can cut and paste some files onto your external drive.
Go to file explorer on the drive you want to reduce space on, select all the files you want to copy to hard drive. Hit Ctrl+X or right click on those files and select Cut.
Now go to a folder on your external drive, where you want to paste these files. Once you are in the destination folder, right click and click on Copy.
- Use Cloud Storage
Click on Windows Start Menu. Type one drive in the search box and hit enter. Select the first one listed in the search results.
OneDrive sync folder opens up. Just select the file(s) that you want to backup and drag and drop the files or entire folders into OneDrive window.
You can find the direct file path to your OneDrive folder here: “%userprofile%\OneDrive” or “C:\Users\%username%\OneDrive.”
Make sure your internet connection is up and running. After all the files have been added to OneDrive folder, syncing process starts.
Open your Web browser and head to OneDrive home page. Click on Sign-in at the top right screen. Enter your Microsoft account credentials to log in.
After logging in, you can see a lot of files and folders. These are the same as files, folders that are present in OneDrive folder on your PC. Just type the name of the file or folder in the upper left-hand corner. If it is displayed in the search results, you have successfully backed up file to OneDrive.
Data recovery using Remo Recover software
If you lost any data in the process of freeing up space on your hard drive, do not worry. Remo Recover software can recover all your lost data with just a few clicks.
If you just returned from an event and found out that you lost photos from your hard drive, Remo Recover can show you a simple solution on how to retrieve deleted photos from hard drive.
Upon inserting your hard drive, if you accidentally formatted it, you can still restore all the data as long as you have not used the hard drive since. Once files or folders are overwritten, you cannot perform a successful restoration. Know more about how to recover pictures from computer hard drive.
The software is capable of recovering multiple file types including office files, videos, audios, pictures and so on. If your hard drive contained files that the software is not showing at the time of recovery, you can add the file type using the Raw signature search option.
You can recover files from partitions that were formatted/re-formatted/deleted/lost as well.
Remo Recover can retrieve files from a wide variety of storage devices including hard drives, USB drives, memory cards, external hard drives, FireWire drives and so on.