The Hard Drives formatted for Mac have an HFS+ file system. This file system is specifically for Mac systems, and Windows can’t read this file system. You can have access to the HFS + file system hard drive on Windows with the help of any third-party software. There are a number of tools that can help you in this regard. But using a third party all the time for accessing a hard drive on Windows is not good. A user has to know how to convert Mac formatted hard drive to Windows format.
The Windows system uses a hard drive with a different file system than the Mac system. Windows-formatted hard drives have either an NTFS file system or a FAT32 file system. Thus in order to make the hard drive Windows format, you have to convert the file system to NTFS or FAT32. In the further discussion, you will learn how to make a hard drive useful for Windows by changing the formatting of the drive.
Get a Backup
Before going ahead and formatting your hard drive for Windows, you should get a backup. Formatting of any kind can leave the hard drive totally empty by erasing all your data. There are a number of instances when users lose their important data due to formatting. It is very important to save the integrity of your data on the hard drive.
You can take the help of any third-party tool to make a backup of your hard drive. Or you may opt to make a normal backup in your external drive or another computer. Make sure you perform all the backups properly, an improper operation may leave the hard drive with an error, and the hard drive may ask for formatting before use. However, data from formatted disk errors in Windows can be generally recovered with any good tool.
However, due to unforeseen scenarios and inevitable scenarios. if you have encountered a data loss scenario, you can always make use of a professional data recovery utility like Remo Recover to recover lost or deleted files from the formatted partition effortlessly.
Delete the Mac Formatted Partition
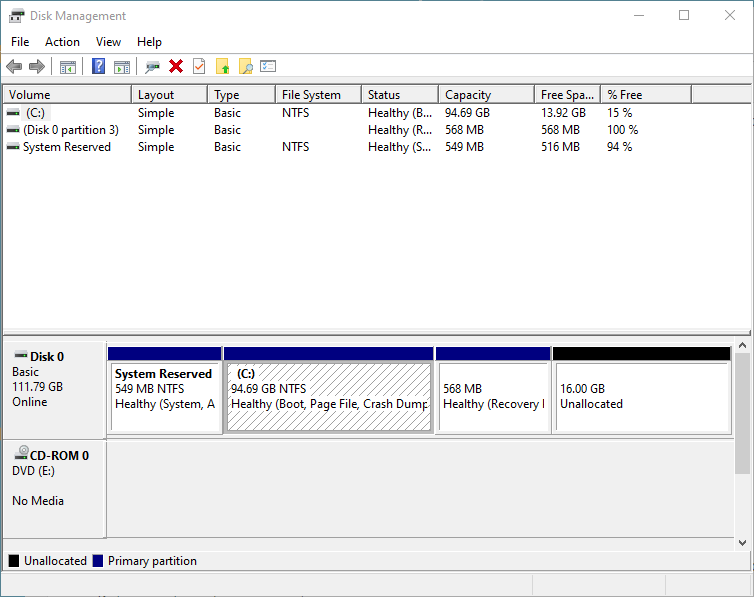
Connect the Mac formatted drive to the working Windows operating system
- The first step in this regard should be deleting the Mac partition with HFS + or APFS file system. To make it possible, you have to run the disk management tool. Here is how to do it:
- Right-click on the Windows icon, and select Disk Management.
- Select the Mac drive from the list of drives - Make sure this is the drive you want to work on, if you do it for the Windows formatted drive in the list, it may cost you a lot of important data.
- Right Click on the partition and select Delete Volume – This will remove the partition.
- Right-click on the space and select New Simple Volume from the list.
- Set the file system as NTFS or FAT 32 according to your need.
Delete EFI System Partition
Most of the time, the Mac drives are formatted with an EFI system partition. This is more secure than the simple partition, and you can’t right-click and format the drive. To format such a partition, you have to go through a complete wipeout of your hard drive. If your Mac drive has an EFI partition, follow the steps to format it:
- Go to the device management window – As explained in the above section.
- Locate your drive partition, which has a Mac format file system.
- Note the disk name by expanding Disk Drives
- Go to Windows > Type cmd and press Enter
- Type diskpart in the command prompt window and press Enter
- Type list disk in the diskpart window and press Enter
- Find your disk with the disk number that you have seen initially
- Type select disk <disk name> and press Enter
- Type Clean and press Enter
Assign NTFS File System
- Once you have wiped out the content of your disk along with the file system that was stopping it from being used by Windows. you can go ahead and give a file system to the partitions:
- Go to disk management again
- Select the Mac disk from the list of drives – It shows a Not initialized message in the empty disk.
- Right-click on the disk and select Initialize disk
- Create a partition for your disk
- Right-click and select New Simple Volume
- Set the file system as NTFS or FAT32 as per your requirement
- The drive is now formatted and ready to use in Windows Operating System.
Note: While we format drives with our desired file systems and try to make them compatible with our preferred choice of operating system, taking backup of data shouldn't be ignored. Data loss from formatted USBs and external hard drives is some of the most common reasons behind data loss today. Make sure you always take a backup of data before formatting any drives.
In conclusion, converting a Mac-formatted drive to be compatible with Windows doesn't have to be a daunting task. By following the three easy guides outlined in this article, you can seamlessly transition your drive and access your files across both Mac and Windows systems. Remember to back up your important data before proceeding with any conversion process, and always exercise caution when working with drive formatting. With these steps at your disposal, you can effortlessly bridge the gap between Mac and Windows, enjoying the flexibility and convenience of accessing your files on any platform.
Frequently Asked Questions
exFAT file system is compatible with all modern versions of Windows and macOS.
APFS file format is not compatible with older versions of macOS like El Capitan, Yosemite, Sierra.
To get your drive to show up, format the drive on NTFS, exFAT, or FAT32 file format