This article is a must have guide for any Windows user. A complete guide on DiskPart that helps you understand what DiskPart is and empowers you to create, delete, format, clean or even fix errors on your hard drive or partitions.
- What is DiskPart and What is it used for?
- Open and List Drives or Partitions or Volumes:
- Wipe you drive or partition clean with DiskPart
- How to Create Partition Using DiskPart?
- How to Format Partition Using DiskPart?
- How to Delete Partition Using DiskPart?
- How to Extend or Shrink Partition Using DiskPart?
- How to Mark a Partition Active Using DiskPart?
Table of Contents
1.What is DiskPart and What is it used for?
- Clean Hard Drive or Partition using DiskPart
- Create Partition Using DiskPart?
- Format Partition Using DiskPart?
- Delete Partition Using DiskPart?
- Extend or Shrink Partition With DiskPart
- Set a Partition Act on DiskPart
What is DiskPart and What is it used for?
DiskPart Utility is one of the most important and useful command utility that can help you manage your computer hard drive, partitions or volumes. The DiskPart utility is not only limited to Windows 10, but also available in previous versions like Windows 8.1, 8, 7 and all way to Windows 2000.
The uses of DiskPart ranges from creating or deleting partitions to wiping the drive clean or fixing errors on drives.
Although DiskPart might appear similar to Disk Management feature of Windows when you look at its operations, the key difference is that DiskPart is a command prompt utility which is more powerful and offers more to user than Disk Management.
Read: How to fix Outdated Disk Management Console View?
Let us see how DiskPart can help you to manage your drives, partitions better.
Important Note: You should always run your computer in Administrator mode while you are making use of DiskPart.
Open and List Drives or Partitions or Volumes:
It is important to list the drives, partitions or volumes before we go ahead and implement DiskPart commands on them. Follow the below mentioned steps to list the drives:
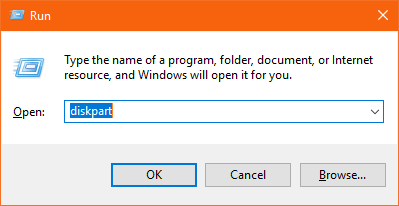
- Type diskpart, after pressing Windows+R Keys and click on OK
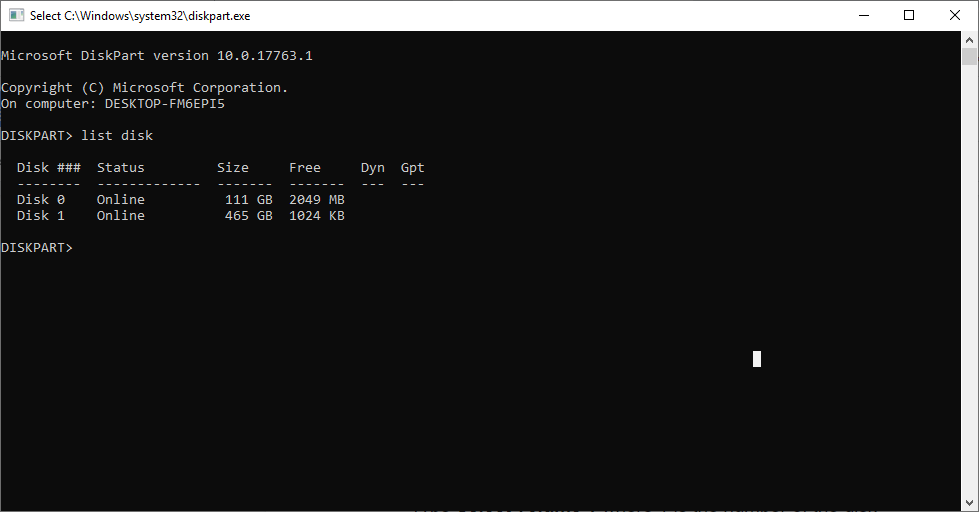
- In the DiskPart command Window, type list disk and hit Enter
- This will list all the available drives with a number specified to it starting from 0
- Type Select volume 1 where 1 is the number of the disk
- list volume using diskpart
After completing the above steps you can perform any specific operation that you like to with the below mentioned specific steps.
Wipe you drive or partition clean with DiskPart
You can wipe your hard drive or partition clean with the help of DiskPart easily. Cleaning drives with DiskPart is most useful to fix errors in not only internal drives but also with external drives like USB, pen drives etc.
- Press Windows+R, type diskpart and hit enter
- In the command prompt window, type list disk and hit Enter
- You will be able to see all the available drives with a specified number next to it starting from 0.
- Type Select volume 1 where 1 is the number of the disk
- Now enter clean

- This will clean the drive selected and will also fix any errors within the drive.
Important Note: wiping your drive clean can restore the USB drive size. Go through this article to find out other ways to restore USB drive to full capacity.
How to Create Partition Using DiskPart?
To create a partition using DiskPart you need to follow the below mentioned steps:
- Type diskpart, after pressing Windows+R Keys and click on OK
- In the DiskPart command Window, type list disk and hit Enter
- This will list all the available drives with a number specified to it starting from 0
- Type Select volume 1 where 1 is the number of the disk
- Enter create partition primary/logical size=# (where # is the size of the partition you want to create in mb)
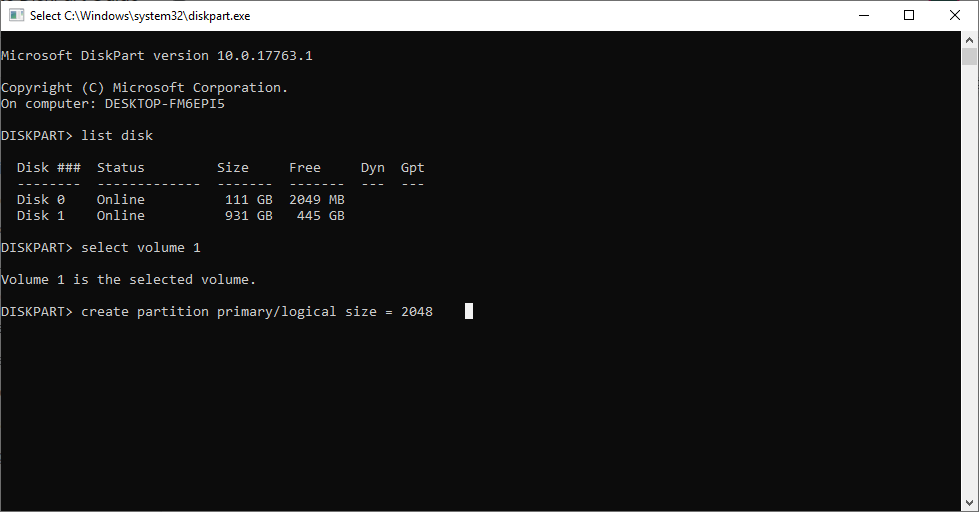
- Then you will see a message getting displayed saying you were successful in creating partition.
How to Format Partition Using DiskPart?
To format a partition using DiskPart you need to follow below mentioned steps:
- Type diskpart, after pressing Windows+R Keys and click on OK
- In the DiskPart command Window, type list disk and hit Enter
- This will list all the available drives with a number specified to it starting from 0
- Type Select volume 1 where 1 is the number of the disk
- Now Enter format fs=ntfs label=”NewPartition” quick where fs is the type of file system you want to format the partition into and label is the name of the formatted partition.
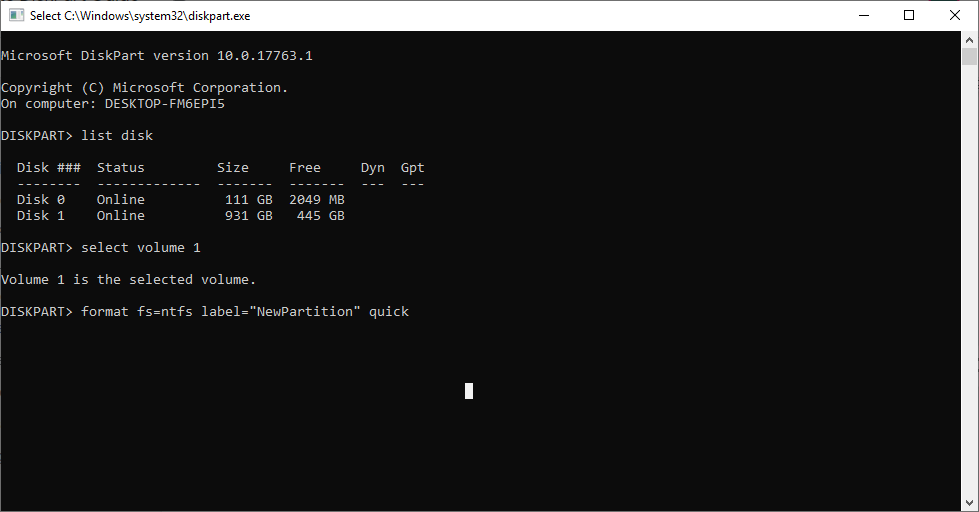
- After the above command the drive you have selected will be formatted as NTFS with the new name Newpartition.
Note: Be careful while you format a partition, if in case you performed the format command on a different drive, it is important you know how to recover data from formatted partitions.
How to Delete Partition Using DiskPart?
To delete a partition using DiskPart you need to follow below-mentioned steps:
- Type diskpart, after pressing Windows+R Keys and click on OK
- In the DiskPart command Window, type list disk and hit Enter
- This will list all the available drives with a number specified to it starting from 0
- Type Select volume 1 where 1 is the number of the disk
- Now to delete the selected volume enter delete volume
- DiskPart displays a message saying deleted volume successfully.

Remember deleting volume or a partition without taking backup of the data result in data loss. If in case you accidentally deleted wrong volume or a deleted volume without backup, this guide on recovering data from deleted partition will certainly help you.
How to Extend or Shrink Partition Using DiskPart?
To extend a partition using DiskPart follow the below mentioned steps:
- Press Windows+R Keys, type diskpart, and click on OK
- In the DiskPart command Window, type list disk and hit Enter
- This will list all the available drives with a number specified to it starting from 0
- Type Select volume 1 where 1 is the number of the disk
- Now you need to mention number by which you want to extend the selected volume, enter extend size=16384
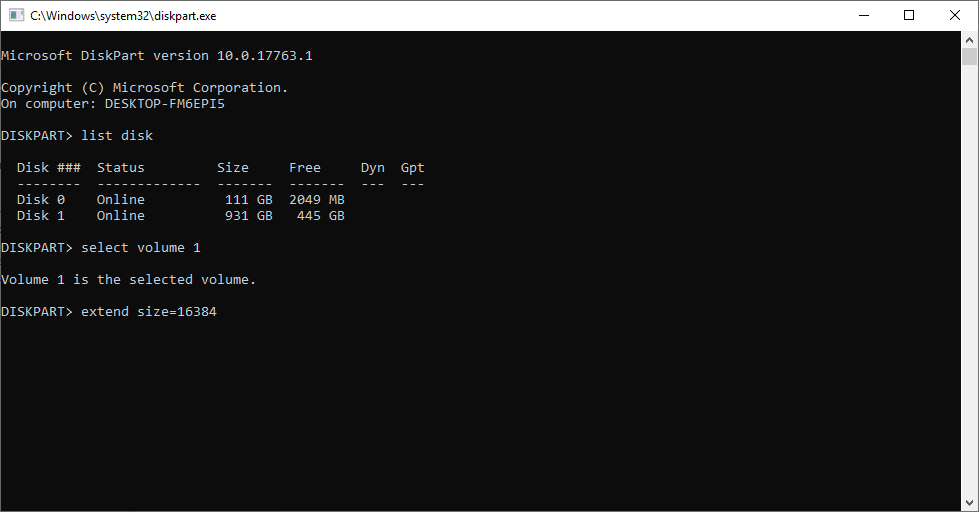
- This will extend the volume 1 by 16 GB
- Always remember that there should be unallocated space to extend the volume
To Shrink the volume of a partition, you need to follow the same steps that you did for extend the partition, and instead of the extend command you need to mention the shrink command like mentioned below:
Shrink desired=16384

How to Mark a Partition Active Using DiskPart?
When you have multiple systems on a disk, you can set any specific partition as active by following the below mentioned methods:
- Press Windows+R Keys, type diskpart and click on OK
- In the DiskPart command Window, type list disk and hit Enter
- This will list all the available drives with a number specified to it starting from 0
- Type Select volume 1 where 1 is the number of the disk
- Now just enter active
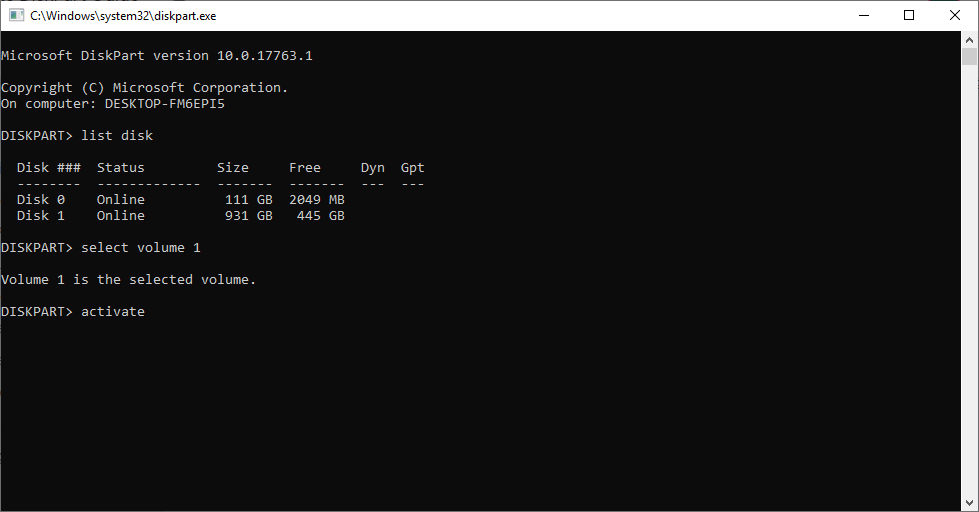
- You have set the selected partition as active successfully.
Final Thoughts:
This article has everything you need to know about DiskPart and everything you can do with DiskPart to manage your computer and storage devices better. However, you have to be really careful while you use the DiskPart feature as any single mistake can lead to data loss. In case of unwanted data loss, you can make use of one of the best partition recovery software Remo Recover.