What is Network Mapping
Network mapping refers to connecting the network drive to one or more local operating systems using the network drive resource. Network mapping emphasizes connecting a local drive with an allocated shared directory or folder to another computer using the network radius. Usually, connecting these devices needs access and authorization. This usually requires the ID of the shared directory and authorization password.

Network mapping can involve one to multiple computers to the shared network resource and work together using the shared network resource effortlessly.
Is there a Recycle Bin for network drives?
What happens when a file is accidentally or intentionally deleted which is stored on the network or mapped network? The file will be permanently deleted. It cannot go through the local computer’s or server's Recycle bin (if the Recycle bin is not enabled on the shared device). The residing data on the drive is lost. In order to avoid such unnecessary data loss scenarios, you will have to enable the Recycle bin on mapped network devices. This will help you recover deleted files from Recycle Bin. Let us understand the simple guide on how to enable Recycle bin on the mapped network drives.
Note: If you are wondering how to recover deleted files from a Windows server, then you can refer to this article to find out how to recover deleted files from Windows Server.
In this article, you will learn simple ways to enable Recycle bin on the mapped network drives.
Note - If you have not enabled the Recycle bin and deleted or lost any files from the network drive accidentally, you will need a reliable data recovery utility to recover your valuable files
How to Enable Recycle Bin on Mapped Network Device
- Map a network drive to the network share you want to use. Ensure that the drive is reconnected on the login
- Then go to C: > Users > Username
- Right-click on any folder of this location and click Properties > Location tab
- Click on Move and browse the root drive (Which is mapped in step 1) and then hit Select Folder
- Then click OK and when the dialog box appears hit Yes
- Just repeat these steps for every user on the PC
Once every user is mapped to the network drive, using the above-mentioned steps, every user will be able to find deleted files on the network drive in the local Recycle bin.
How to Verify if the recycle bin is enabled on Network drive
- To verify whether this process worked or not, right-click on the Recycle bin and go to properties,
- Check whether the network drive is listed in the Recycle bin’s location column.
- If yes, then the Recycle bin is enabled
If you lost data accidentally by deleting files on mapped network drives, you can make use of a professional file recovery software like Remo Recover. It can recover deleted files as well as recover data from Computer with ease.
However, it is necessary to ensure that the mapped network shared drives are connected to the local hard drive from which you want to recover data.
The software has to be installed on the main computer connected to the mapped drive. If you encounter a scenario where the Recycle bin is corrupt, then click here to know how to fix the corrupted Recycle bin.
In case you have lost data from network drives and are trying to recover lost data, you can make use of a data recovery software like Remo Recover. However, to be able to recover files from the network drive, you will have to connect the network drive as an external drive and make use of hard drive recovery software like Remo Recover. You can download the software and follow the steps mentioned below to recover lost data from the mapped drive.
How to Recover Data from Shared Network Drive
- Disconnect the Network drive, Connect the Network Shared External drive to the working computer and Download Remo Recover to perform data recovery.
- Launch the software and select the drive from which the data has to be recovered and click on Scan.
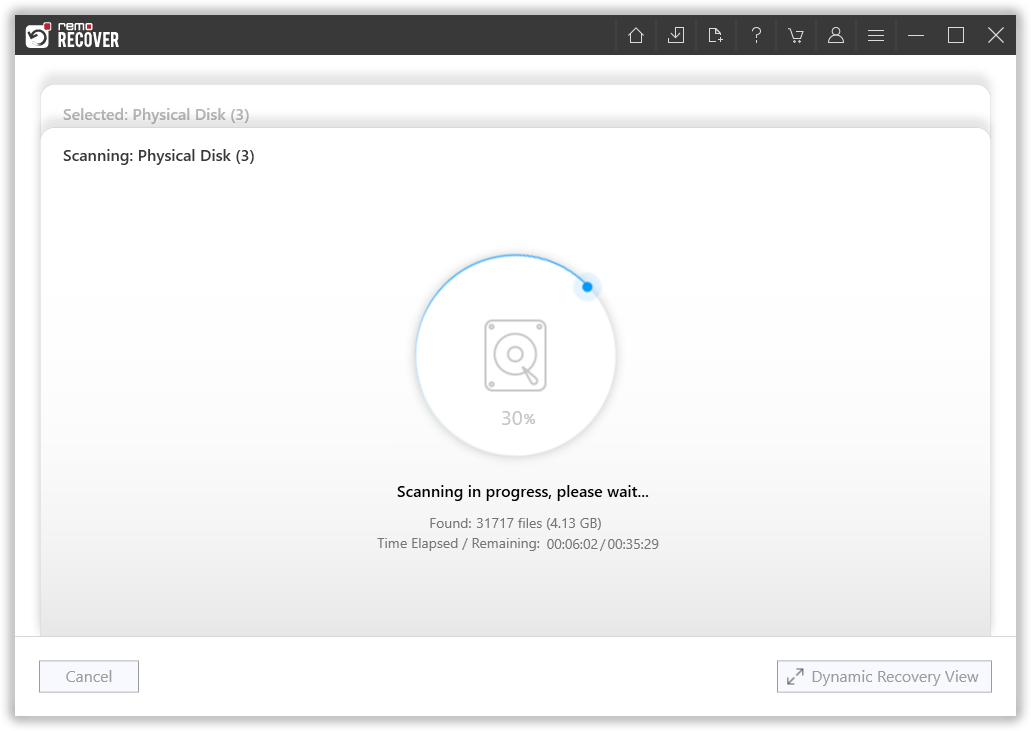
- Automated Dual Scan process will start and list all the data files in Dynamic Recovery View.
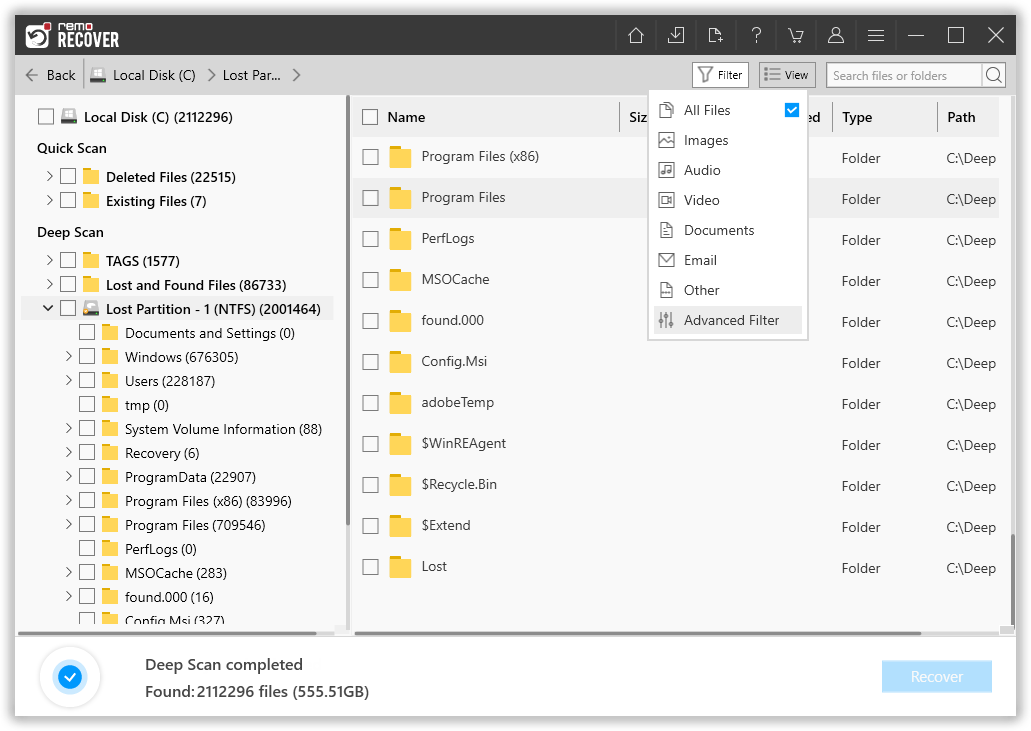
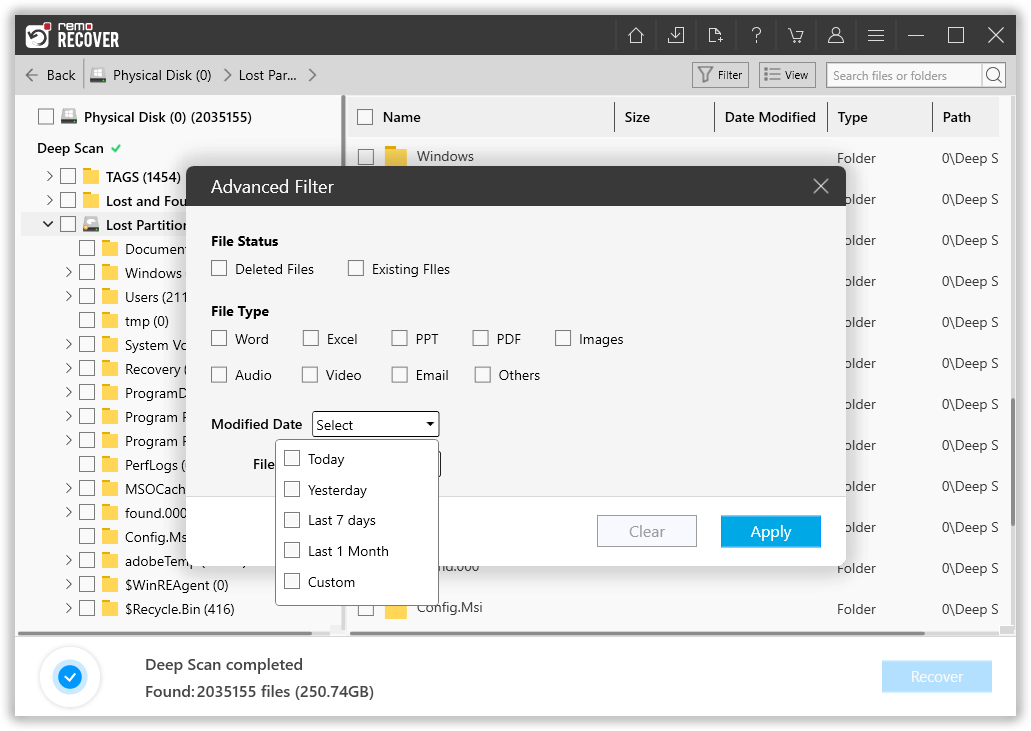
- If you couldn’t locate your data in the list, Add a file type you want to recover by using Advanced Filter.
- Search both tabs to find the data you want to recover.
- Finally, select the files and click on the Recover button to save the recovered data.
Additional Information
Network drives are beneficial shared allocation directories, which easily allow connecting two or more local operating systems on to a network drive. It allows the user to work together and communicate easily.
However, it is important for the user to understand that any files deleted without enabling the Recycle bin will be permanently lost. It is recommended to verify if the Recycle bin is enabled and then take a call of action on deleting files from the network drive.
Hence it is recommended not to delete any files from the network drive until it is enabled with a Recycle bin unless you are sure. The above article emphasizes how to enable Recycle bin on mapped network drives. If you have any further queries regarding the issue, make use of the comment section below.
Frequently Asked Questions
To empty recycle bin on the shared drive follow the below-listed methods
a. Go to Control Panel > Shared Folder.
b. Click Action > Empty all Recycle Bins to remove deleted files in all recycle bins permanently.
The space usually will be overwritten by new files if your recycle bin is not enabled. The files will be permanently lost or deleted from the logical memory of the operating system
a. Press the Windows key + R to open the Run command dialog box.
b. Type shell:RecycleBinFolder in the search bar and then press Enter.
By default, there is no Recycle Bin on a USB drive. When you delete a file from a USB drive, it is permanently deleted. However, you can enable the Recycle Bin on a USB drive by following these steps:
Open File Explorer.
Right-click on the USB drive and select Properties.
Click on the Recycle Bin tab.
Select the Enable Recycle Bin checkbox.
Click on OK.
Once you have enabled the Recycle Bin on your USB drive, deleted files will be moved to the Recycle Bin instead of permanently deleted. You can then restore deleted files from the Recycle Bin if you need to. Y
2 thoughts on “Enable Recycle Bin on Mapped Network Drives”
Comments are closed.
Thanks a lot, this article helps me.
This is fantastic, thank you so much! I think this will be really helpful for my use case.