A USB drive is a portable storage device that benefits you greatly when trying to extend your Mac or MacBook storage. It comes in handy when transferring music, videos, etc., with your friends. Though USB has benefits, it is not free from data loss or corruption. Before we head to fix the corrupted USB on Mac, let us understand some of the reasons for corruption or why you cannot access the USB drive on Mac.
Table Of Contents:
- What Could be the Potential Causes of a USB Drive becoming Corrupted?
- How to fix a Damaged flash drive on Mac?
- How to Recover Corrupted Files from USB on Mac using the USB Recovery tool for Mac?
- Frequently Asked Questions
What Could be the Potential Reasons Behind USB Drive Corruption?
| Symptoms of a Corrupt USB | Reasons |
| Mac Finder fails to recognise your USB | Sudden power outage might damage the USB drive’s file system and result in corruption |
| Your Mac Finder can detect the USB drive but files are not visible. | Improper ejection of Pen drive might result in corruption |
| Your USB drive shows files but not with relevant names | Malware might result in drive’s corruption. Your macOS can display an error message while trying to access the corrupt USB |
| Your USB drive might show as a grey drive on the Disk Utility | If you have downloaded any files from an unreliable source |
How to Fix a Corrupted Pen Drive on Mac?
Here are some methods to help you fix a corrupted USB on Mac and recover data. Before you head to the fixes, first check if your Pen drive is encrypted. You need to enter a password to access the data from an encrypted USB. If your USB is not encrypted, check if your USB drive is compatible with the Mac OS file system.
Try the following steps to check if your Pen drive is compatible with the Mac.
- To find out the compatibility of your USB with your Mac, you must launch Finder.
- Now you will find your USB drive, and to get the information of the USB, press the Control key on the drive; a drop-down menu will appear, and then click on Get Info.
Fix 1: Repair Corrupted USB Flash Drive Mac using Disk Utility
Disk Utility is a default application on Mac that will help you perform disk or volume-related tasks on Mac. For example, this tool will help you fix a corrupted Pen drive on Mac.
- To repair a corrupted drive, you need to go to Disk Utility, select the View tab, and navigate to the Show All Devices option.
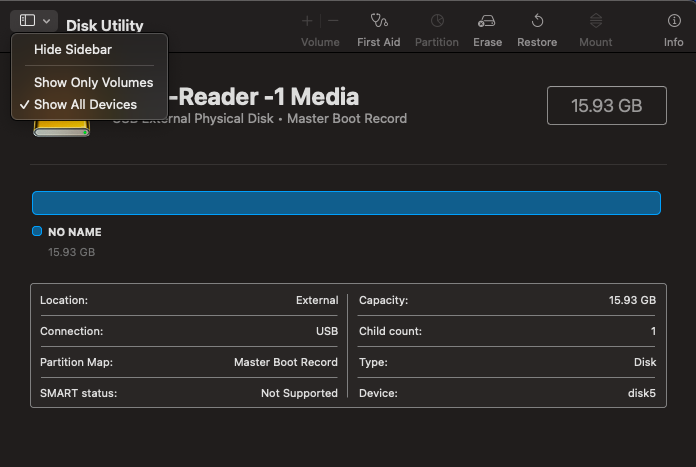
- To fix the corrupted drive, you need to click the First Aid button and press the Done option.
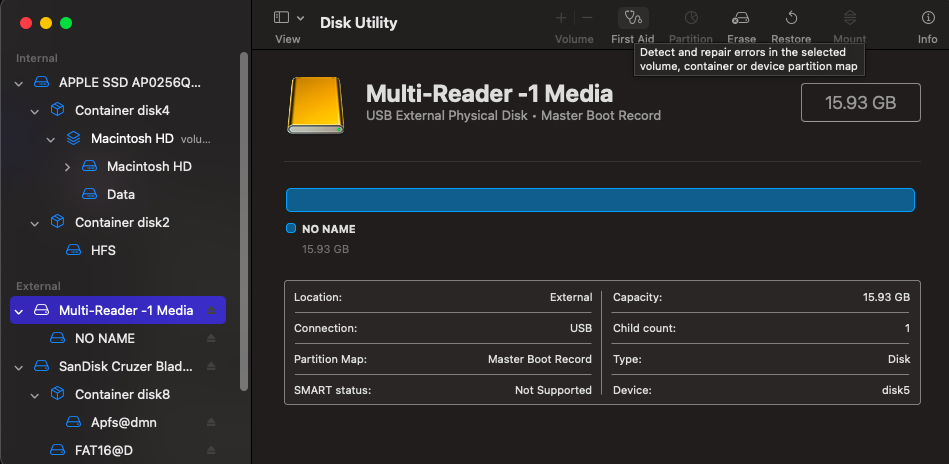
- Now click on the Run option, select First Aid, and finally, click on the Done option.
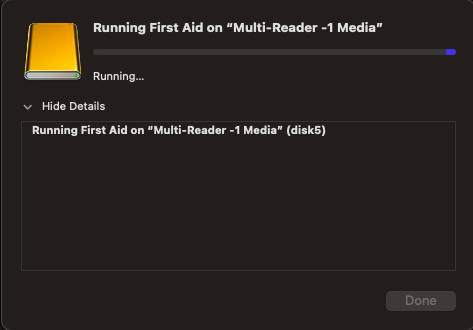
Wait till the process is completed. If you are still unable to fix the issue, then move to the next section of the article.
Fix 2: Fix the Damaged USB on Mac using Terminal
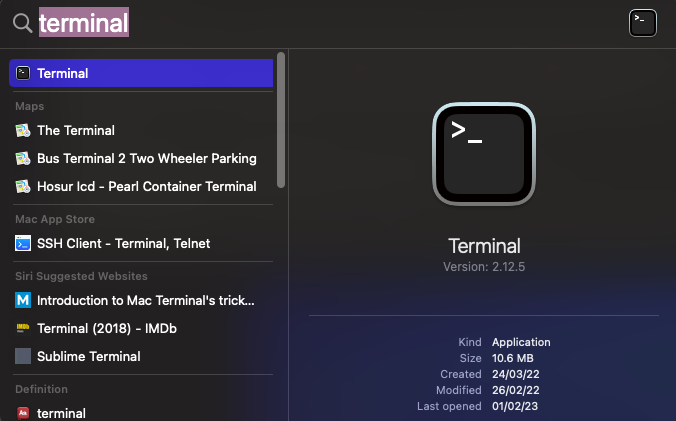
The Terminal is a command line interface on a Mac machine that will help you fix a damaged USB. For example, try the following steps to fix the damaged Pen drive on your Mac.
- First, connect your corrupted USB to your Mac machine and launch the Terminal application to fix the issue.
- Now type diskutil list and click on Return. You will see a list of disks connected to your Mac.
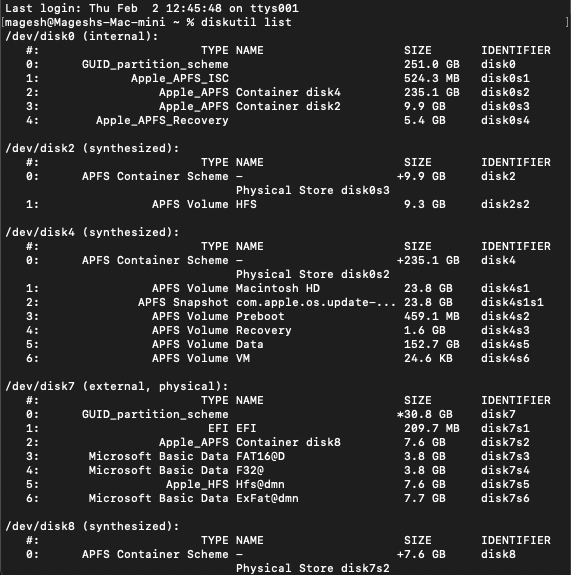
- Type diskutil verifyDisk /dev/disk4 (you can change 4 with your drive number) and hit the Return option.

Note: You might receive a message stating A GUID Partition Table(GPT) partitioning scheme is required (-69773).
- Type diskutil eraseDisk JHFS+ BackupMaster disk2 and hit on the Return.

- To start the repair process, type diskutil repairDisk /dev/disk2 and hit on the Return.

- Now you will receive a caution regarding erasing your USB. If you want to go ahead, type Y and hit on Return to move forward.
- Once you receive the message Finished partition map repair on disk4, you can Quit the Terminal.
Fix 3: Repair the Damaged Flash drive on Mac while Updating the USB Driver
If the above methods do not work for you, then there are chances that your USB driver needs to be updated. To do so, click on the Updates that your Mac suggests. Then, manually install any updates currently available on your Mac and follow the steps below.
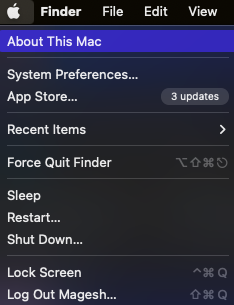
- To check for any updates on the Mac, you need to go to the About this Mac from the Apple menu.
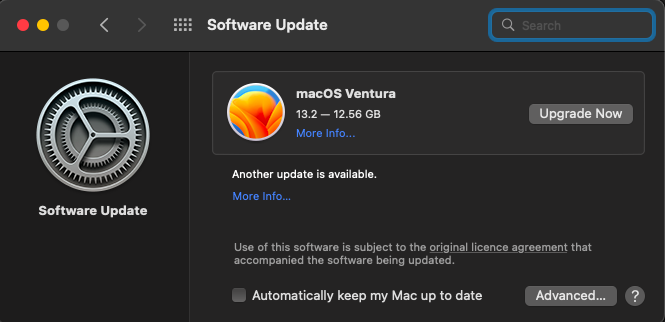
- Now click on software update and finally click on the Update Now option.
Wait till the update process is completed. Now check if you can access the files from the USB drive. If you cannot access the files, move to the article's next section.
Fix 4: Repair Corrupted USB Drive Mac by Formatting
If none of the above fixes helped you fix the issue, then the only option is to format the drive. Unfortunately, formatting will result in data loss. Don't worry! You can still get back the data using the USB Recovery tool for Mac.
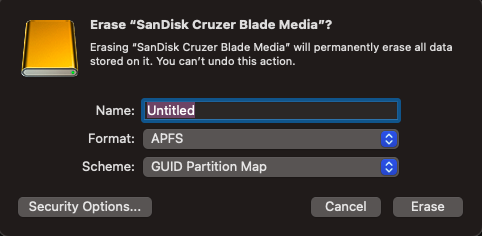
- To initiate the formatting process on Mac, connect your corrupt USB drive to the computer and launch the Disk Utility.

- Select the USB drive from the list you want to format and click on the Erase button.
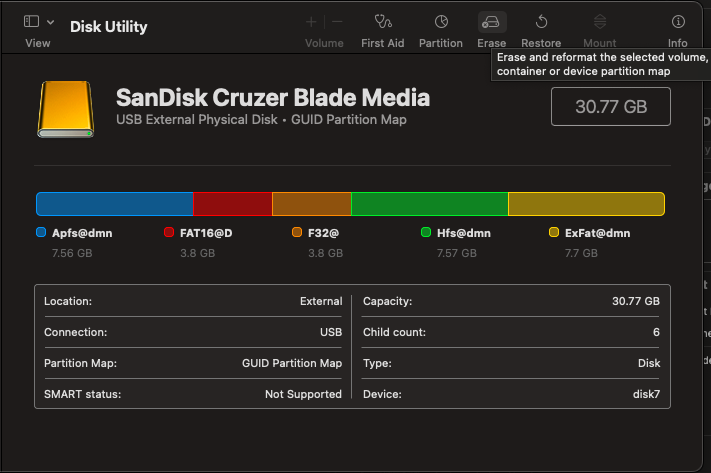
- Now add the details like Name, Format, and Scheme, and click the Erase button.
As discussed above, formatting will result in data loss. If you have lost the files, make use of Remo Recover Mac.
This tool is built with an Advanced Scan engine that can scan every sector of the drive to recover data. The tool can recover more than 300 file types, and it is compatible with macOS latest version Ventura and other versions. Download the tool now and recover the data back.
How to Recover Corrupted Files from USB on Mac using the USB Recovery tool for Mac?
- To recover corrupted files from USB on Mac, connect your corrupted USB to the Mac machine and download Remo Recover.
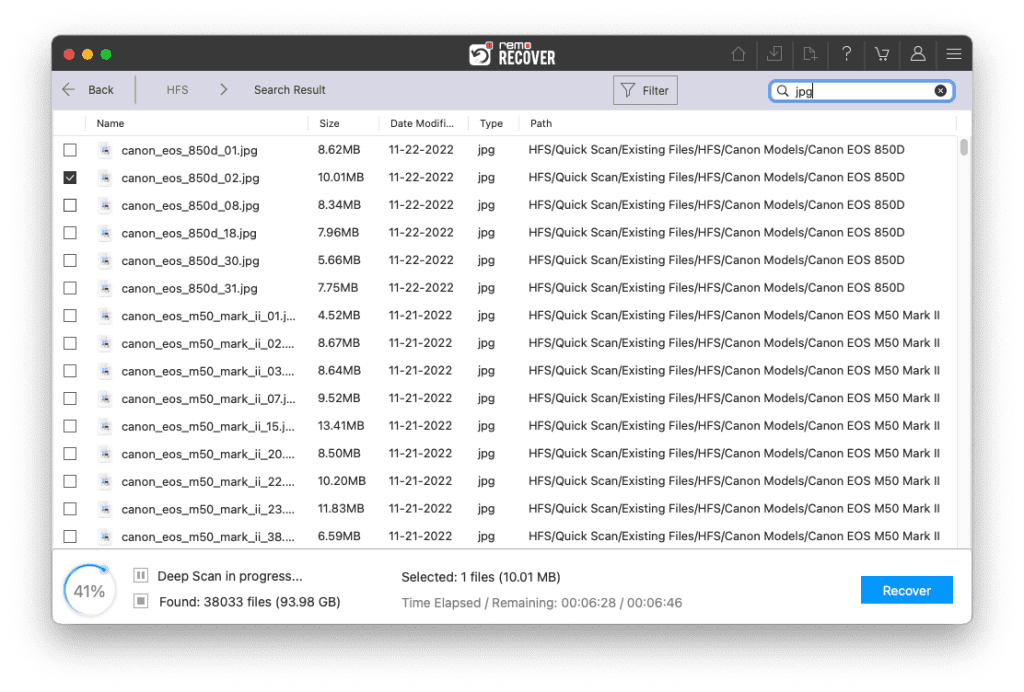
- Now launch the software, select the USB, and click on the Scan button.

- Click on the Dynamic Recovery View to see the files being recovered from the USB drive.

- Locate your recovered files under the Lost and Found and Deleted Files folders.
NOTE: If you looking for a specific file, locate it easily using features like the Search bar and Advanced Filters
- You can double-click on any file to Preview it.

- Finally, select the files you want to restore and click on the Recover button to save the files in your preferred location.
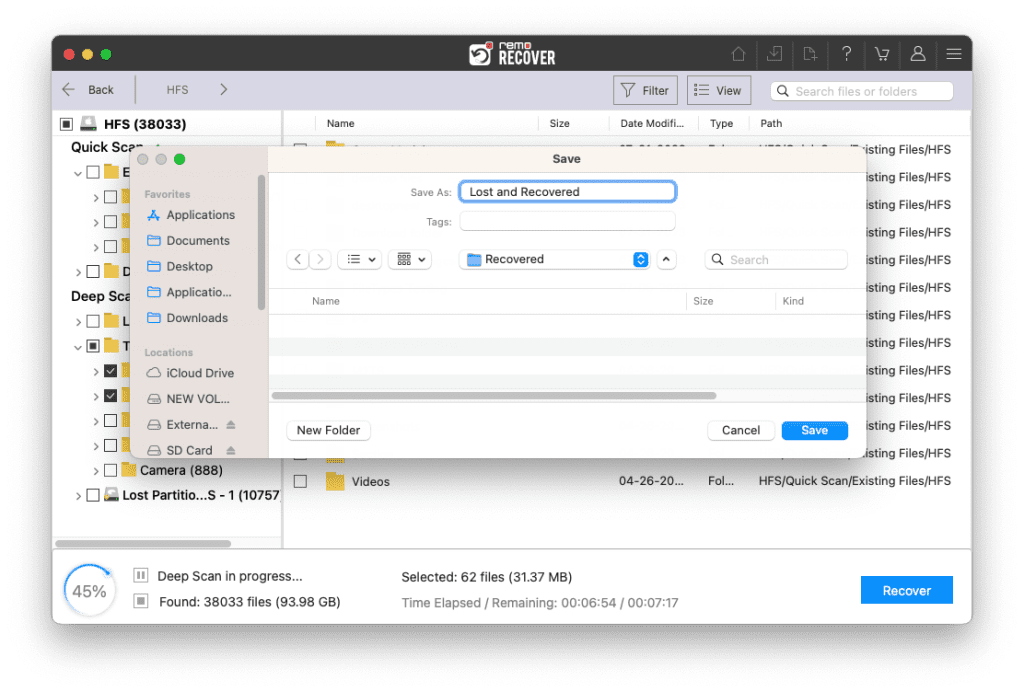
Caution🛑: Make sure to save the recovered files in a different location than the previous one to avoid losing them again.
Frequently Asked Questions
There might be a few reasons your USB drive might not be reading or getting recognized on Mac.
1. You may not have connected your USB correctly.
2. There might be debris stuck to your drive.
3. There might be an issue with the USB port.
4. Your USB drive may not be compatible with the file system of your Mac.
1. Always safely eject your flash drive from your Mac.
2. Make use of an updated antivirus tool.
3. Avoid downloading files from unreliable sources.
4. Avoid abruptly removing the USB drive while performing read and write operations.
5. Protect your flash drive from moisture and heat.
1. Open the Disk Utility, navigate to the View, and select Show All Devices.
2. Select the USB drive, click on the First Aid option, and then click on the Run. A window will appear, asking you to click on the First Aid option.
3. Finally, click on the Done option.