What is Restart to Repair Drive Error?
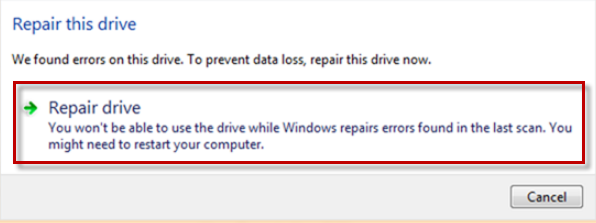
The error code indicates that the drive has an error and trouble-shoot. It may be caused by hard drive issues, failed updates, boated Windows registry. You might frequently see your Windows asking you to restart and repair the drive error
However, a few errors would start running in the loop – eg. ‘Restart to Repair Drive Errors’, which won’t let you access your data until you restart the PC after repairing the drive. It doesn’t seem scary, but it is so when the error keeps appearing even after restarting Windows PCs several times.
Usually, the error occurs after using error error-checking tool to fix internal drive errors and system reboot. Also, interruption while performing error checking or while running system optimization programs can be the reason for such errors. Whatever the reason behind this; you will lose access to your data on Windows PCs. Here are few simple ways to fix the ‘Restart to repair drive’ error on Windows. This involves 2 parts –
- Recover / backup your Windows PC data using Remo Recover Software
- Methods to fix Restart to repair drive error
Part 1: Backup / Recover data after restart to Repair Drive Errors
Before performing any of the troubleshooting methods to fix the error, you need to secure your data. But, when Windows is throwing an error, how to recover data after restarting to repair drive errors on Windows PCs? Remo Hard Drive Recovery tool will help you in achieving this. The tool will scan your drive and extract your files from your Windows PCs. It can be any data- texts, media or other generic data, the software will quickly restore them all back.
However, its friendly interface is simpler and easier making the backup process easier even for novice users. Here are a few simple steps to recover back your files:
Easy Steps to Recover Data after Windows Restart to Repair Drive Errors
- Download the Remo Recover (Windows) tool on your PC and launch the tool
- From the main screen, select the Recover Drives option and then click on ‘Formatted Recovery
- Select the drive, from which you need to recover data; the software now starts scanning the drive
- Then it lists all recovered files, previews them, and saves them at any location
With this your entire data will be backed up; save this copy safely on any external drive that is free from all errors. Now, just go ahead with the Methods listed below to fix the error.
Part 2: Methods to Fix Restart to Repair Drive Errors in Windows
- Using the System File Checker tool
- Run DISM
- By using the CHKDSK command
- Restart Windows on Safe mode
- Restarting Windows automatically
Run SFC – System File checker Tool
- Open command prompt - Press Windows + R and type cmd
- Then, on command prompt- type sfc /scannow and press ‘Enter’ key.
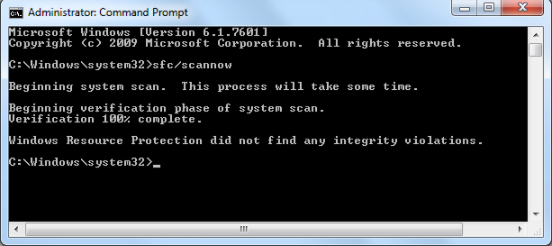
Now, system scan process will begin, wait until it is completed. Once done, all issues will be resolved and you can start using the drive. If not, then try Method 2.
Run DISM
DISM – Deployment Image Servicing & Management tool is an in-built tool, Microsoft offers to fix corrupt system files that would lead to these sort of errors. Below steps explains you the best on how to use it:
- Open command prompt - Windows key + R
- Type the following command- exe /Online /Cleanup-image /Restorehealth
Now, the tool starts obtaining the system files online to restore back with the corrupt files. If the tool – DISM faisl to get those files, then you can use your USB or DVD. For this, insert the USB / DVD & type the following command
DISM.exe /Online /Cleanup-Image /RestoreHealth /Source:C:RepairSourceWindows /LimitAccess
In the source path- replace “C:RepairSourceWindows” with the path of your DVD or USB.
Run Check Disk
- Open command prompt -> type “CHKDSK C: /F” –without quotes
- After CHKDSK process, restart your PC afterwards
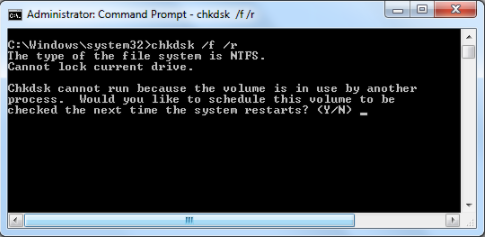
To know more details about chkdsk and on the procedure to run CHKDSK read this article.
Restart System in Safe mode
However, this only works when you restore Windows back to a point before the error prompt.
- Shut down your PC and turn it on
- Go to the Run in Safe Mode option and press Enter.
- Go to Start > Type system restore and then press Enter.
NOTE: Before performing this, make sure you have complete data backup. There are chances of losing data.
Automatic repair from Windows Recovery Environment
If none of the above steps help in fixing ‘restart to repair drive errors Windows 10’ problem, then perform this Automatic repair using the Windows RE. For this, you need to have Windows bootable installation DVD. Now insert this Windows bootable DVD, restart your Windows and follow the steps below:
- While PC starts booting from CD or DVD when prompted to continue.
- Choose the language you wish from ‘language preferences’ and Hit ‘Next’
- Now, click on Repair your computer option that is present in the bottom-left.
- You will receive the “Choose an option” screen; here click Troubleshoot > Click Advanced options > Automatic Repair or Startup Repair.
- Once, done, wait for the Automatic repair to complete. After completion, restart your PC and boot into Windows PC.
These are some of the easiest methods to fix the ‘restart to repair drive errors’ on Windows PCs. Hope this guide will help you. However, before doing these make sure you have complete data backed up using Remo Recover software.