Before getting to import the OST file to Outlook let us know what exactly is an OST File. OST (Offline Storage Table) is also known as an Offline Outlook data file. OST file is automatically created when you create an account in Microsoft Outlook. It is connected to a specific profile on a specific computer where you have configured your Outlook account.
OST file stores a synchronized copy of your mailbox on your system and lets you access and make changes in your emails, contacts, notes, journals, appointments, etc., even when you are not connected to the internet and later on when your system gets connected to the internet. All your Outlook data gets synced with the Exchange server.
In this article, we have thoroughly explained how to locate your OST file and also comprehensively talked about importing the same.
Without any further delay, let's jump right into it!
- Can you Import an OST into Outlook?
- Why is Importing OST Files in Outlook Important?
- Where is your OST Located?
- How to Import OST File in Microsoft Outlook Manually?
- How to Create a Backup of your OST Files to Import into Outlook?
- How to Import OST Files Effortlessly?
- Conclusion:
- Frequently Asked Questions
Can you Import an OST into Outlook?
If you want to import an OST file into Outlook or copy your offline email data into a new Outlook on another computer, you can either configure Outlook and connect to the server to create a new OST file or convert the OST data file into PST using an OST to PST Converter tool. Since, according to Microsoft, you can't move or import OST files directly into Outlook, just like you import from PST. But we have solutions you implement to make the process of importing OST files into Outlook smooth.
Why is Importing OST Files in Outlook Important?
OST Files by default are immobile or immovable, meaning they can’t be freely moved. Due to this reason, one has to convert OST File to PST File for easy migration.
Below are the situations in which converting OST to PST is not just an option but also a necessity.
- Converting OST to PST becomes necessary if you want to upgrade from an older version of Outlook to a newer version of Outlook.
- It is also necessary if you want to move Outlook from one computer system to another.
- If your OST file is stored in the server, in the event of a server crash, maintenance, virus, or malware attack you might end up losing your Outlook data. In such cases, it is highly recommended to take a backup of your Outlook data.
Before you start working on importing your OST file in Outlook it is essential to know where is it stored.
Where is your OST Located?
Follow the below-explained steps to locate your OST file in Microsoft Outlook 2010, 2013, 2016, and 2019, 2021 versions.
- Open Outlook Application, then click on File.
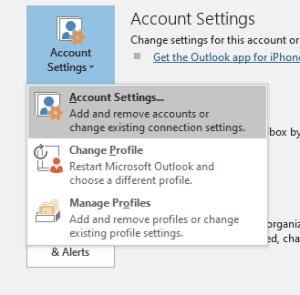
- Click on Account Settings, and then select Account Settings.
- Click on Data Files and select your .ost file account, and then click on Open File Location.
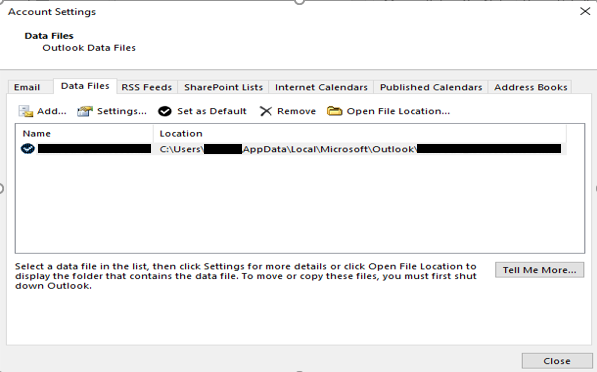
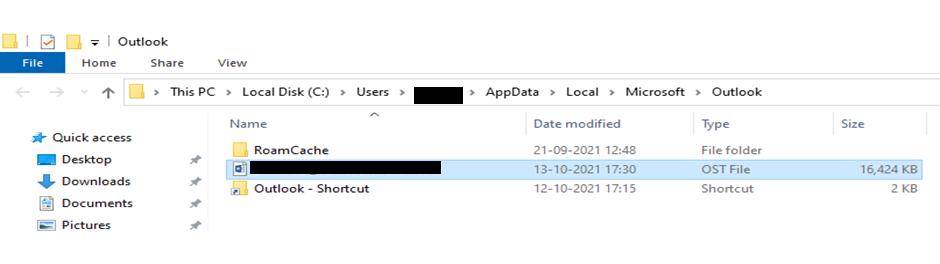
- A new window will be opened showing the default location of your OST file.
How to Import OST File in Microsoft Outlook Manually?
Explained below are two tried and tested methods using which you can easily import OST files in Outlook.
Method 1: Use the Auto Archive Feature
You can regularly archive old emails from OST files into PST format using this Outlook feature. Follow these directions:
- Open Outlook and select the File menu.
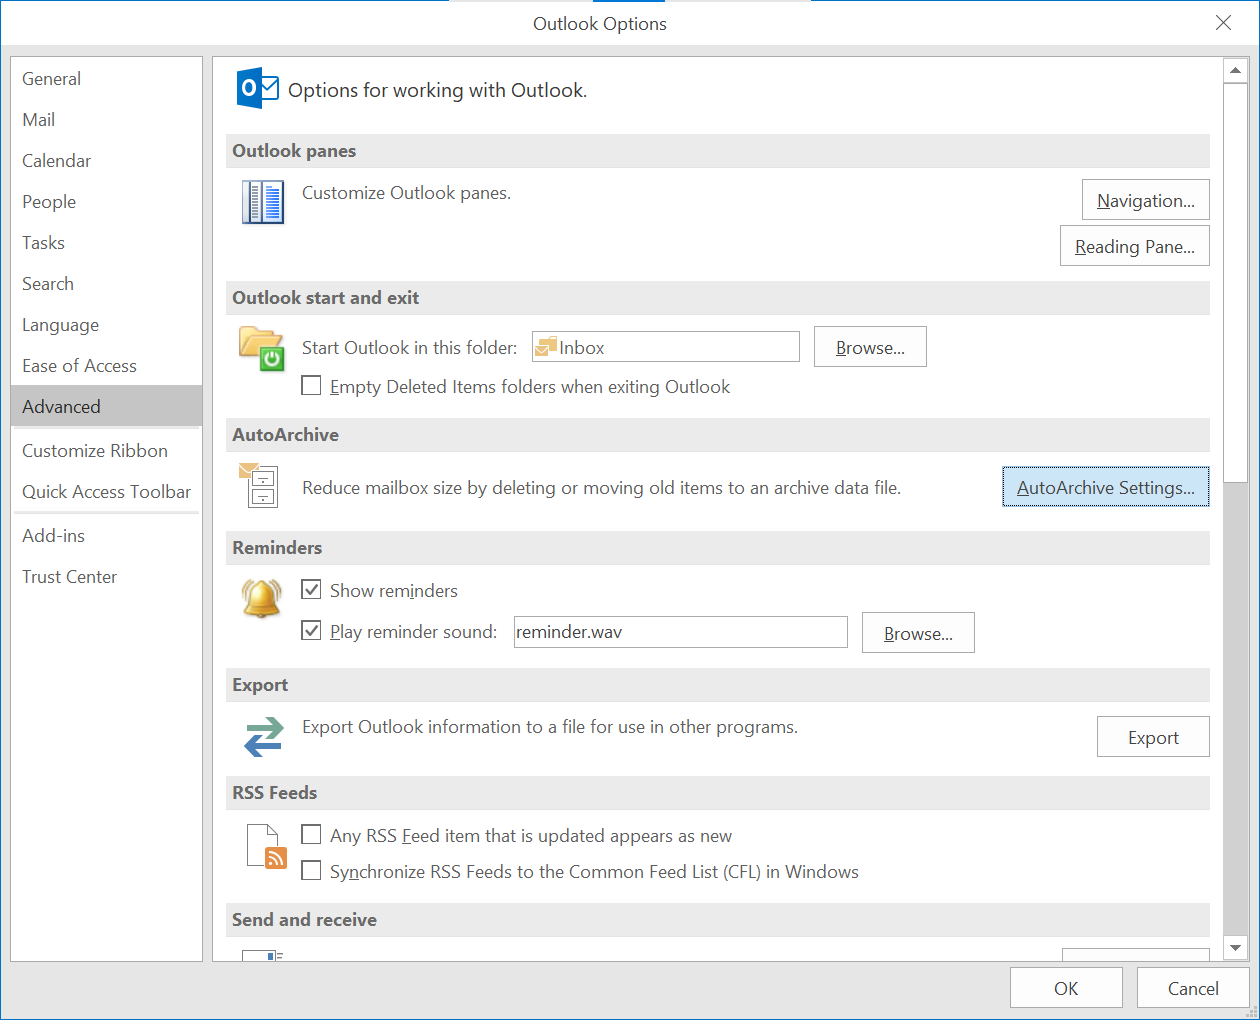
- From the left pane, select Options.
- After that, choose Advanced and then click Auto Archive Settings.
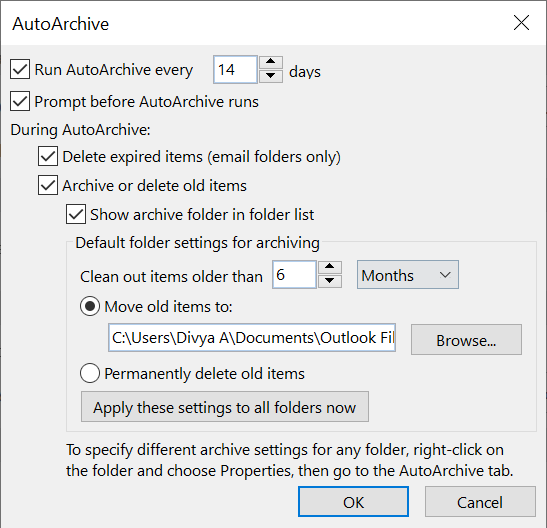
- Then, configure the auto-archive to suit your needs. To run auto-archive, you must configure the day count. You can also set a count to delete outdated emails.
- After that click Ok, and Outlook will start creating an archive of your OST emails at the scheduled time.
- By navigating to the location you choose to save the PST files, you can verify that the Archive utility is functioning as scheduled.
Method 2: Use Import/Export Wizard
Import and Export wizard is a built-in Outlook tool that is used to migrate/export Outlook messages, contacts, calendar items, tasks, notes, etc. from one computer to another.
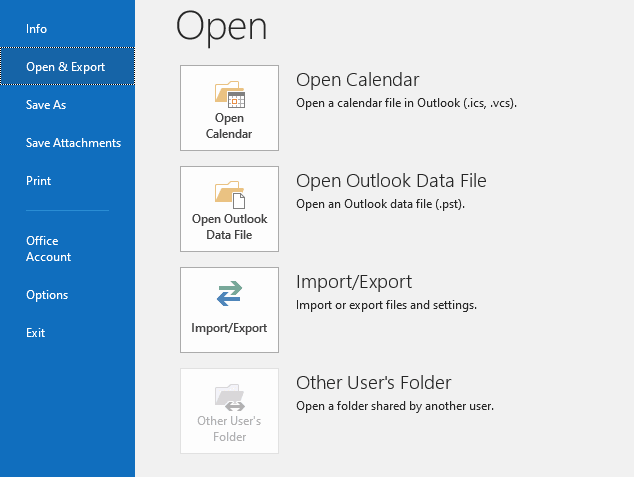
- Open Outlook Application, and Click on File.
- Click on Open & Export, then click on Import/Export
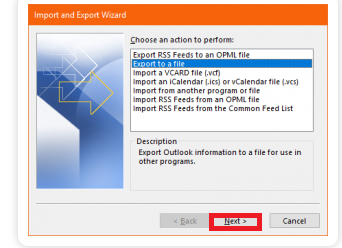
- Select Export to a file option, then click Next >
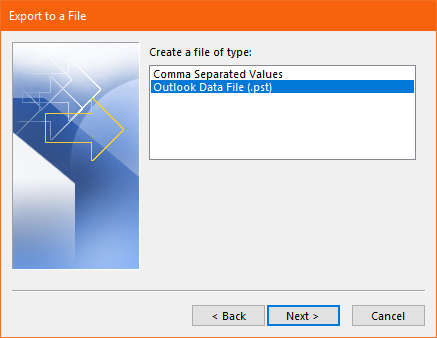
- Click Outlook Data File (.pst), then Click Next >
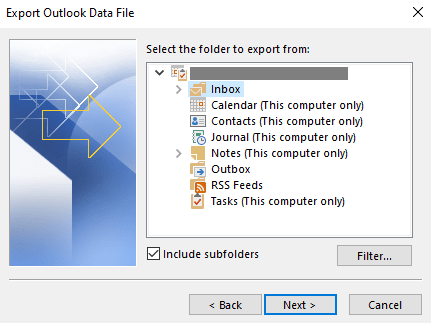
- As I have already explained in the article how to locate your OST file. From the options below select the folder where your OST file is located and then click Next.
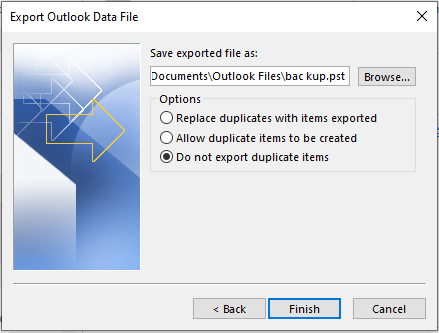
- Browse and select the folder where you want to save the data and select appropriate options regarding duplicate items, then click on Finish.
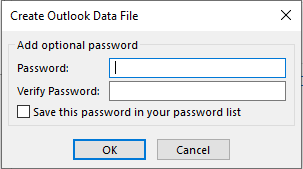
- If you want to keep your data secure add a password. If you keep forgetting your passwords save this password in your password list.
Note: If you add a password and didn’t check save this password option and in case you forgot that password. You can never access that data file.
- Then Click on OK.
4 Reasons Why You Should Avoid the Manual Method
- It is very time-consuming and requires constant human intervention which can be very tiresome and as it requires human intervention the chances of losing data is very high due to human error or other reasons.
- In case your OST Files are Corrupted you can’t access them. Know what causes and how to repair corrupt OST files.
- When you are moving from one computer to another or upgrading your operating system, you have to be extra careful if you are not using a reliable method to import and migrate your Outlook data. You might permanently lose them or they might get corrupted.
- And using the manual method to convert OST to PST you lose attributes of OST files such as file structure, rules, auto-fill text, etc.
Having said that, there’s a super safe, reliable, and efficient way of taking a Backup and Migrating your OST data you can also import PST files into Outlook using this tool.
Method 3: Import OST File using Remo Outlook Backup and Migrate
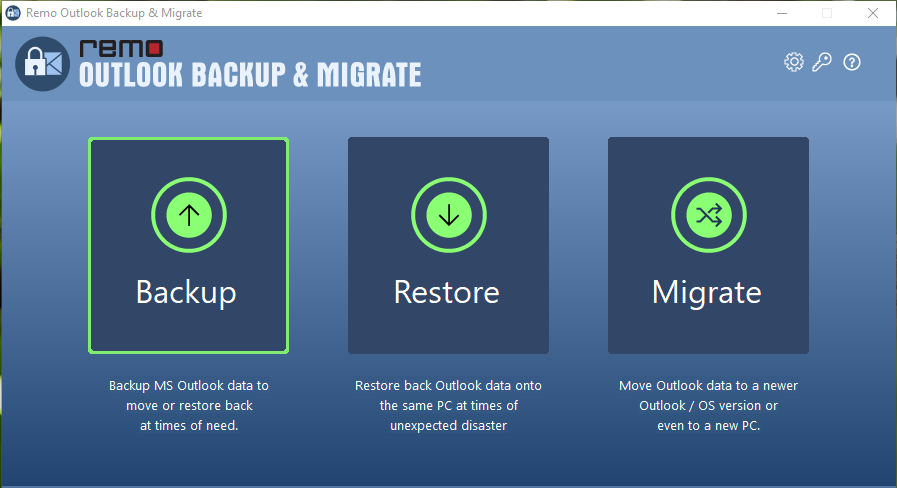
Remo Outlook Backup and Migrate is an exclusive tool designed to back up Outlook data in a smart way and helps you with the migration of Outlook across devices and versions.
With this tool importing Outlook OST files is a brainer. Download Remo Outlook Backup and Migrate tool for a swift OST importing process.
How to Create a Backup of your OST Files to Import into Outlook?
- Download and Install Remo Outlook Backup and Migrate tool on your system.
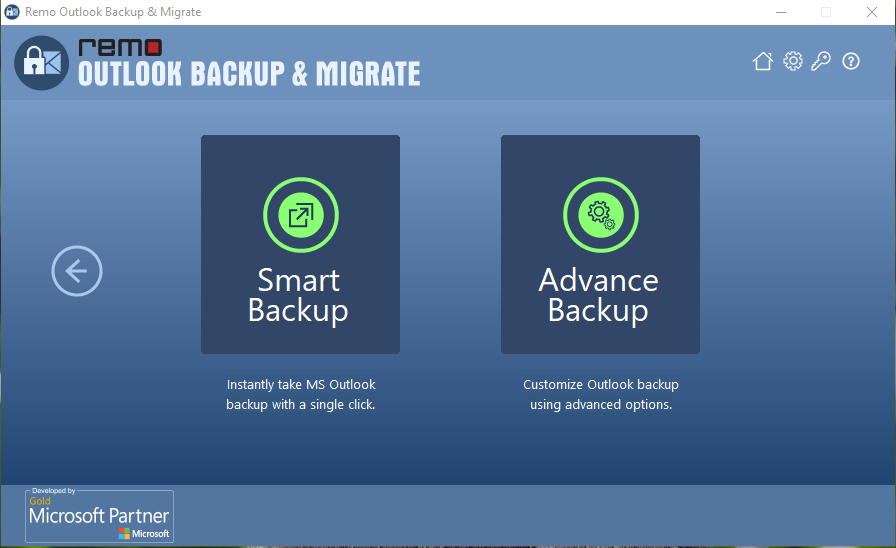
- Open and run Remo Outlook Backup and Migrate Application. Click on the Backup Option.
- Depending upon your needs you can choose between Smart Backup or Advance Backup
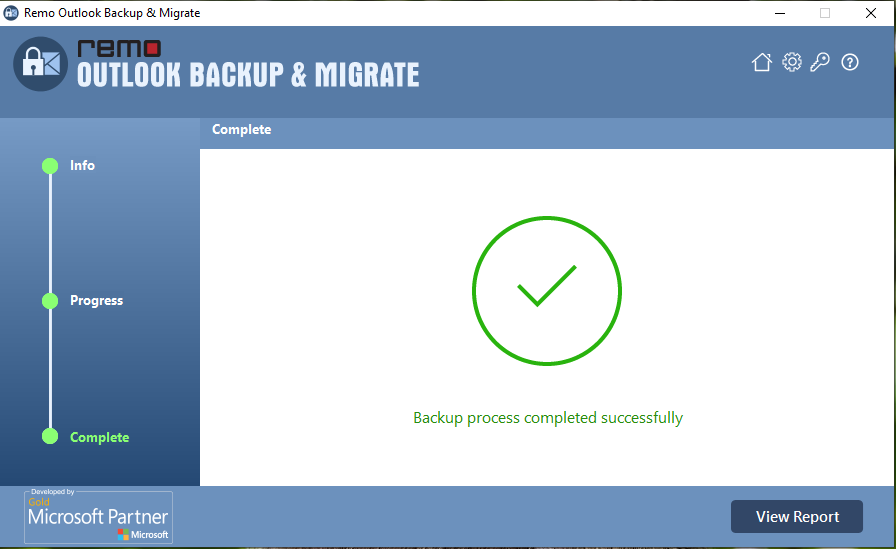
- After completion of the backup process, you can click on the view report to verify the data that has been backed up. Save this copy of the backup file onto a USB or any other external drive to import the OST file onto another computer.
Now that you have successfully taken a backup of your OST file, you can import the OST file onto another computer or on the same device after upgrading your Outlook version.
If you want to import OST files on the same computer, launch Remo Outlook Backup and Migrate and click on the Restore option and select the backup file generated by Remo Outlook Backup and Migrate tool earlier.
How to Import OST Files Effortlessly?
Once you have taken a backup of your OST file using Remo OBM, it becomes extremely easy for you to import OST files on any Windows computer or any version of Outlook.
If you want to import an OST file onto another computer, download Remo Outlook Backup and Migration software on the computer you want to import the OST file and follow the below-mentioned steps:
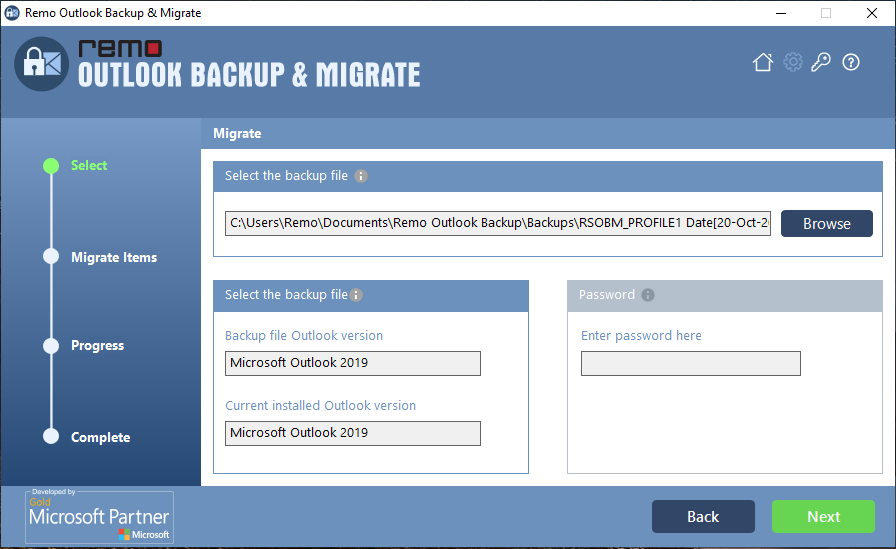
- Launch Remo Outlook Backup and Migrate application and select the Migrate option.

- Select the backup file you generated earlier on the device where you took the backup, and click on Next.
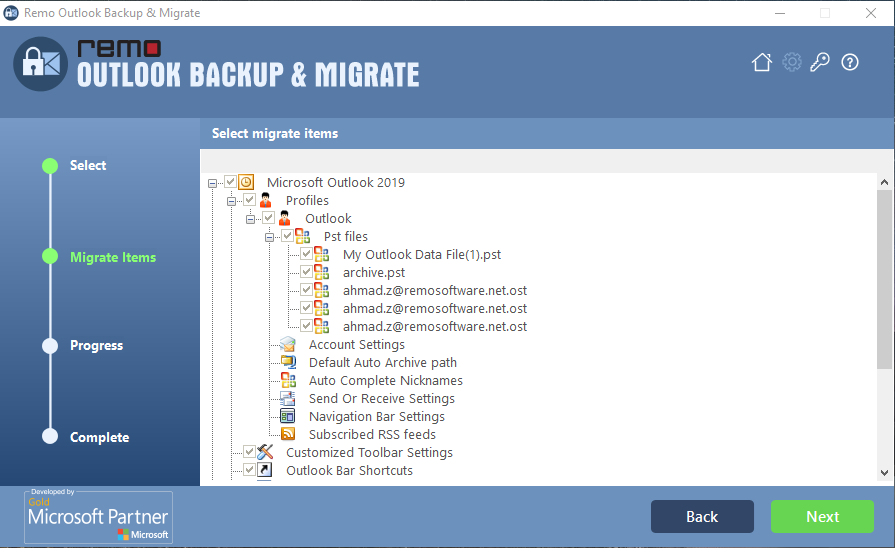
- Check all the Outlook items you want to migrate, Click Next
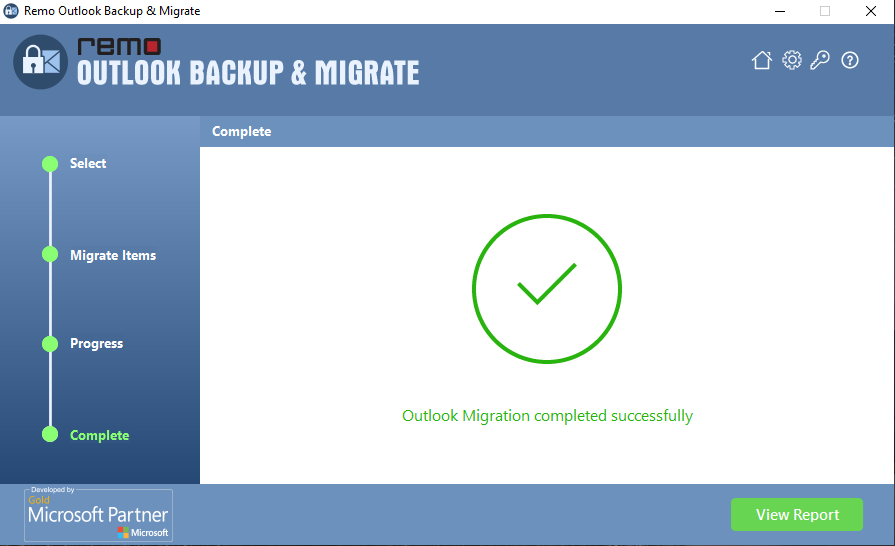
- Wait for the Migration process to complete. You can verify migrated Outlook data by clicking on View Report.
Conclusion:
In the above article we have discussed OST files and where are they stored and how can you locate them. We thoroughly explained how one can import an OST file with a DIY guide and also with the help of powerful Outlook Backup and Migration software. Do let us know if you found the above-mentioned methods useful and feel free to drop your questions below.
Frequently Asked Questions
Yes, there are several different methods available that you can use to import your OST file into Outlook.
You can configure Outlook with your OST file by following the steps given below-
Open Outlook and click on File.
Access Account Settings and open the Email Tab.
Click on Microsoft Exchange and select Advanced.
Open Outlook Data File Settings and enter your OST file path.
Click OK.
No, OST and PST files are very different from each other. PST file formats are used for POP accounts while OST is used for IMAP accounts.