Mac's recovery mode comes in handy during a crisis. Depending on the type of crisis, you can select one of four options in macOS recovery mode. Normal recovery mode may be able to resolve some issues, but it has its own set of limitations.
The Mac Internet recovery mode is one way that may be useful regardless of the severity of the problem. Learn why Mac internet recovery mode is important and how to use it on your MacBook or iMac.
What is Internet Recovery on Mac?
The Internet Recovery Mode is a built-in tool or application that is designed to perform various tasks including Restoring a backup file using Time Machine Backup, Installing a newer version of the operating system, reinstalling an older version of the operating system, repairing a corrupt or damaged disk, erasing a hard drive, launching the Terminal, etc. without booting the system.
How to start Mac in Internet Recovery Mode?
There are 2 basic ways to boot into internet recovery mode on MacBook or iMac.
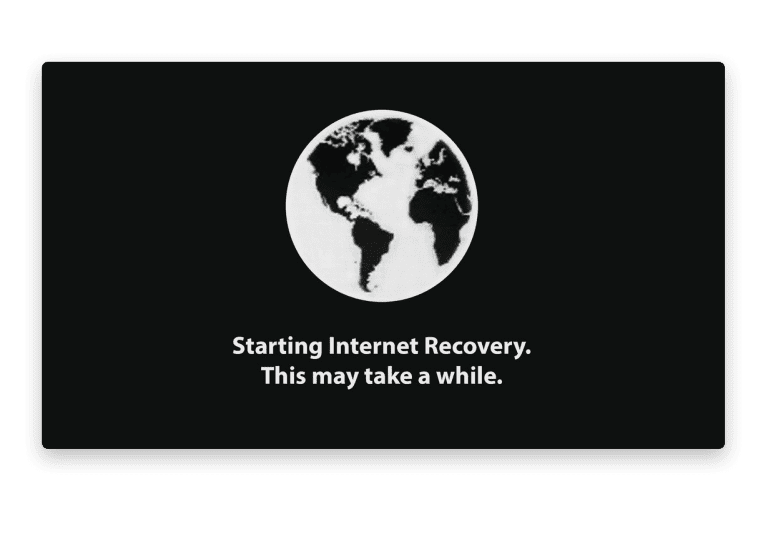
Generally, when the normal recovery mode is not working, Mac automatically takes you to Internet Recovery Mode. You will also see a spinning globe that signifies that the system is booting into internet recovery mode.
Additionally, you can also try either of these two key combinations to boot into internet recovery mode. After you completely shut down your MacBook or iMac follow the below sequence:
- Press Option key + Command Key + R key simultaneously.
- Press the Shift key + Option key + Command Key + R key.
Once your system gets connected to a network and the internet recovery has loaded.
What Can You Do using Internet Recovery Mode on Mac?
As mentioned earlier, you can do a whole lot of other things in the Internet Recovery Mode including:
- Restoring backed-up data using a Time Machine.
- Reinstalling macOS which will keep your files and other stuff intact, you can also erase and reinstall macOS which will permanently remove everything.
- Use Safari to get additional help and answers to your questions.
- Utilize Disk Utility to repair or erase any disks to resolve hard drive-related issues.
- Set the Security policies for your Macbook or iMac.
- Use Terminal to run any commands.
- Create a recovery diagnostics file.
- View the recovery log.
- Set the startup disk for your Mac.
Restoring Backed-up Data using Time Machine:
You can use Internet Recovery to restore your previously backed up data in case of data loss.
Follow the steps below to restore data from any internal or external drive.
Step 1: Click on Restore from the Time machine and click on the Continue button.
Step 2: Click on the Continue button on the next screen as well.
Step 3: Select the Drive where you have saved the backed-up data; if you have stored it on any external drive, you can also connect it now. Click on the Continue button.
Step 4: Select where you want to restore backups from. A list of available backups will appear on your screen. select the appropriate backup option and hit the continue option.
Step 5: Select the drive where you want to restore the backed-up data. Click on the Restore option.
Note: Before proceeding to the next step, make sure that you have taken a backup.
Step 6: Click on the Erase button. And wait for some time to complete the data restoration process.
How to Reinstall macOS from Internet Recovery?
At times, reinstalling macOS not only becomes an option but also a necessity, for example- when the Mac becomes unresponsive, the Mac gets stuck at the Apple logo, your Mac refuses to boot, or any other Mac-related issues. You can reinstall macOS while safeguarding your files and other settings without damaging or losing them.
Step 1: First and foremost, make sure your system is connected to the internet and is fully charged.
Step 2: Follow the steps explained above to boot into Internet Recovery Mode.
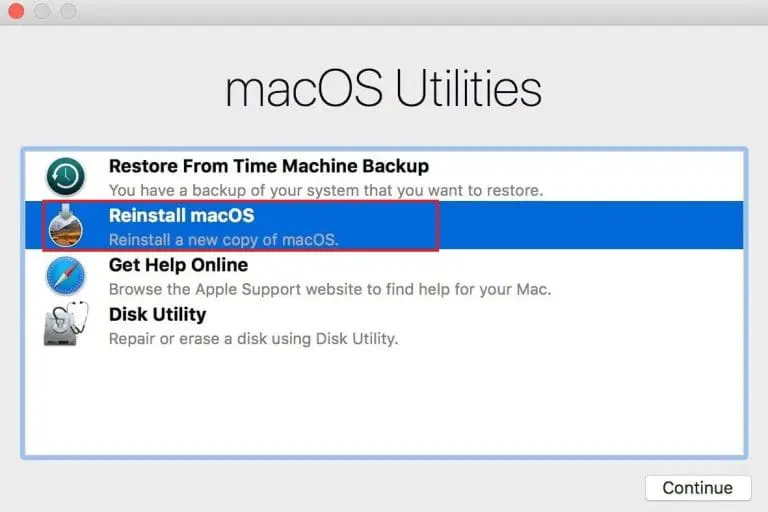
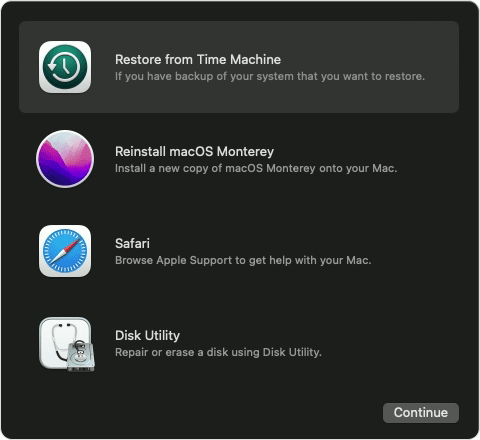
Step 3: Click on Reinstall macOS Monterey or just Reinstall macOS (Depending upon the OS you are using), then click on the continue button.
Step 4: Accept and agree to the terms and conditions.
Step 5: Select the drive where you want to reinstall macOS and click on Continue.
Step 6: You might receive a popup on your screen. Add the user ID and password and click on the OK button.
Step 7: The reinstallation process gets started; you have to wait until the process is completed.
Step 8: Restart the system.
Use Safari
Safari is a web browser that Apple developed. However, it won’t directly solve or fix any issue. Instead, it will let you research and learn more about the problem and explain ways to solve it without even booting your system.
Step 1: Boot into Internet Recovery Mode.
Step 2: From the main screen, click Safari or get the online help option (depending on your OS version).
Step 3: Click on Continue.
Note: The browser add-ins and other extensions will be disabled in the Recovery Mode.
Disk Utility
Disk Utility assists you in performing two major tasks in case your disk has gotten corrupt due to a virus attack or damage i.e repairing and erasing any internal or external disk.
Repair Disk using Disk Utility
Step 1: Launch Internet Recovery Mode From the main screen, click on Disk Utility and click on the Continue button.
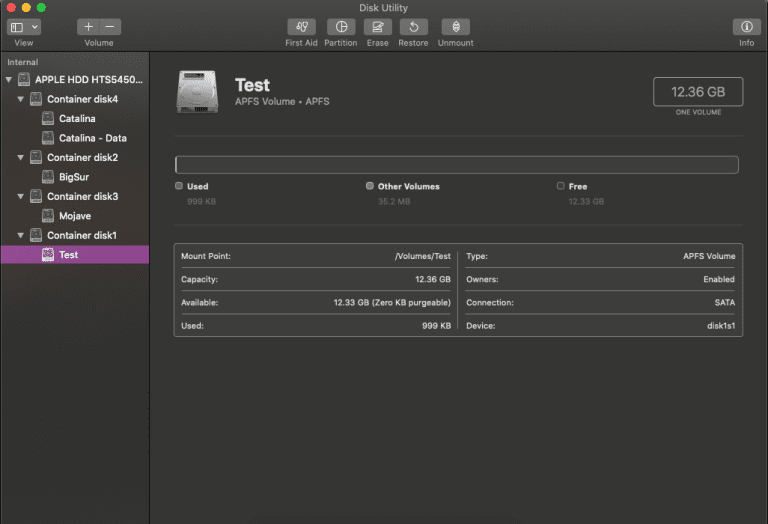
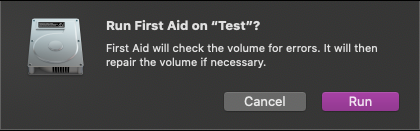
Step 2: Select the device that you want to repair and click on First Aid.
Step 3: Depending upon what version you are using. You can click on the Run or Repair Disk button to allow First Aid to repair the corrupted disk.
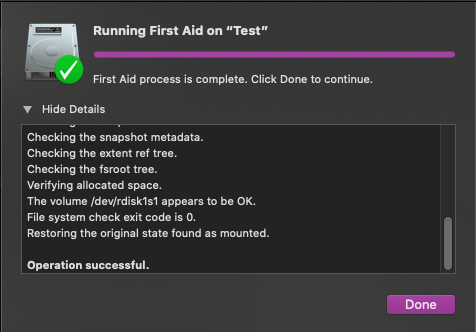
Step 4: Wait till the First Aid completes scanning and repairing the drive. once done, you will see the following screen. Click on the Done button and restart your system.
Erase Disk using Disk Utility
Step 1: Click on Disk Utility from the main screen and click on Continue.
Step 2: Find and select the drive that you want to erase. From the taskbar on top of the screen, click on the Erase option.

Step 3: Decide a name and the format, then click on erase volume.
Step 4: Once the erase operation is completed. Kindly restart the system.
Run Terminal Commands
Mac Terminal is a command-line interface that helps you perform various tasks by running commands that Graphical User Interface did not support.
All you have to do is open the Recovery Mode and, from the main screen, click on utilities from the top of the screen.
Create a Bootable Drive Using Mac Internet Recovery Mode
To create a bootable drive, you need a 12GB or larger flash drive and connect it to your Mac.
Step 1: Now launch internet recovery mode, select the “Reinstall macOS” option, and click on continue.
Step 2: Accept all the terms and conditions and follow general steps until your installation setup asks you to select a storage drive.
Step 3: You will see the notification “Select the disk where you want to install macOS.” Be cautious and select the pen drive or the external storage drive you connected. After selecting the USB flash drive, click on next and wait for the installation to complete.
Step 4: After creating the bootable drive, restart your Mac; while booting into the operating system, Mac will ask you to select from which drive you want to boot into macOS. Select the Bootable drive to log into your Mac. And now, you can try to access the data.
Lost Data After Using Internet Recovery Mode?
If you have lost your data after reinstalling the Mac OS after erasing the disk or due to any other reason, then make use of Remo Mac File Recovery Software, an easy-to-use yet proven-to-work solution that is tried and tested by thousands of users across the world to recover Mac data easily. Built with powerful algorithms that thoroughly scan the drive to locate, identify, and retrieve various types of files including audio files, video files, images, text documents, etc, without breaking a sweat.
Click on the button below to download, install, and try the tool for free now!!!
6 Simple Steps to Recover Missing Data
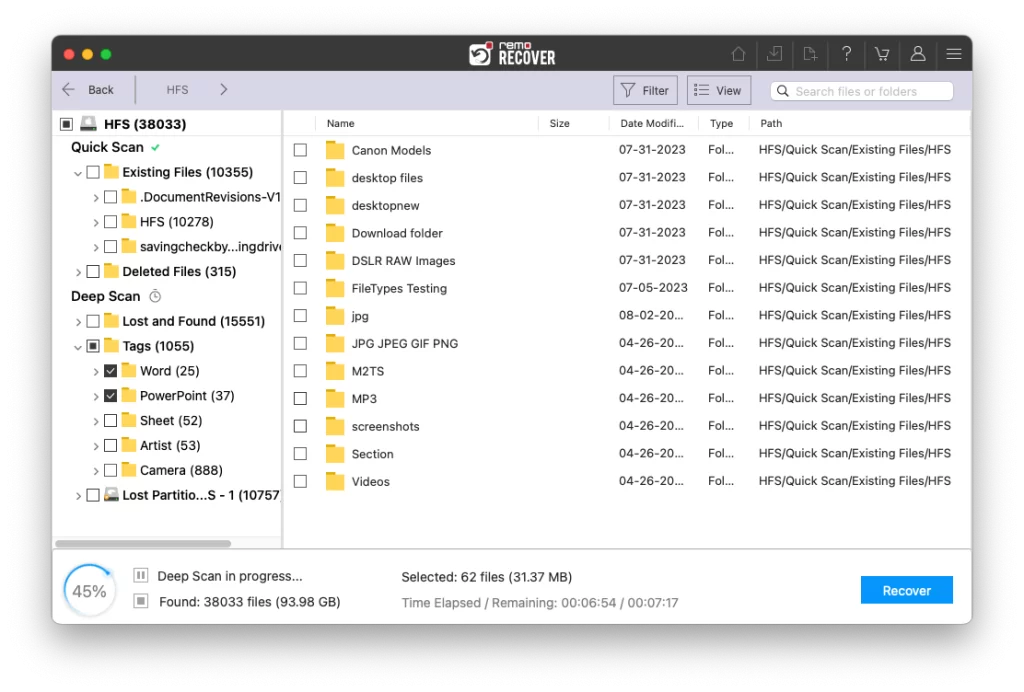
Step 1: Launch the tool, choose the place where you want to find files you deleted or lost, and click "Scan."
Step 2: The tool does a quick search and then looks deeper for more files. You can see what it found by clicking "Dynamic Recovery View."
Step 3: Start looking at the recovered files using the "Preview" option. You can check out photos, videos, or documents. You can also get back files without stopping the search.

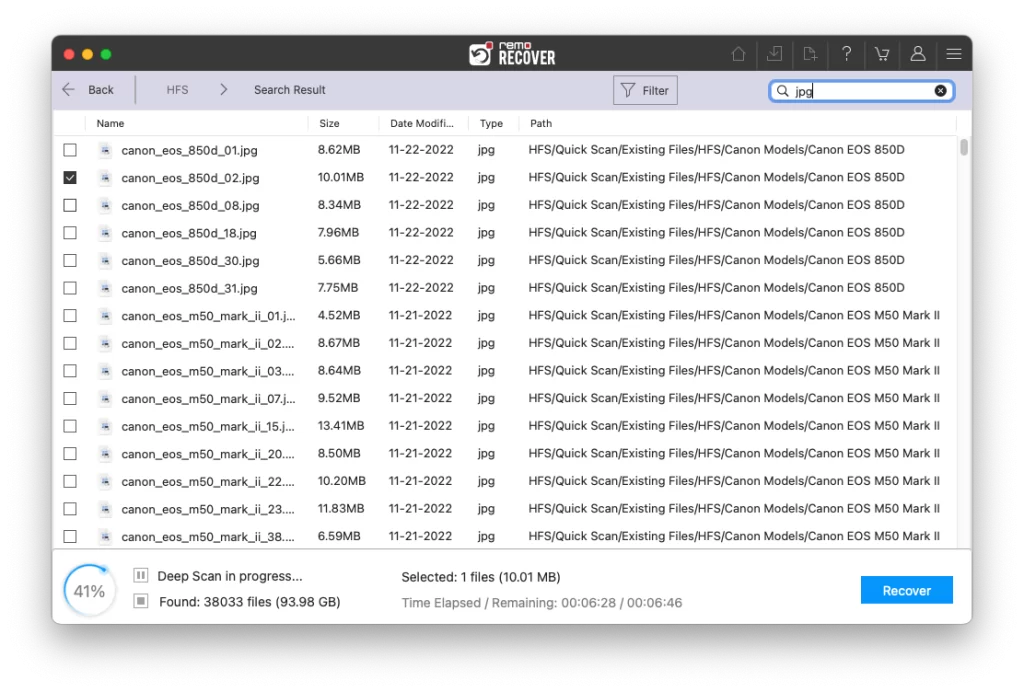
Step 4: If you're looking for a specific file or know its name, you can find it using the search bar or smart filter.
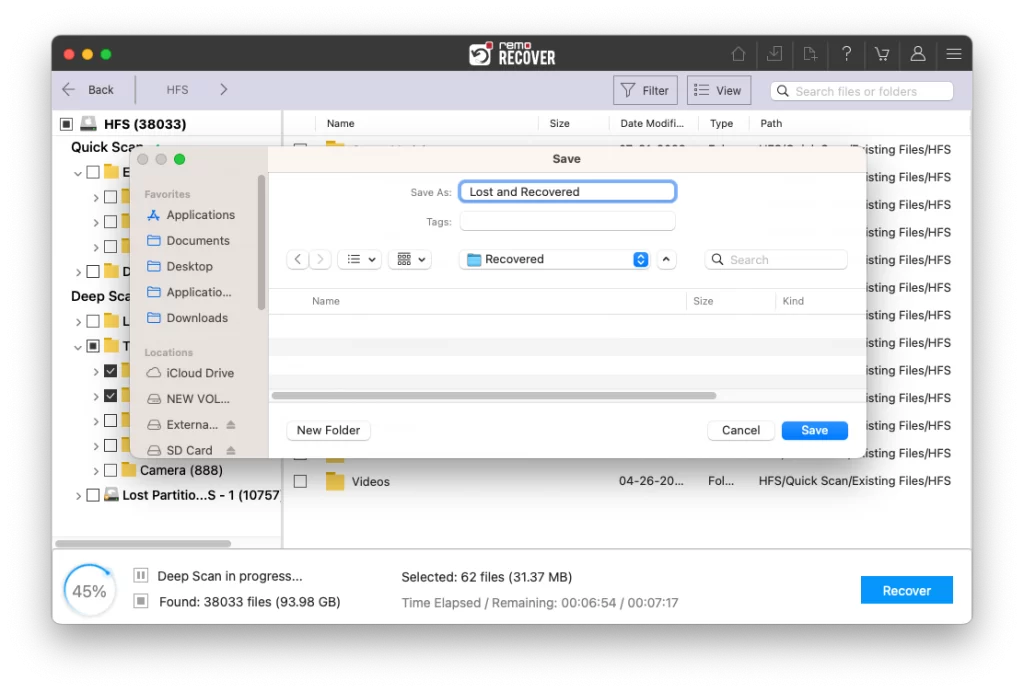
Step 5: After you've picked the files you want, click "Recover" and choose where to put them.
Frequently Asked Questions:
To exit macOS internet recovery mode, all you have to do is click on the Apple logo in the menu bar on top of your screen. From the drop-down menu, select either the Restart or Shut Down option.
Generally, internet recovery mode needs a certified internet connection that accepts WAP, WEP, and 802.1 IP or internet protocols. Typically, any home internet connection accepts all the aforementioned protocols. However, internet recovery will not work if you use any proxy or PPPoE connection hence, if the internet recovery mode on Mac is not working, verify the connection or try to connect to a different network.
It depends on your internet connection; internet recovery mode demands a high-speed broadband connection.