
Outlook is, and has always been a reliable and feasible application for many users across the globe. So if you are one of the users who are forward to moving Outlook to a new computer effortlessly. This write-up is for you.
Transferring your Outlook profile or data to a new computer is a common need, involving the migration of emails, contacts, attachments, notes, calendar items, tasks, and more. The process is not only possible but also essential for maintaining seamless access to your important information on a different device. Let's explore effective methods to move Outlook to a new computer.
- 4 Methods to Move Outlook Profile To New Computer
- Conclusion
- Frequently Asked Questions
4 Methods to Move Outlook Profile To New Computer
Moving your Outlook profile to a new computer isn't as straightforward as copying and pasting regular data. A specific sequence of steps is necessary for the successful migration of Outlook email accounts or the entire profile. Below, we outline four proven methods for transferring Outlook to a new computer:
Method 1: Move Outlook to New Computer By Exporting Registry Key
A registry key contains all the information about the user’s profile. By transferring this file to your new computer you can access Outlook and its data. Here is how you can do it. The same applies to moving profiles in Outlook 2021 and older versions as well.
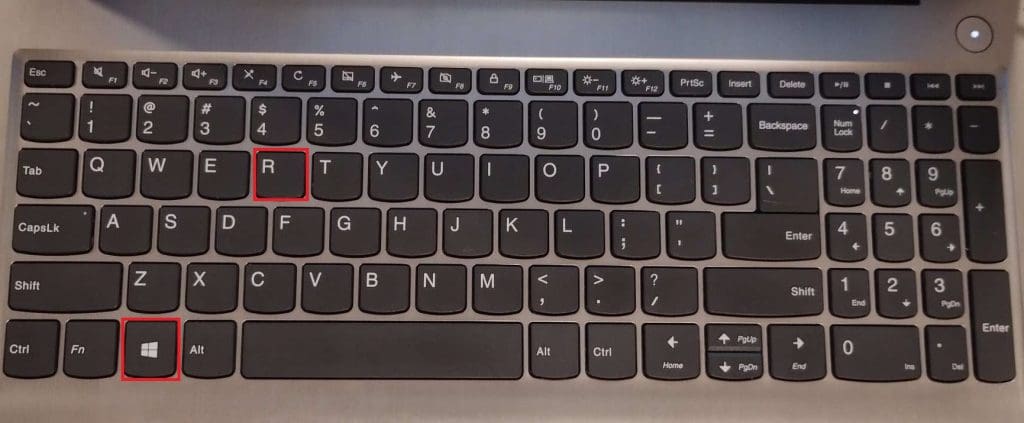
- Click on the Search Bar and type Windows+R to open the Run command.
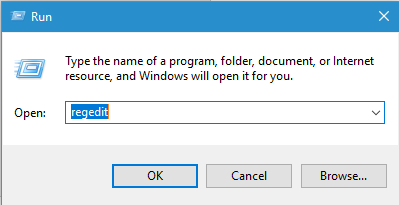
- type regedit in the text box and click OK to access the Registry editor.
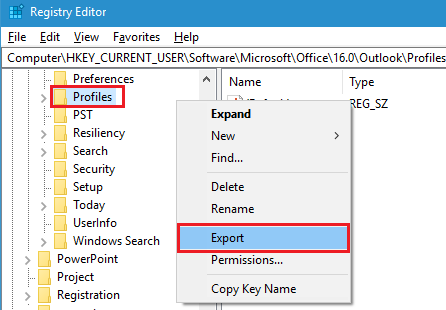
- From the Registry Editor Window navigate to HKEY_CURRENT_USER\Software\Microsoft\Office\16.0\Outlook\Profiles
- Right-click on Profile and select Export.
- Next, choose the location to save the exported Outlook profile, provide a file name, and click on Save.
- After creating the registration file, transfer the Outlook profile to a portable storage drive and copy it onto the new computer.
- Finally, run the copied file on the new computer to add it to the registry.
Caution: While migrating the Outlook Profile key, some or all of your Outlook data could be lost if you are moving it to a different version. Follow the next method to properly export the Outlook PST file to another computer without losing the data.
Method 2: Import PST File to Move Outlook to New Profile
Before copying the Outlook profile, you will have to take a backup of the PST file. This way, you will have your Outlook profile secure and avoid the risk of losing and then worrying about recovering your Outlook profile. After taking the backup follow the steps mentioned below to backup and migrate the Outlook profile to a new computer.
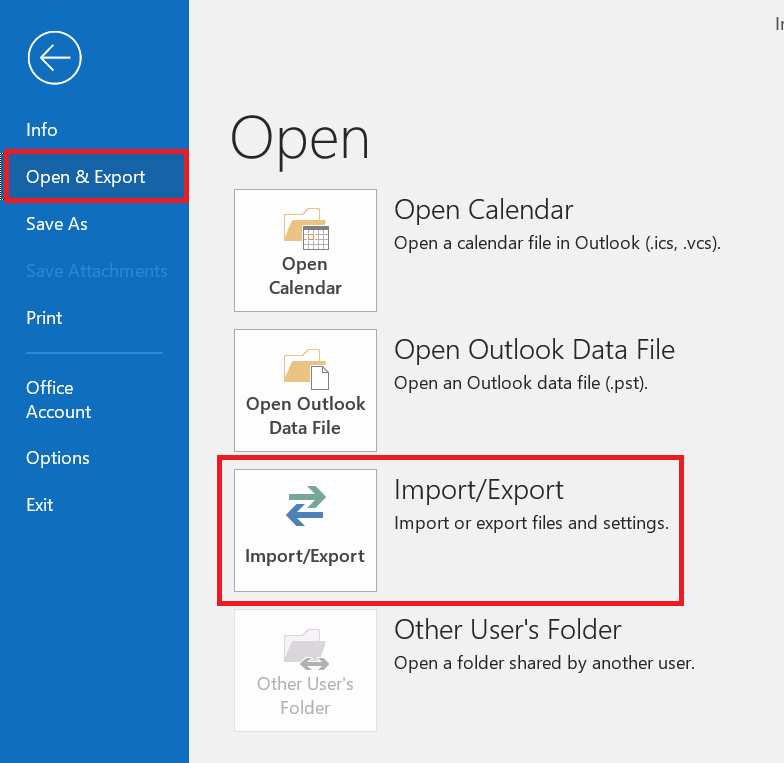
- Open the Outlook application and click on the File tab.
- Select the Open and Export option to reveal the Import/ Export option and click on it.
- From the Import and Export wizard, select the Export to a file option and click on Next.
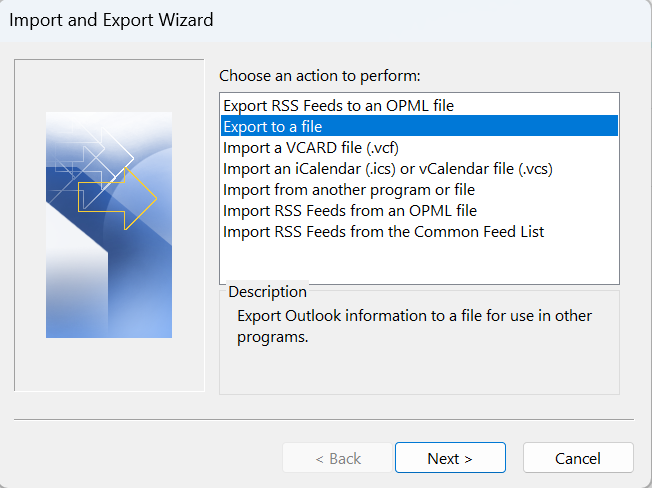
- Now select the Outlook Data File (.pst) option and click on Next.
- Next, from the list of Outlook profiles, choose the one you wish to recover and click on Next.
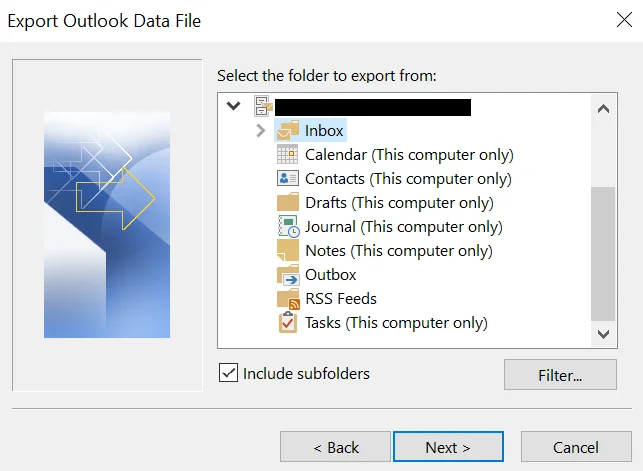
- Finally, browse for a location to save the PST file and click on Finish.
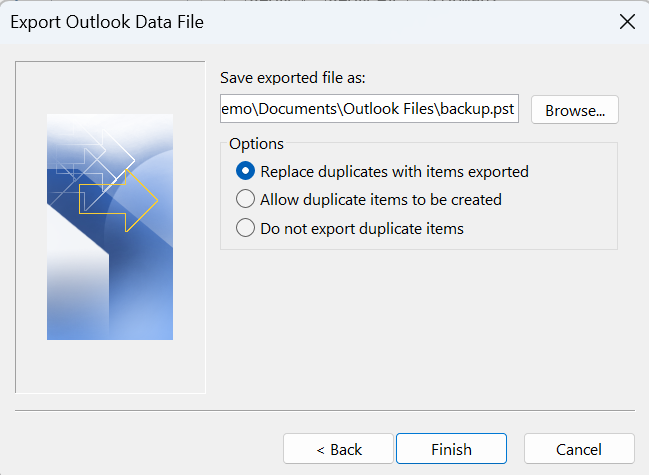
When you back up the PST file copy the file to the new computer and follow the below steps.
- Open the Outlook application and choose the File Tab.
- Click on Open & Export and select the Import/Export option.
- Next, select Import from another program or file and click on Next.
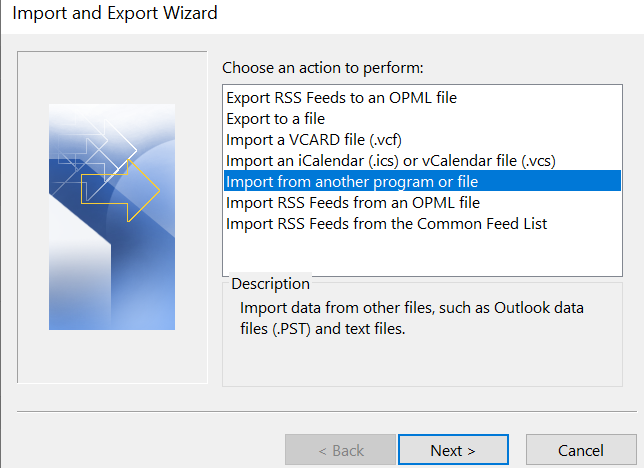
- Select Outlook Data File (.pst) and click on Next.
- Browse for the (.pst) file that you have saved to import Outlook data and click on Next.
After successfully copying the Outlook profile to a new computer, you may have to recreate your Outlook settings, rules, and alerts to be able to access data like on the old computer.
Quick Tip: If you use Exchange accounts (including Outlook.com), all of the mailbox contents will sync to the account on the new machine after you move the archive PST files. The same holds for IMAP accounts, but IMAP only supports email.
What if I want to use IMAP or POP3?
If your mail server is IMAP-compatible, Outlook will automatically establish an IMAP account for you. You must select the choice to change settings if you want to use POP3.
- Get the data from outdated computer
- Try to add files onto your New computer and then Create a Profile
- And add your old .pst file to your profile
- Signatures and stationery (and custom dictionary)
Method 3: Use Export and Import Method to Move Outlook on Mac
Follow the below-listed method to export your Outlook files and then import them.
- On the Tools tab, click Export.
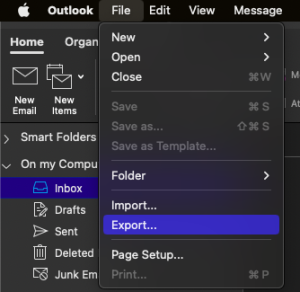
- In the Export to Archive File (.olm) box, check the items you want to export, and choose Continue.
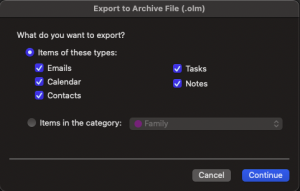
- Check the items you want to export.
- In the Save As box, under Favorites, choose the Downloads folder, and click Save.
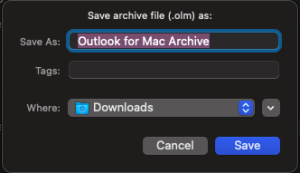
- Save the archive file as a .olm.
- Once your data has been exported, you’ll get a notification and you’ll choose Finish.
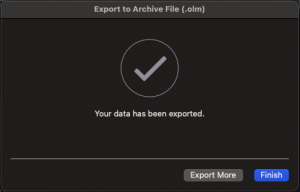
Now that your files are exported, time to import them. To import an OLM file on a Mac follow these steps.
- Go to the Tools tab, and choose Import.
- On the Tools tab, click Import.
- In the Import box, select Outlook for Mac archive file (.olm) > Continue.
- Import archive file as .olm.
- Locate the .olm file on your Mac, and then click Import.
You will be able to view the imported items (Mail, Calendar, People, Tasks, Notes). For example, contacts are in the navigation pane on the People tab, email messages are on the navigation pane on the Mail tab, calendar items are in the navigation pane on the Calendar tab, and so on.
Method 4: Use Remo Outlook Backup and Migrate
For over 90% of users, Outlook data is not just important; it's critical for work. Shockingly, almost 40% have experienced data loss due to file corruption, while 18% never back up, and 30% do it occasionally (Source: A Research on Microsoft Outlook Email Client).
This is where the Remo Outlook Migration Tool steps in to simplify the process of your Outlook needs. With this tool, you can effortlessly move Outlook data, including saved emails, contacts, journals, calendars, profile settings, and other attributes. It allows you to take instant backups and offers various other features, making the task of safeguarding your data hassle-free.
For exporting Outlook settings or configuring a new computer or moving Outlook profile from one computer to another download Remo Outlook Backup and Migrate Tool for Outlook on your computer from which you have to migrate Outlook, launch the application, and follow the below-mentioned steps.
Steps to Move Outlook Profile to New Computer Using Remo Outlook Backup & Migrate:
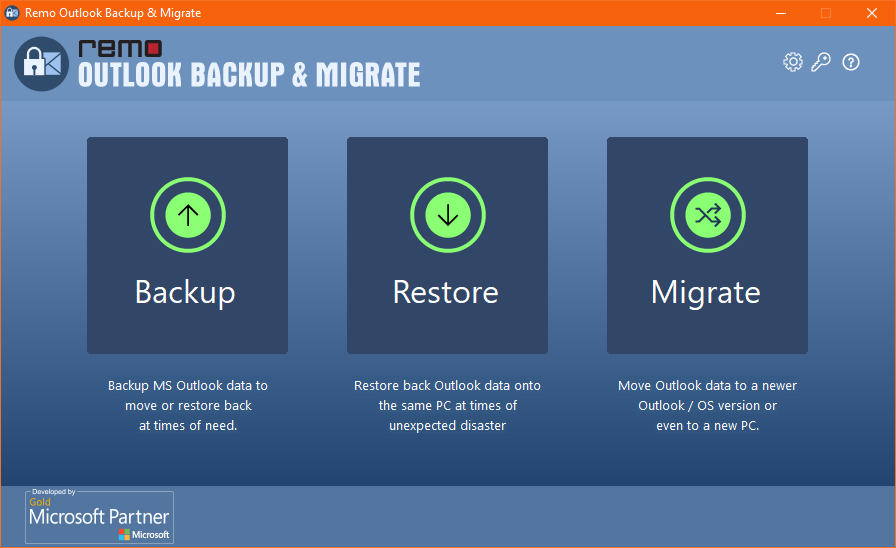
- Download, Install, and Launch Outlook and Backup. From the Main screen click on the Backup option.
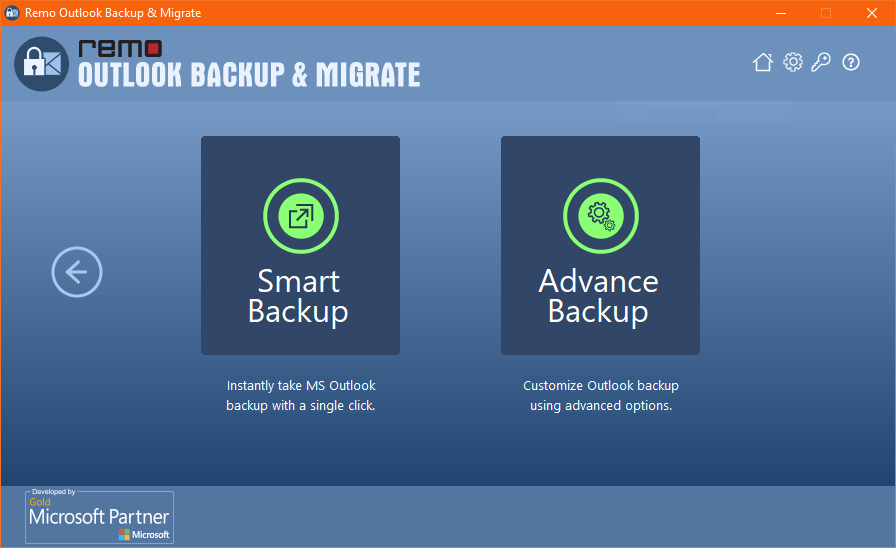
- In the next screen, you can choose between Smart Backup or Advanced Backup.
- After completion of the backup process save the file to the desired location.
- If you are moving Outlook to another computer then you have to copy the file in a USB drive onto the new computer where you want to import Outlook PST. You will have to download and install the Remo Outlook Migration Tool on the new computer as well.
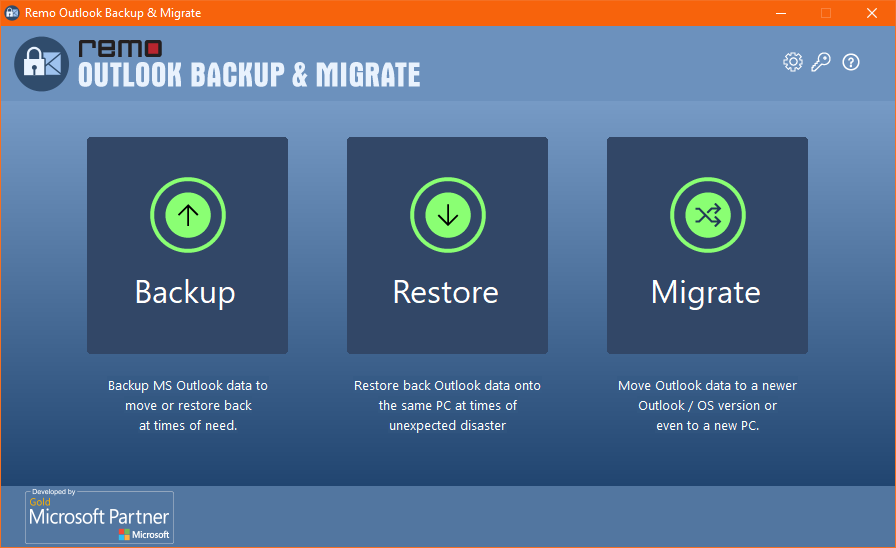
- Launch Outlook and Backup on your new computer and click on Migrate on the Main screen.
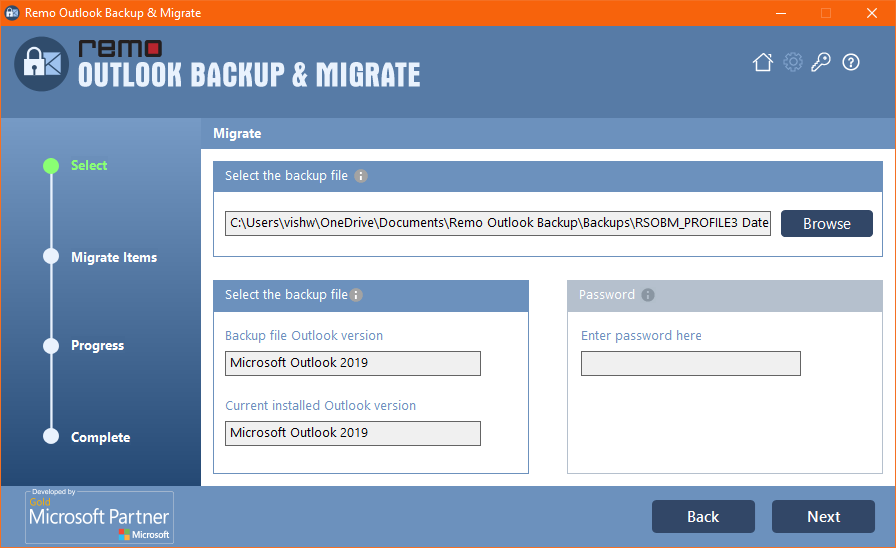
- Browse for the Outlook data file backup which had been backed up from the previous computer and click on Next.
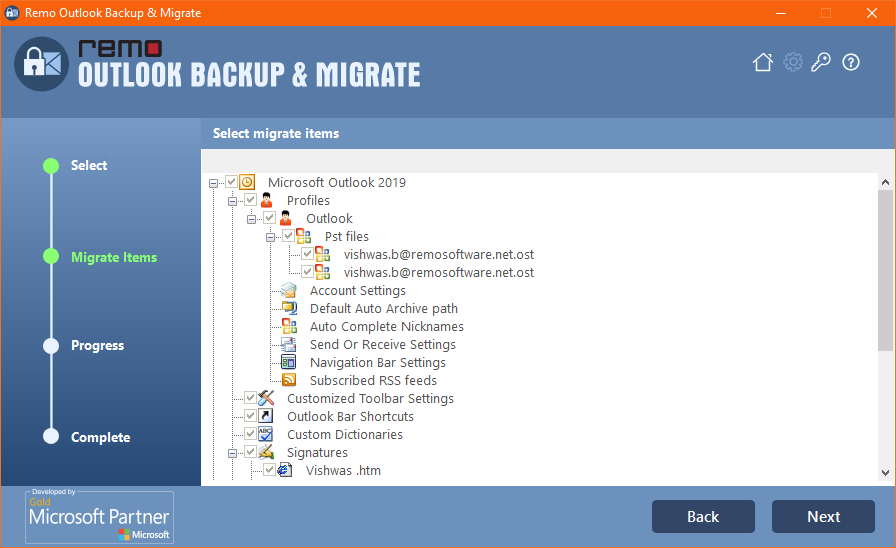
- Select the Outlook attributes that you wish to move to the new computer and click Next.
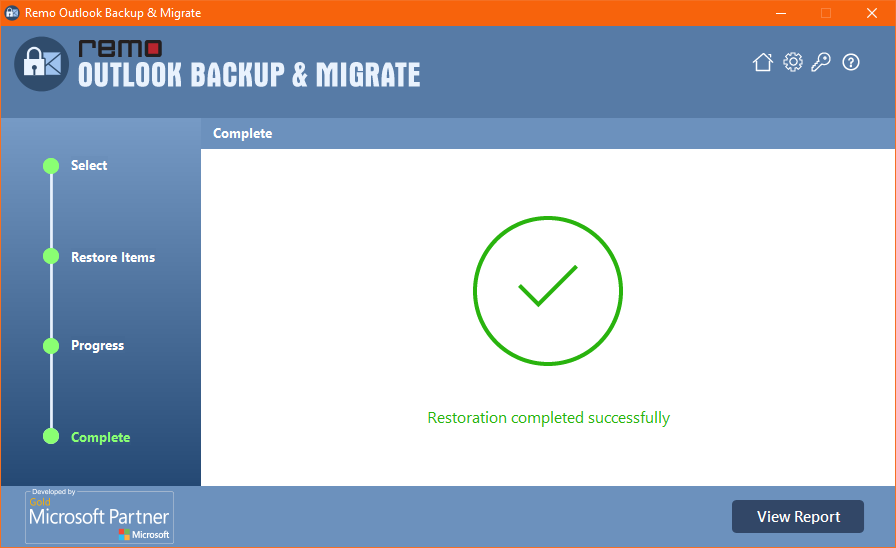
- After the Outlook migration is done click on View Report and click on Finish.
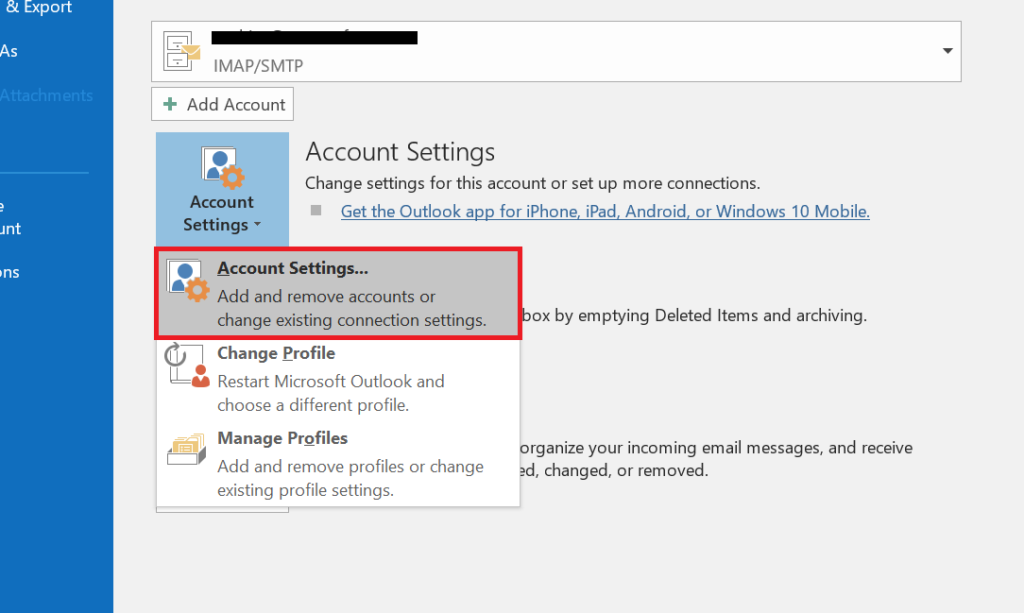
- Open the Outlook application on the new computer, click the File tab, and open Account settings.
- Choose the email account from the list and click the Set as Default button to activate the profile.

Conclusion
The following article summarizes how to move your Outlook Profile to a new computer, Migrating Outlook to a new computer or other versions to a new computer can be done in various ways as mentioned above.
However, make sure you follow the steps properly for a successful migration. But if you are uncertain about manual methods, utilize the Remo Outlook Backup and Migrate tool for a quick and easy transfer. In case of any doubts regarding this information do let us know in the comment section.
Frequently Asked Questions
By following the listed solutions given below to easily copy Outlook settings to another computer.
a. Move the Outlook setting with the help of Import/ Export Wizard
b. Migrate Outlook settings with Export Registry
c. Copy Outlook settings with Remo Outlook Backup and Migrate
OLM file is the data file used by Outlook for Mac to archive your email messages, contacts, calendar items, tasks, and notes. (It is a replica of the PST file on macOS).
Yes, you can access your Microsoft Outlook from another computer. When using Outlook anywhere, you connect to your Outlook mail server using your computer; however, your network or systems administrator must set up your Outlook account to allow HTTP connections. They will then provide you a URL to enter into the web browser on your other computer in order to access your Outlook.
Follow the steps below to backup the Microsoft Office setting 2016, 365, etc.
● In the Search box type Registry Editor and open it.
● Now follow the path to backup Microsoft Office settings HKEY_CURRENT_USER\Software\Microsoft\Office\16.0\\Preferences
Follow the steps below to backup the email settings:
● Go to your Outlook select the Import and Export option and go to the File tab.
● In the File tab select Open and Export > Import/Export option.
● Back up your mailbox by exporting it to a computer file, and restore it by importing it back into your mailbox.
●Outlook Data Files with.pst file extensions are the type of file you export to (you can follow the same steps to transfer emails from one Outlook account to another).
● If you prefer manual archiving, deactivate AutoArchive.
● Go to the FILE tab, then select Options, Advanced, and AutoArchive Settings. After that, click OK after unchecking Run AutoArchive.
Follow the steps below to import rules in Outlook
● Go to Outlook and navigate to the File and click on Manage Rules and Alerts and click on the Options.
● Now Import the rules by clicking on Import Rules and select the Rules you want to import and click on the Open.
Follow the steps below to export the rules in Outlook
● Go to Outlook and select Export Rules and select the folder where you have saved the rules and export the rules which you wish and click on the Save option.
You can try adding multiple Outlook accounts by following the steps below.
● Go to Outlook select File tab and click on the Add Account option.
● Now fill in the details like name, email address, and password.
● Select OK and click on Finish.

