The latest macOS Monterey comes with superior features compared to the previous Mac operating systems like Big Sur, Catalina, Mojave, High Sierra, etc. Although upgrading your existing macOS to the latest one improves your system performance and offers a bunch of cool features. Such as a new look for notifications, FaceTime upgrade, SharePlay, custom Smart folders, Universal Control, and many more. But data loss may be one of its downsides if no backup has been taken.
If you want to recover photos lost on Mac after the update or due to any reason, then you have landed on the right page.
In this article, we have listed down various reliable methods you can use to recover lost photos on different versions of Mac, including Mac OS Monterey, Big Sur, Catalina, High Sierra, Sierra, and others.
3 Proven ways to Recover Lost Photos on Mac - After Updating to Ventura, Monterey, BigSur, Catalina, Mojave, High Sierra, or any other version
(Note: You can also make use of the below methods to recover lost photos on your Mac due to various data loss scenarios like photos disappeared due to interruptions while transferring, emptying Mac Trash, etc.)
1. Recover Lost Photos on Mac From iPhoto Library
An iPhoto library is a package that contains all your photos on Mac arranged into a separate location. Follow the steps to know how to recover lost iPhoto pictures after upgrading to Monterey, Catalina, Mojave, High Sierra, etc.
Home > Users > Username > Pictures > Click iPhoto Library > Now Right-click iPhoto Library to select Show Package Contents > Open Masters or Originals folder > Now, locate and recover photos on Mac after update.
In case, if you have failed to locate or recover lost photos on iPhoto Library then, move on to the next method to recover them using Time Machine Backup, or else you can directly make use of the Remo Mac photo recovery tool to easily restore more than 500 file formats including photos and videos of various format such as JPEG, PNG, PSD, JPG, GIF, TIFF, RAW images, MOV, MP4, AVI, etc. lost after updating macOS to Catalina, High Sierra, Mojave, Sierra, or any other macOS.
2. Recover Lost Photos Using Time Machine Backup
If you have turned on Time Machine before deleting or losing files, it automatically takes a backup of all your files on Mac. During data loss scenarios like photos lost after Mac update, you can take the help of Time Machine Backup to easily recover deleted, lost or missing files, photos, videos, applications, etc. Follow the below-mentioned steps to recover lost photos on Mac after update.
(Note: The same steps can be utilized to recover iPhoto pictures lost after upgrading to Sierra, High Sierra, Mojave, or Catalina.)
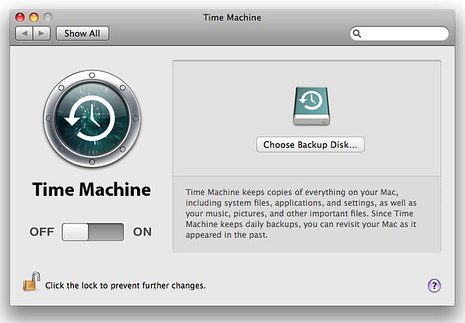
Go to Apple menu > click System Preferences > Then, click Time Machine > Now, tick the checkbox Show Time Machine on the menu bar
- Connect your Time Machine Backup drive to the Mac on which you have lost photos after macOS up-gradation and click the Time Machine Backup icon on the menu bar.
- Select the Enter Time Machine Backup option to recover deleted photos on Mac.
- Now you can either select the specific date on which you lost your photos after updating to the latest macOS or you can go back in time such as hourly, daily, or weekly by clicking on the upper arrow to recover iPhoto pictures.
- Select the photos that you want to get back, and click the Restore button to recover lost photos from Time Machine Backup after updating macOS to Catalina, High Sierra, Sierra, etc.
Note: If you haven’t scheduled Time Machine backup before upgrading to Catalina or any other macOS, you cannot restore lost photos on Mac using this method.
In such cases, utilize Remo Recover Mac, which is one of the best data recovery software for Mac to easily recover lost photos on Mac after updating to Catalina, Mojave, Sierra, High Sierra, etc.
3. Recover Lost Photos on Mac using Remo Recover software
Remo Recover Mac software is a specialized tool designed to recover deleted or lost data on any Mac operating system, including the latest macOS Monterey. Using this tool, you can recover more than 500 file formats, such as JPEG, JPEG 2000, PDF, PNG, PSD, TIFF, GIF, raw images, MOV files, MP4 videos, etc. Apart from this, you can use this tool to recover your photos or files lost due to various reasons like interruptions while updating your Mac, improper macOS reinstallation, formatted Mac volume, external hard drives not showing on Mac, SSD, USB drive, etc. Download Now!
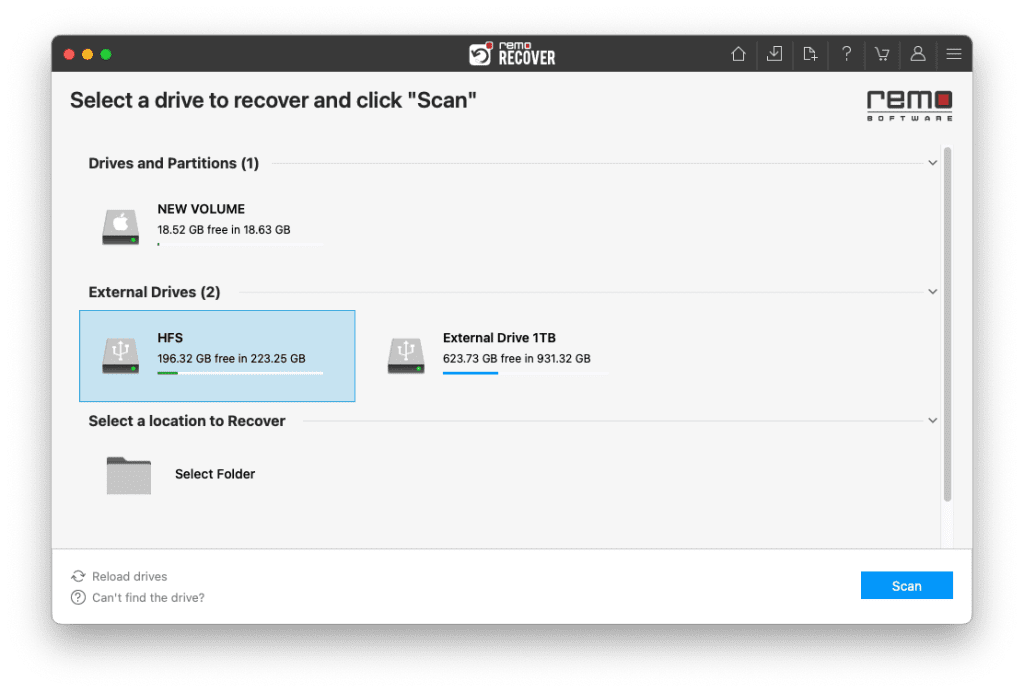
Step 1: Launch Remo Recover Mac software on your Mac, and select the Drive from where you want to recover lost photos after the Mac update to Catalina, Mojave, High Sierra, or Sierra.
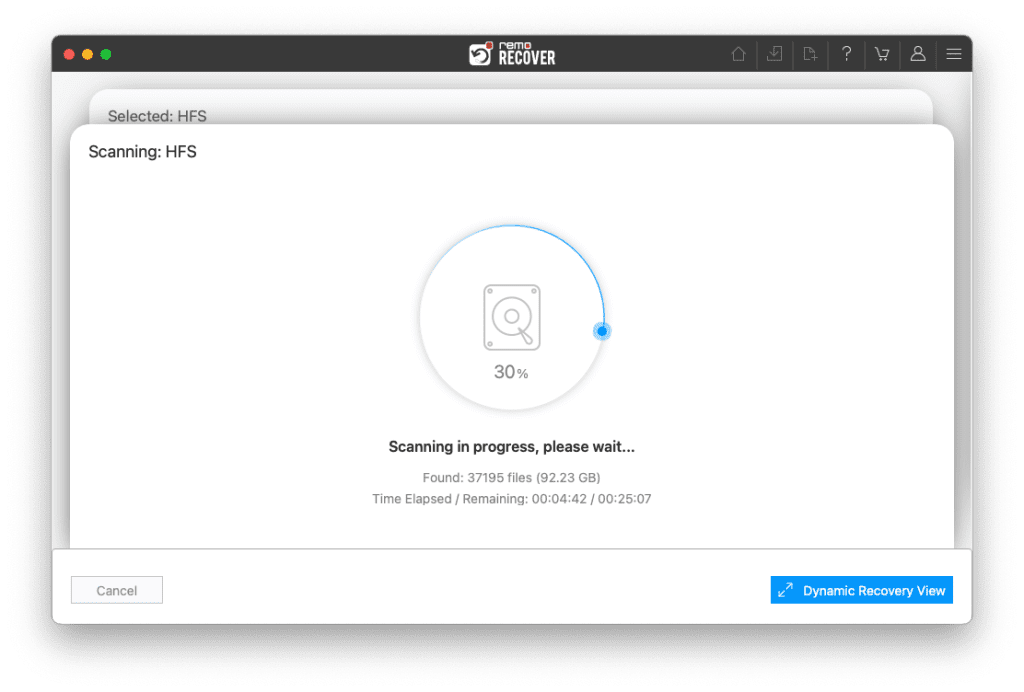
Step 2: The tool starts scanning the selected location; once the quick scan is done, click on the Dynamic Recovery View button to view the recovered lost photos after updating the Mac OS.
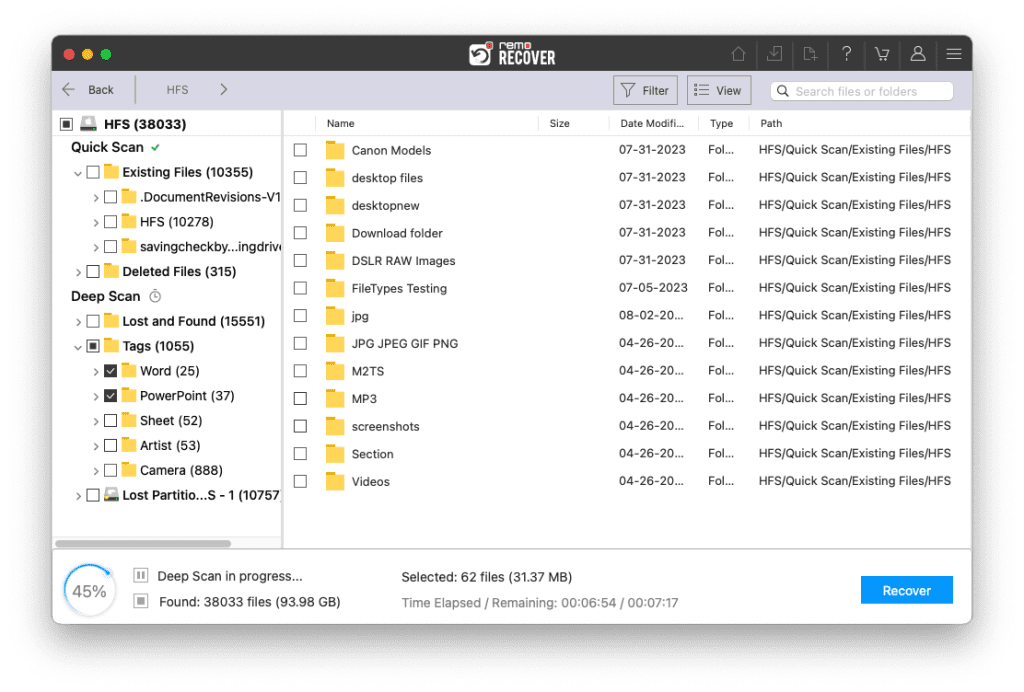
Step 3: The tool will display the list of all recovered files and folders; use the Filter option to find the photos from the list of recovered files.
Step 4: Preview the recovered photos lost after the MacOS update for free.

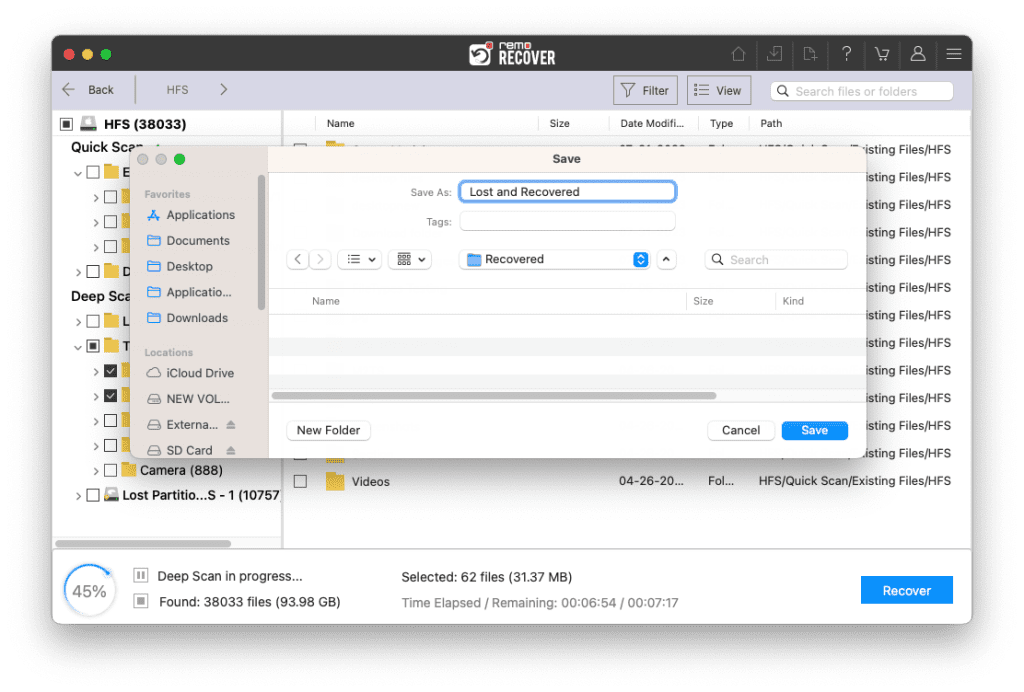
Step 5: Finally, select the lost photos that you want to recover, and click the Save button to restore them to the desired location of your choice.
Supported Photo formats (lost or deleted) that can be easily recovered using Remo Recover Mac tool are as follows:
- Photo formats: JPEG, JPG, JFIF, JPEG 2000, TIFF, TIF, PNG, BMP, GIF, PSD, WebP, Exif, PPM, PGM, PBM, PNM, HEIF, BAT, etc.
- Raw image formats: CR2, CRW, NEF, ARW, SR2, ORF, MRW, 3FR, RAW, X3F, PEF, DNG, RAF, KDC, K25, DCR, R3D, CAP, EIP, EIP, PTX, JPEF, 3FR, PXN, etc.
Why choose Remo Recover Mac to recover lost photos?
- A user-friendly tool to restore deleted or lost photos, videos, raw images, or any other files from MacBook Air, MacBook, MacBook Pro, Mac Mini, iMac, iMac Pro, etc.
- Remo Recover software easily restores more than 500 file formats not only from Mac but also from external hard drives, SSDs, memory cards, USB drives, etc., under various scenarios like accidental deletion, formatting, unrecognized or corrupt drives, files lost after emptying Mac Trash, etc.
- Recovered photos or files can be easily sorted based on the file type view (.png, .jpg, etc.), data view (photos folder, videos folder), date, size, etc.
- Remo Recover Mac is a prominent tool to recover missing files after Mac update to Catalina and other latest macOS versions like Mojave, High Sierra, Sierra, etc. with ease.
- Supports data recovery from various file systems, including exFAT, AFPS, etc.
Some common reasons for missing photos after macOS update
- Mac computer crashes while upgrading to Catalina, High Sierra or any other macOS version can lead to photo loss.
- Unreliable or improper methods utilized for updating Mac.
- Sudden interruptions like Mac shutdowns or restarts while upgrading to Sierra, High Sierra, Mojave, or Catalina.
Note: It is always recommended to take a backup of your important photos or files before upgrading to Mac to avoid photo loss situations. if you can merge multiple iPhoto libraries for easy maintenance.
How to backup files using Time Machine Backup to avoid photo loss or deletion after Mac update?
The very first thing to do before performing any operations on Mac like installing macOS Catalina, formatting Mac, reinstalling macOS, etc. is to take a Time Machine backup of all your important files and photos to avoid data loss. Follow the steps given below to take a backup of all your photos or files before updating your Mac.
- Connect an external storage drive like SSD or external HDD to your Mac.
- Now, Mac will ask whether you want your external drive to be used as a backup drive with Time Machine.
- Check or select the Encrypt Backup Disk option to make your backup drive protected with a password.
- Click on the Use as Backup Disk option.
Refer to this article to find out how to resize your images using the iPhoto.