When you encounter issues with your external hard drives, a typical course of action is to run 'CHKDSK.' CHKDSK verifies file systems and repairs corruption issues. Additionally, if bad sectors are present on the drive, it marks these sectors. Preventing the system from attempting to read from them again, thereby preventing further damage. In this way, CHKDSK can be used to repair corruption issues up to a certain level.
However, if your drive is not properly detected. Running 'CHKDSK' may result in an error message: 'The disk check could not be performed because Windows cannot access the disk.' At this point, you won't be able to proceed with 'CHKDSK' to repair your drive.
This issue might be due to reasons like "insufficient administrative privileges, corrupted system files that are essential for properly functioning your operating system, hardware problems such as a failing hard drive, or bad sectors, conflicts with third-party software can interfere with disk check operations.
In this article. We provide some solutions to resolve the error so that you can proceed with repairing your drive using 'CHKDSK.'
Fix the “Disk Check Failed - Windows Cannot Access The Disk” Error on any Version of Windows
You can try checking the connection of your Hard Drive and changing the drive letter of the disk. These are two solutions to fix the ‘disk check could not be performed Windows cannot access the disk’ error.
Solution 1: Check the Hard Drive Connections
You may receive this error if the drive is not properly connected to your system. So, make sure the connection is secure. You can also try connecting the drive to another USB port. This may help solve the problem in some cases.
Solution 2: Change the Drive Letter of The Disk, Which shows "Windows Cannot access the disk" Error
All hard drives are assigned a ‘drive letter’; any mismatch or inconsistency with the letter can produce the error ‘The disk check could not be performed because Windows cannot access the disk.’ In this case, changing the drive letter of the hard drive is found to resolve the issue.
You can use the ‘Disk Management tool’ in Windows to change the drive letter. It is a useful tool that can be used to manage drives and perform operations such as ‘format,’ ‘add or delete partitions,’ ‘change drive letters,’ etc. To change a drive letter, you can follow the steps below:
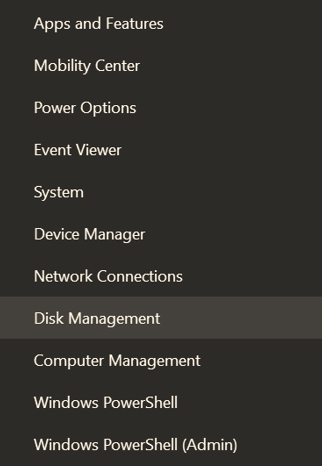
- Press Windows + X to open the power users menu.
- Next, select "Disk Management."
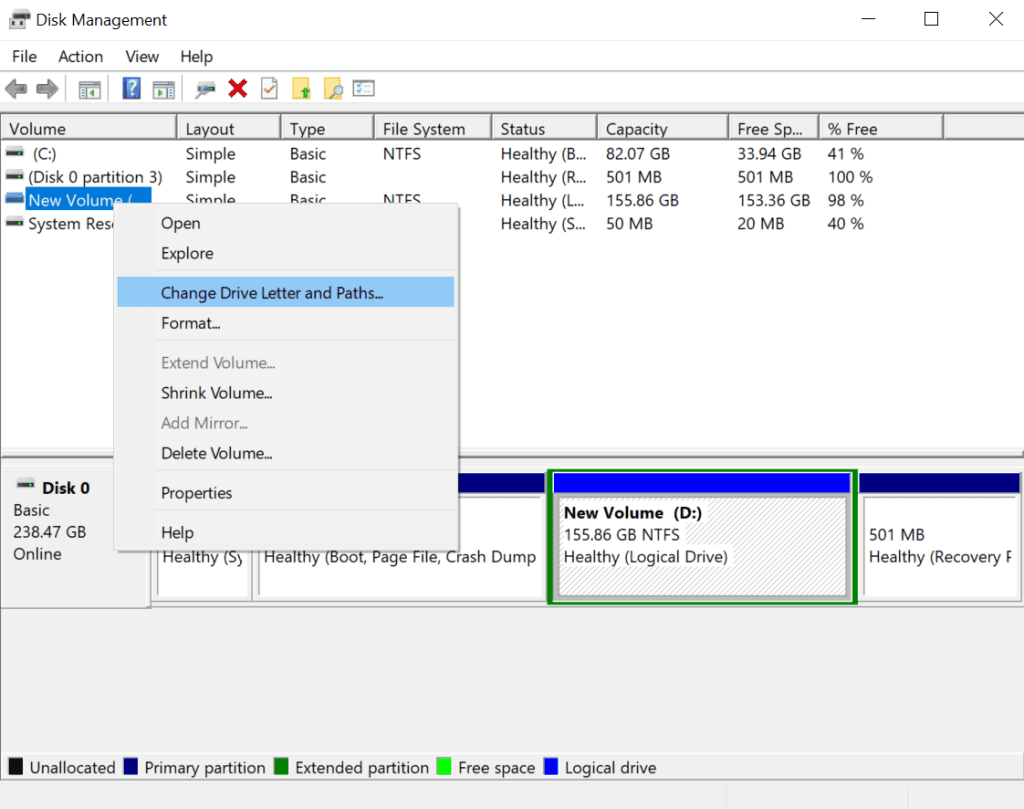
- In the Disk Management console, you will see a list of drives associated with your system. Locate your external hard drive in the list and right-click on it.
- Click on "Change Drive Letter and Paths."
- Then, click on the current drive letter associated with your drive and select "Change."
- Choose a new drive letter from the drop-down menu and click "OK."
Now, your drive is assigned a new drive letter. ‘Reboot’ your system and try running ‘CHKDSK’ again. Ideally, you should be able to do it now. If not, there is a possibility that your drive is severely damaged and needs repair.
But before you go ahead with the repair. It is advised that you retrieve data from it using professional data recovery tools such as Remo Recover. It is a wonderful tool to recover data from damaged hard drives or when the drive is inaccessible.
This simple DIY Remo data recovery tool is available for download and costs way less than sending it to a data recovery center for recovery. Check out the free trial today!
Also Read: How to Fix Seagate Backup Plus Drive that is Not Detected On Mac?
Conclusion
The "Disk Check Could Not Be Performed" error can disrupt your computing experience but can be resolved by following the steps outlined in this article. You can diagnose and resolve the issue, ensuring your computer continues to run smoothly.