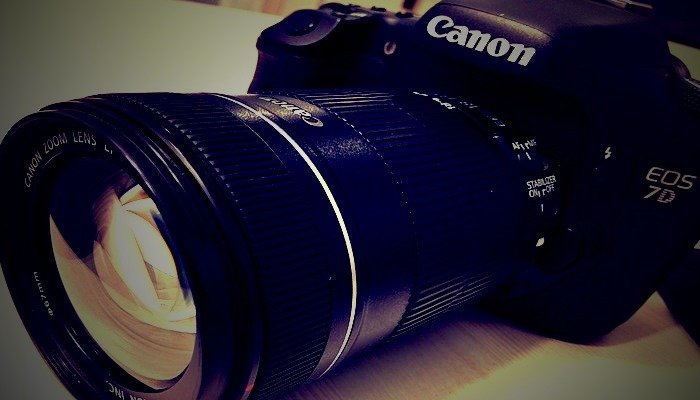
The new EOS 7D is a DSLR camera by Canon, created with all the new technology. This camera is a leap in photography with its fully equipped technology and indeed, the custom functions. Canon has retained its innovative custom functions feature in this camera too. Custom functions allow the user to enhance their photographic experience. With such a feature in a high technology camera, it becomes fun and a medium for every artist to expand their horizons. But in order to use it properly, you must know how to use custom functions in cannon 7D Mark II.
Canon 7D Mark II has a continuous shooting speed of 10fps and is specifically designed for sports and wildlife photography. A number of improvements have been done over the years on Canon camera to create a device like this. It has a high-end 65-point AF system and a buffer to shoot exceptional images with absolute clarity. Apart from the technological fortifications, this camera has a tough and weatherproof design. All these enhancements make this camera a great choice for many photographers.
Want DSLR-like photos? Find out how to shoot DSLR-like images using a Point-And-Shoot camera.
Like all the other custom functions in Canon camera, there are certain categories of custom functions in the 7D camera. All the custom functions are classified into four major groups we can address them as functional groups.
Canon 7D Mark II Custom Settings
1 – Exposure:
This comprises the first group of custom settings for Canon 7D mark II camera. Any setting that deals with exposure and that can be customized comes under this category.
You can alter a number of setting related to exposure with this camera. It allows you to set exposure level increment, ISO expansion, and Flash sync speed while shooting in AV mode. This gives the images an all new quality. Apart from the mentioned settings, you can also set safety shift and bracketing sequence.
2 – Image Settings:
If you want to customize any settings related to Image settings. This makes the second group for custom settings.
With the custom settings for images, you can alter a lot of things while shooting. The Custom settings allow you to use Long exposure noise reduction, High ISO speed noise reduction, and high tone priority. This gives photographers a chance to click images of moving objects with absolute clarity and without noise.
3 – Drive Settings:
This makes the third group for custom settings in 7D. If you want to manipulate and make any custom settings related to Autofocus, this can be done with drive settings.
These settings are one of the most amazing outcomes of advanced technology used in this camera. with the drive settings, you can change the way autofocus behaves while you shoot. It is an innovative method that allows users to shoot high-quality wildlife images.
You can use AI servo tracking sensitivity of the camera, it varies from -2 to +2. It also allows you to shoot with AI servo first. Second image priority, AF tracking, and AF micro-adjustments to make the shooting quite high quality. There are a number of other functions like AF area selection, Manual AF, and AF-assist beam firing. With all these custom settings, you can make your shooting enormously high quality.
4 – Other settings:
There are various options for setting up different operations in the camera. These are miscellaneous settings which are helpful in shooting in custom mode.
This is basically custom settings for other operational control. You can use a lot of functions and set your parameters according to your need. This setting allows you to make custom control settings, change the dial direction and add aspect ratio. This is the finishing line in the way of your custom settings and can be very helpful in click awesome images.
How to Change Settings
If you are using a Canon 7D Mark II camera with custom settings, you have a great chance to click amazing photos. Most of the times, the auto focus and exposure functions are used by photo enthusiasts. You must know how to use these custom settings or you may miss half of the fun using Canon 7D Mark II camera.

Customize the Settings
You can customize the settings on your Canon 7D Mark II camera with some simple steps. just be cautious not to press unnecessary buttons to avoid any issue with the settings.
1 – Locate the menu button to access all the menu options. You can find the menu button on the top-left side of the back of your camera. you can see it at the side of a digital display, near the viewfinder of your camera.
2 – Use arrow keys or the command dial button to browse through menu options. Using the dial key will help you quickly navigate all the menu options and make appropriate settings.
3 – If you are in the settings menu, use the Command dial on the back of your camera to make changes. You can navigate all the options and make the changes using this key.
4 – Go to the appropriate option and press ‘set’ in the middle of the rear command dial. You can alter the digits and change the settings according to necessity.
5 – Once the settings are done properly and you have set all the parameters correctly, press menu. You may have to use the menu button more than once to complete go out of the settings menu.
This shows your settings have been saved and your device is ready to shoot with your settings.
It happens at times when you can also lose your photos due to some minute fault or small corruption. It also happens when you transfer or process images from your camera to computer. This is a grave issue for any serious photo enthusiast. You always should have a guide to restore Canon 7D photos in case of loss. This helps in maintaining the integrity of your precious photos.
With the use of these custom settings in your Canon 7D mark II camera, you can shoot a number of objects that are static and moving. This also helps you to shoot in low light and if you want to shoot in night light. Every owner of this amazing camera should make use of these custom settings.
Additional Read: If you want to know how to fix Nikon Autofocus Issues, follow this article.