GarageBand is a tool for musicians who want to compose, record, edit, mix, create, and produce their own music.GarageBand files work on Audio interchange file format (AIF or AIFF). GarageBand is a tool that has helped us unleash our inner musician. However, it also has some serious limitations. If you delete files from your Mac, they might be gone forever. You might also lose the music files or songs you have created due to any below-mentioned reasons.
Why causes data loss on GarageBand application?
The following are some of the most prevalent reasons for the loss of garage band files as reported by various Mac users.
- Accidental Deletion.
- Corruption of macOS or iOS.
- Formatting of Mac volume.
- Malfunctioning or crash of the application.
- Unexpected or unwanted disturbance during file transfer process.
- System crash can also lead to permanent loss of your music files.
If you've accidentally deleted or misplaced your crucial garage band files and need to restore them, the section below will teach you how to do so in a simple and painless manner.
How To Recover an Unsaved GarageBand File?
The easy way to retrieve unsaved garage band tunes is by making use of AutoSave feature.
Method 1: Retrieve Unsaved GarageBand Files from Mac system.
Step 1: Find the GarageBand project in Finder and right click on it. You should see the option to Show Package Contents.
Step 2: Open the Media folder to access the missing audio files.
Step 3:Drag the .aif file(s) to another location.
Step 4: Open GarageBand and import to a new project.
If you've lost garageband files that were stored on your computer, continue reading to learn how to recover deleted tracks in garageband that have been erased.
How to Recover Permanently Deleted GarageBand Files?
Method 1: Recover deleted GarageBand files using iCloud Backup
If you have taken and saved a backup of your GarageBand files on your iCloud account, you can use this backup as a way to get back your accidentally deleted GarageBand files.This is one of the easiest methods to recover deleted garageband tracks, which can also restore any permanently deleted or lost files, as it doesn’t require any technical skills and all you need to do is provide your login credentials.
Follow the instructions below to restore a backup from your iCloud account.
Step 1: Go to Apple iCloud and sign in with your Apple ID.
Step 2: Next, select iCloud Drive.
Step 3: It will display your saved file/folder, allowing you to locate the GarageBand music files and download the same.
Method 2: Time Machine can be used to restore a backup.
Time Machine is a programme that allows users to back up their data to another storage device. Continue reading to learn how to utilise it to retrieve deleted music files. If you have Time Machine turned on, it will take an automatic backup every time you make a change or update any file or folder.
Step 1: Use the menu bar shortcut to launch Time Machine. Time Machine can also be accessed through System Preferences.
Step 2: After you've opened Time Machine, go to the GarageBand folder where your files may have been deleted or lost.
Step 3: Press the right-hand dial to return to the moment when you want to restore the files.
Step 4: Once you've located the file, click Restore to restore it from a Time Machine backup.
If you have not enabled Time Machine and all of the preceding approaches have failed to recover your GarageBand music tracks, please proceed to the next part, where we will show you how to recover recover unsaved GarageBand files and also recover permanently deleted or lost GarageBand songs on Mac or in an easy step-by-step guide. The handbook is appropriate for both novice and advanced users.
Method 3: Recover Deleted GarageBand Files Using Remo Recover
Remo Recover is a powerful data recovery programme that can recover virtually every type of media asset, including GarageBand audio recordings. It finds and recovers a wide range of file types using patented signature search techniques. You can use file names, sizes, dates, and types to organise the files that have been restored. A simple user-friendly interface allows the user to simply restore all of their lost or deleted music files. All Mac OS X versions, including Monterey and Big Sur, are supported. Right now, you can download the tool for free!!!
Download Now
Buy Now
When it comes to recovering data from Macbooks and iMacs, as well as unbootable Mac machines, Remo Recover is a tool of choice for thousands of customers.
Steps on How to Recover GarageBand Files on Mac
Step 1: Download and Install the Remo GarageBand File Recover software on your Mac system.
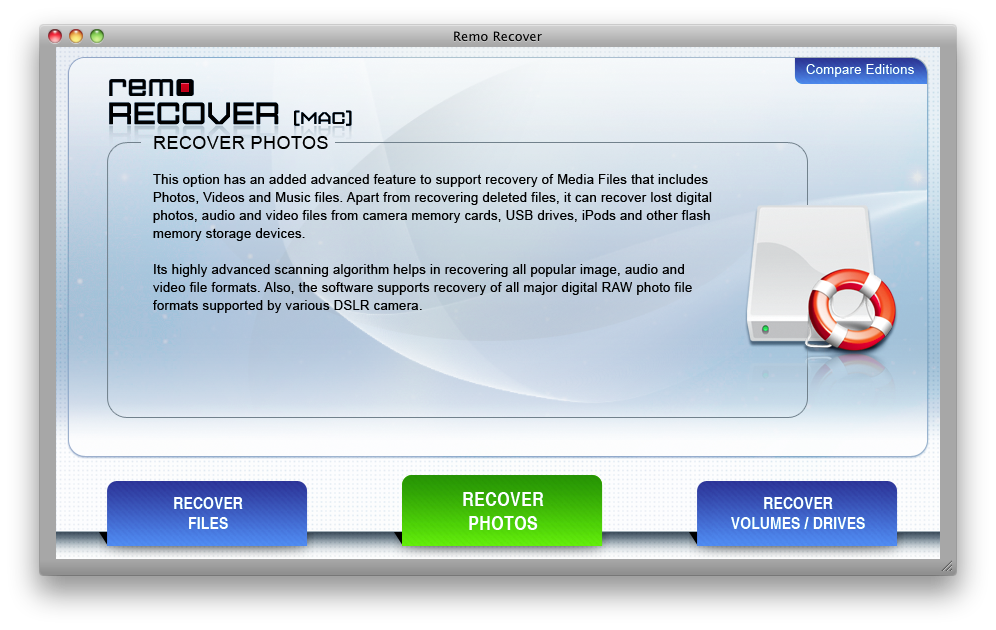
Step 2: Launch the application and click on the Recover Files option from the menu.
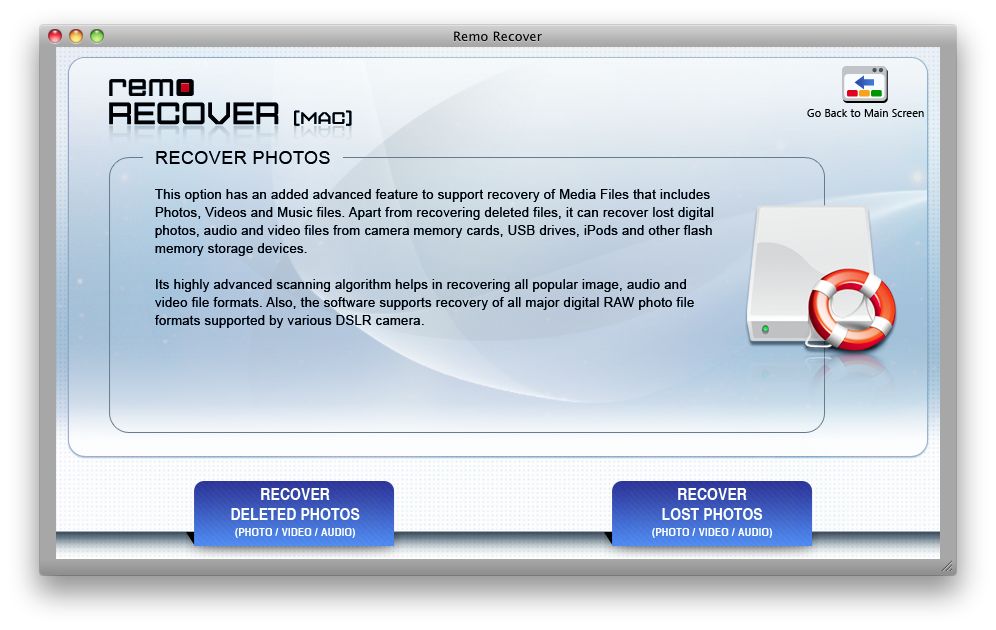
Step 3: Depending upon your situation, select one of the options below.
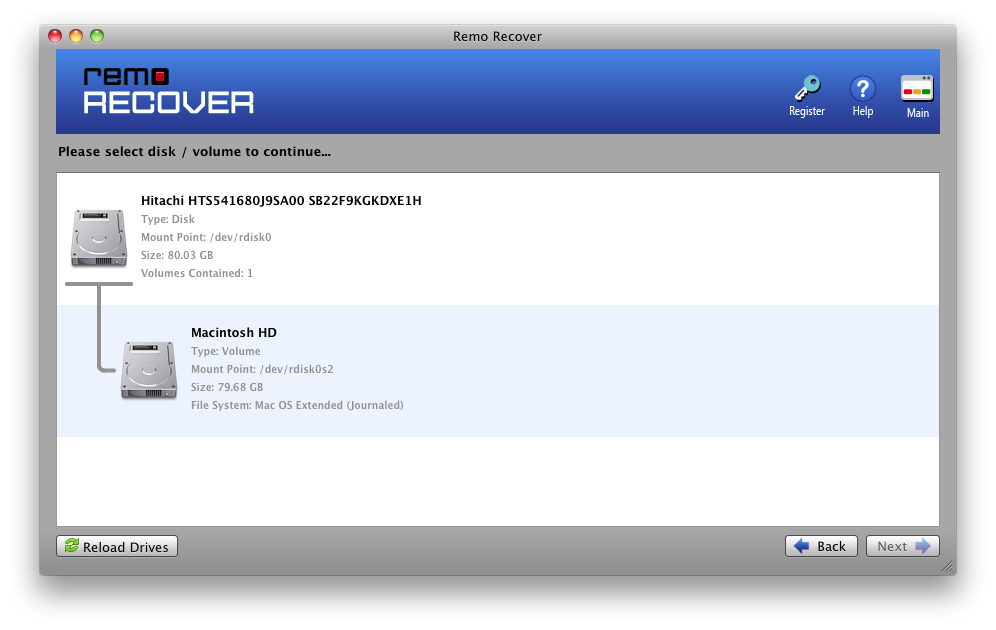
Step 4: Click Next after selecting the drive from which you wish to recover your lost garage band data.
Step 5: Select the type of files you want to recover and hit Next.
Step 6: The application will start scanning the selected drive and offer you a glimpse of the data that has been retrieved. You can first look at the data that has been recovered.
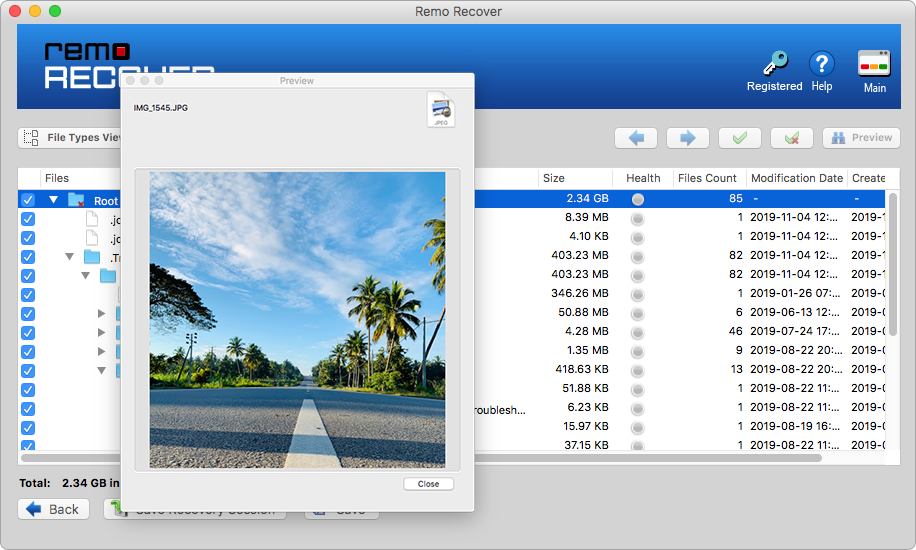
Step 7: Once you’re happy with the results, purchase the activation key which is required to activate the tool. Once the tool is activated, you can save the recovered data to any preferred location.
At times, you may find that GarageBand won’t save files or you may receive a message stating “GarageBand can’t open files”.
Here are few quick tips:
- Try changing the file extension from MP3 to mp3.
- If the project is full, you need to get rid of a few unwanted music tracks.
- If you have any trouble editing a music file, then try changing the file extension to AIFF.
Hope you have found these quick tips helpful.