When you connect an external hard drive to your system, in some cases it may not power up. This post focuses on troubleshooting steps to resolve the error.
Before you assume something is wrong with your drive, let us check where the problem is coming from.
If the external hard drive uses a power adapter, that could be faulty. Try changing the adapter and check again. If this doesn’t help, replace the USB cable and plug the drive into your system. If this doesn’t solve the issue, proceed to the next step.
Connect your hard drive to another computer by following the steps below. This way you can determine if the problem is with your computer or the drive itself.
If the drive works on the other computer, there may be problems with your system. The most common problems are outdated drivers.
Sometimes, the hard drive showing up as unallocated can also be a reason why your hard drive is not getting displayed or connected. Check out the link above to know more about it.
If these steps don’t work, it is likely that your external hard drive may be the problem.
But before you format the drive, data needs to be recovered. You will need professional data recovery tools for this purpose. Remo Recover is a wonderful solution for all your data recovery needs. It scans your drive sector by sector to retrieve files.
Thanks to the read-only mechanism it employs, there is no damage caused to your original data. This software can be used to recover data from an external hard drive that is corrupt, inaccessible, and RAW. It supports recovery from all kinds of storage devices, such as USBs, memory cards, etc.
It uses a unique signature search and has the capability to retrieve 300 types of files. The tool is designed with a simple GUI to make data recovery simple for all kinds of users. Just download and install Remo Recover on your computer and see how amazing it is!
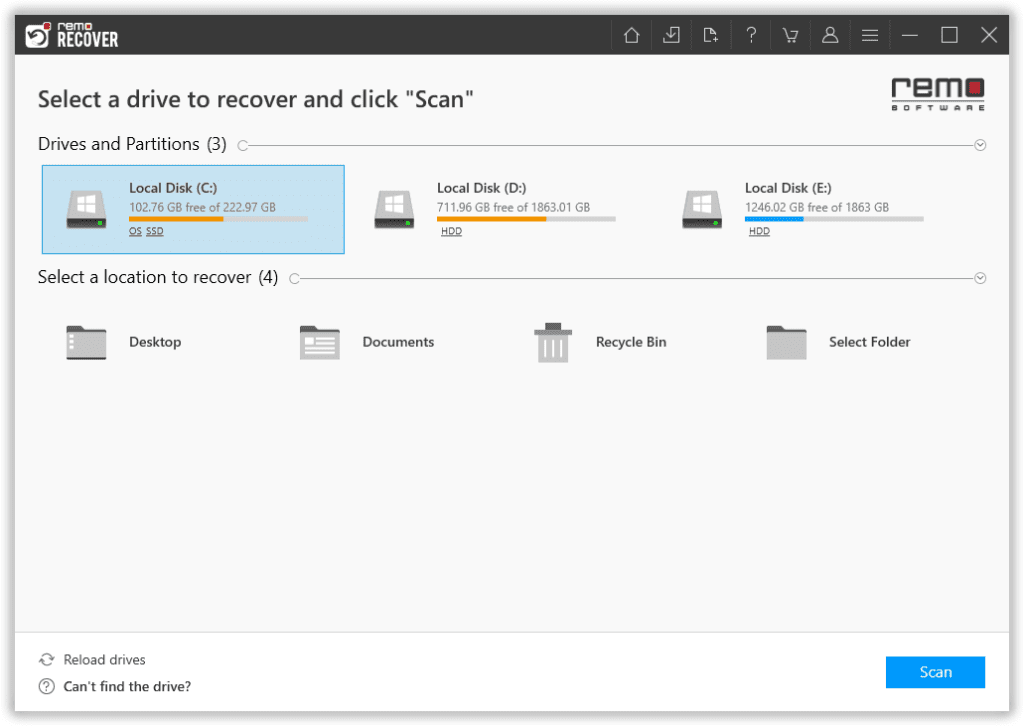
Step 1: Connect the external hard drive to your system. Launch the tool and select the external hard drive from the list of drives as the first step. Click on the Scan button to start the drive scan process.
Step 2: As the scan progresses, you have the option to view the files without having to wait till the scan completes, just click on the Dynamic Recovery View to have a quick glance at the recovered files.
Step 3: The software provides you with a complete list of recovered files. Use the Filter option to sort files based on file types.
Step 4: Just double-click on a particular file to Preview it even before saving them.
Step 5: Select the files that you want to restore and also select the desired location where you want to restore the retrieved files.
Step 6: Wait till the data-saving process gets completed. Once done, you can view the files safely saved in the selected folder.
Also Read: The Benefits of Having a Wireless Hard Drive
