What if I told you that the image you think is perfect can be significantly improved using Photoshop? If you are a Photoshop user typing to get your images corrected then read this extensive article on fixing damaged photos in Photoshop.
Most of the photos we click don't end up as we expect as they are often damaged due to various digital noises or interference. For example grainy photos, overexposure photos, or low-saturated photos.
There are scenarios where corrupt photos need repair, but ours is an easy fix. Fortunately, all these digital noises in photos can be easily adjusted with the help of Photoshop applications.
It is not required for you to be some Photoshop wiz to fix any of these errors. Here are simple tools that will help you fix the damaged photo using Photoshop and bring it back to life.
Note: If your Photoshop application crashes while you are working, you can recover the lost or unsaved photos using Photoshop temp files
Using the Noise reduction filter you can fix spots, grains, dots of red, green, and blue, color fringing, halos, shadows, pixelation, luminance noise (black, white, and grey dots), banding, etc. in photos.
Grainy or noisy photos happen when you capture a picture in low light. Generally, when you try to take a picture in low light you need to have a high ISO. ISO defines the sensitivity of a camera's image sensor towards the light. The higher the ISO higher the sensitivity. Hence when you try to take a photo in low light the camera or phone automatically adjusts to high ISO resulting in grainy or noisy photos.
The grainy photos can be easily fixed using the Photoshop noise filter. Follow the mentioned steps to reduce the noise using the Photoshop application.
Once you made changes to your requirement, save the photo and promptly close the PS application. In case if the PS application crashes and gets terminated, your PSD file might be damaged and result in an unexpected end of the file error on the PS application.
Lab Color Mode can fix Luminance noise which includes brightness issues, black, white, and grey dots in the photo.
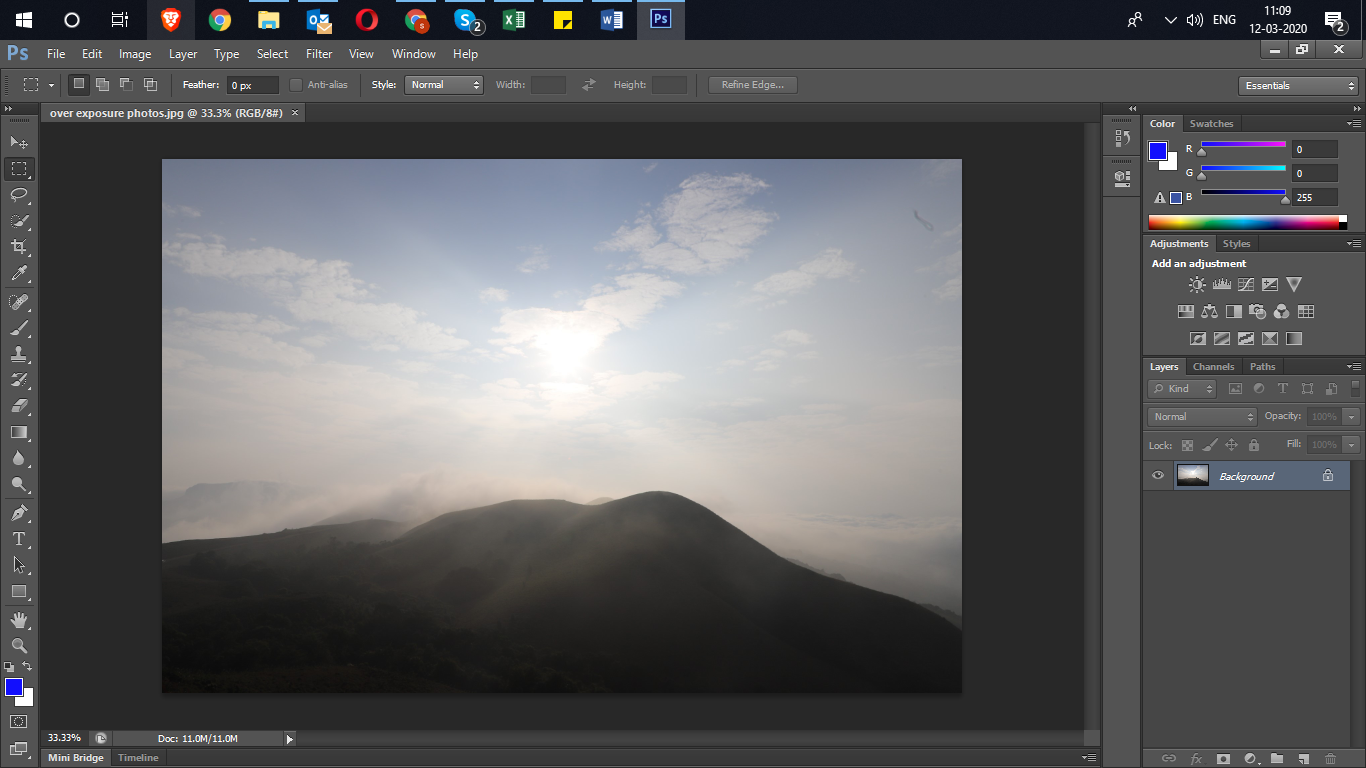
Overexposed photos are caused when you click a photo in excessive light or when an image sensor is exposed to light for a long time. Overexposed photos look vigorously bright and mask all the details. Overexposure can be fixed by darkening the photo using the Photoshop application.
While fixing the photo on Photoshop be cautious because Photoshop application needs a lot of resources such as RAM and a good performing processor. If resources are insufficient the PS application might crash and damage the PSD file. Due to any reason if you ever damage the PSD file the quickest and simple method to fix a PSD file is with the help of Remo PSD repair software.
You have clicked an amazing photo but it looks lifeless with no colors. Fortunately, Photoshop will help you fix the photo and make those colors pop. All you need to do is to use the hue and saturation filter. You can find the hue and saturation filter at the right bottom of the toolbar.
Click on the hue and saturation filter to open the saturation toolbox. You can adjust the saturation range by dragging the saturation bar. However, using hue and saturation filters you cannot adjust a single color at a time. Moreover, over-adjusting the saturation filter will ruin the entire photo.
The better way to adjust the saturation of a photo and make the photo look crisp is by using a channel mixer filter. Channel mixers will allow you to adjust blues, greens, and reds individually. You can find the channel filter on the same menu. Once opening the channel mixer filter follow the mentioned steps:
You can find the saturation values of individual colors and total at the bottom filter. The trick is to maintain the total saturation value at 100. So if you adjust the red saturation value at 200 adjust green and blue to -50 so the total saturation stays 100. And follow the steps carefully.
Once the image is to your requirements save the photo with your desired extension. Make sure you have enough storage space left on your drive while working with Photoshop files. If storage space is insufficient you might encounter with scratch disk error on Photoshop. Here is the final image.
Using Retouch and Repair tools in Photoshop you can fix red eyes, spots, and blemishes on the skin.
A few of the tools include the Healing Brush tool, Spot Healing Brush Tool, The Patch tool, Red Eye tool, and Clone Stamp.
Healing Brush tool: The Healing Brush tool matches the texture, lighting, and transparency of the image. This tool can paint the sampled pixels from an image or a pattern.
Using Healing brush:
Spot Healing Brush Tool: This tool can remove spots, blemishes, and circles on the photos, unlike the healing brush, you need not specify the sample area
Using Spot Healing Brush:
The Patch Tool:
The Patch tool is used to repair a selected area with pixels from another area or a pattern.
Using Patch Tool:
Red Eye tool: To remove the red eye on the image.
Clone Stamp tool: This tool lets you copy one area of an image over another of the same image, which has the same color mode.
Here's a step-by-step guide to learn how to colorize black-white images and Photoshop images with ease.
That’s all you have to do if you see the results of the photo we have adjusted in this article it might be clear how effective the Photoshop application will work while fixing the dull and lifeless photos. The only thing you have to do is to keep on working and not lose your practice on the Photoshop application. Next time, experiment with different levels of saturation and share your results with us in the comment section below.


