One can use several ways to back up files to an external hard drive. Few are:
External Hard Drives That Back Up Automatically
If you plan to get an external hard drive for backup, get one of the hard drives offering an automatic backup feature.
Many external hard drives have preloaded built-in backup software or include third-party solutions to enable automatic and scheduled data backup.
- Choose a hard drive with sufficient storage capacity that is compatible and fulfills your backup requirements.
- Connect the drive to the computer
- Download and Install the backup software( Ignore if it is pre-installed)
- Initiate the first backup. The time required depends on the files you choose to backup.
- Enable Automatic backups and schedule them according to your needs to ensure backup happens even without any manual intervention.
- Verify the backups periodically to check if the backups are completed successfully.
You will be notified every time after the backup or logs about the backup status.
After the backup, you can restore the files from the backup location whenever you need them.
NOTE: Ensure your backup data is encrypted or secured with a password to guarantee safety.
If you have a hard drive without any automatic backup feature, don’t worry; built-in utilities can help you automatically back up files to an external hard drive on both Windows and Mac.
Automatically Backup Files To an External Hard Drive on Windows
Windows offers two utilities that can automatically back up to an external hard drive. The best part is that they are free, and you don't need to download any additional tools or setup to back up files to an external hard drive.
Windows Backup and Restore
- Connect the external hard drive and Open the Control Panel.
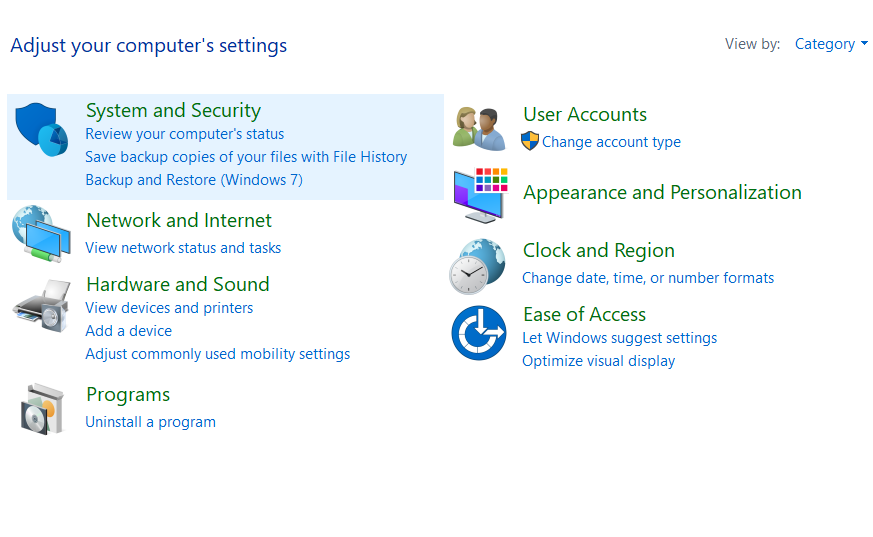
- Click on System and Security.
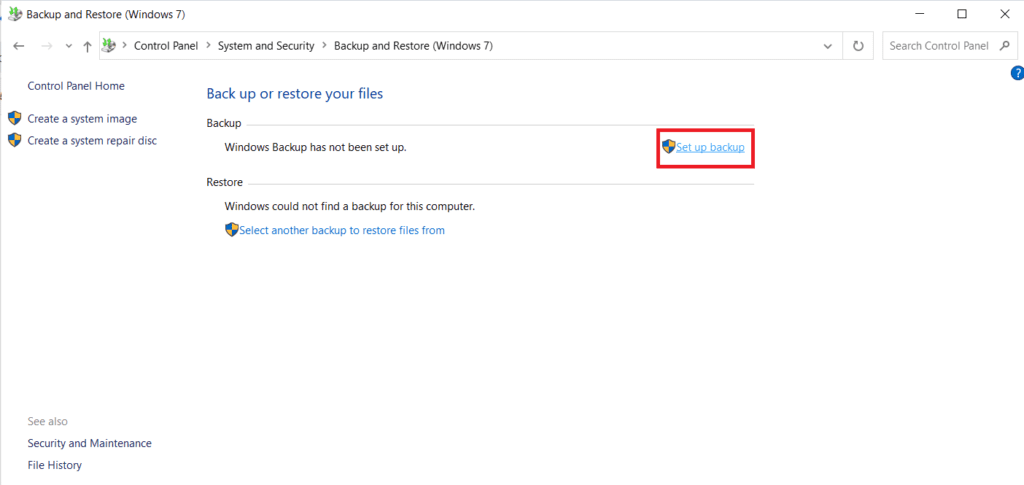
- Open Backup and Restore (Windows 7) and click Set up Backup.
- Choose the External hard drive and click on Next.

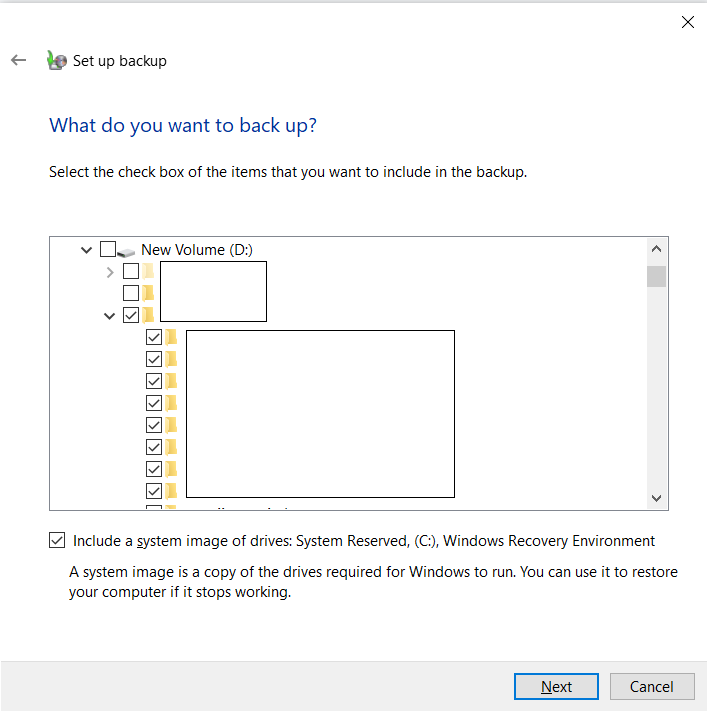
- Click Let Me Choose and then Next to select the files you need to back up.
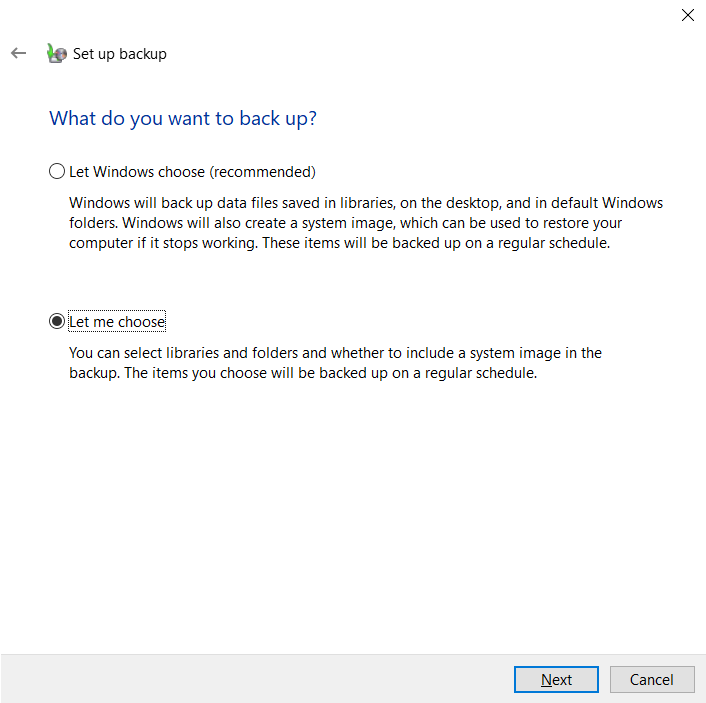
- Choose the files that you want to backup and click on Next.
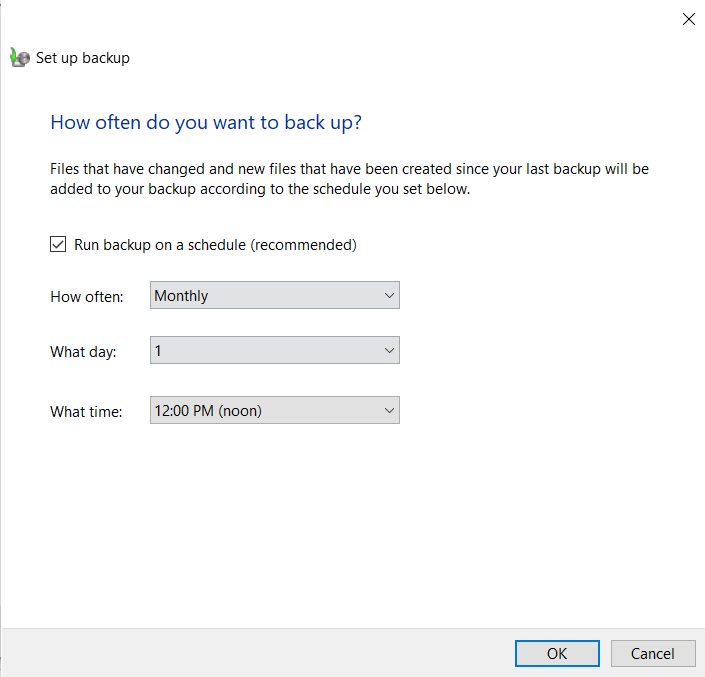
- To schedule the backup, click on Change Schedule to customize your backup schedule and click on OK.
- Click on Save settings, run backup, and wait till the process completes
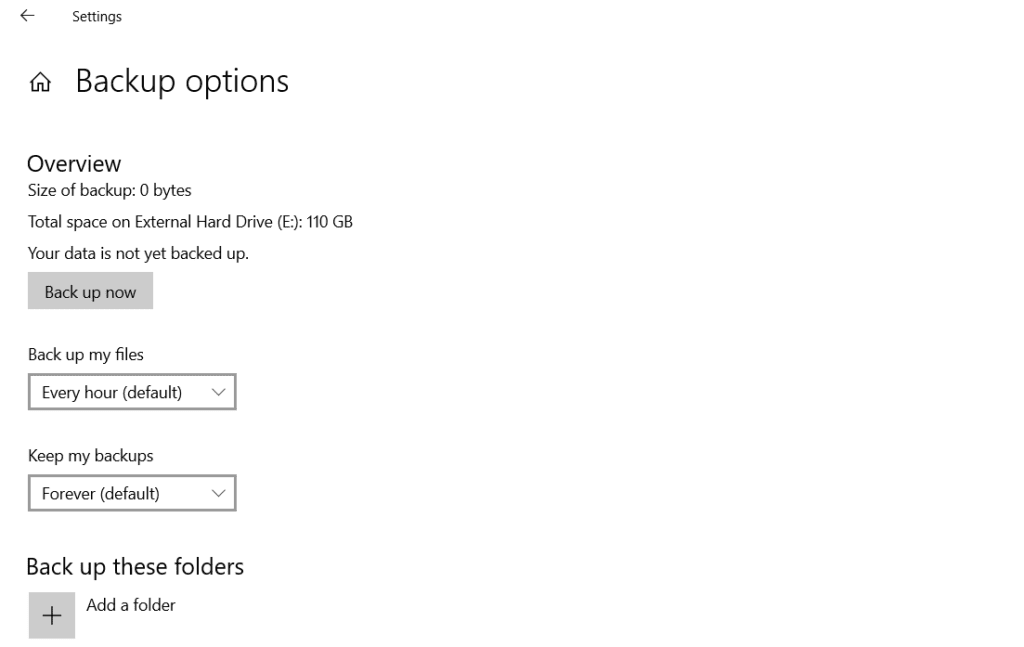
File History
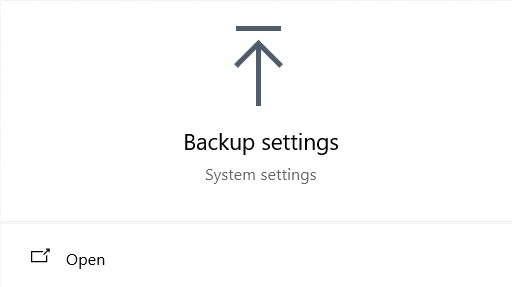
- Keep the external hard drive connected and Search for backup Settings.
- Toggle the switch to on and click on More options to customize the backup.
(change the backup times according to your requirements)
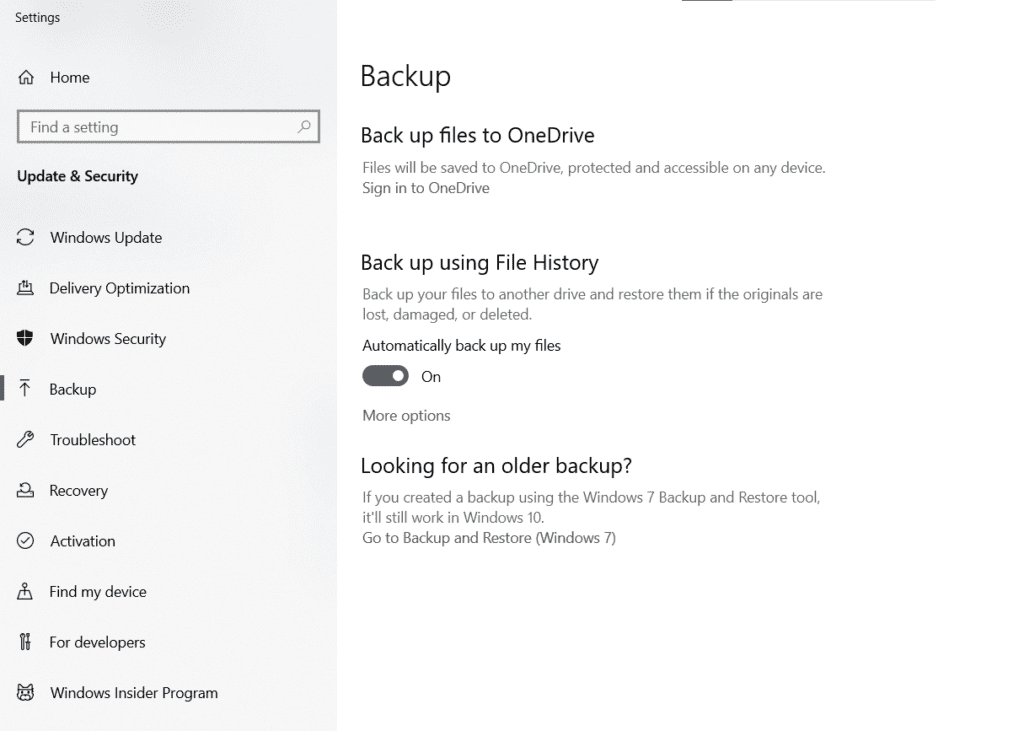
- Scroll down to select and exclude folders that you want to back up.
- Scroll back to the top and click on Back up Now.
To restore a backup from the file history, you just need to right-click on the file and select Restore previous versions, then choose and restore a backup version.
Automatically Backup Files To an External Hard Drive on a Mac
macOS has a built-in utility called “TIme machine” to enable automatic backup to an external hard drive. Here’s how it works:
Apple suggests using the Time Machine backup disk (external hard drive) exclusively for Time Machine backups and not storing any other files or additional data. To set the Time Machine:
- Click on the Apple logo in the screen's corner and choose System Settings.
- In General, in the sidebar, choose Time Machine.
- Click on Add Backup Disk and click on Add button (+)
- Select the External hard drive and click on Set Up Disk.
(You may erase the hard drive to use it on the Time machine while setting up. Make sure you don’t have any crucial data on the hard drive)
You can claim the existing backups created on different computers if needed. Once the setup is complete, the Mac uses your External hard drive for backups.
Initial backup might take a while, but after using the device continuously, it takes a backup of files that have changed from the previous backup.
To Customize automatic backup:
- Open Time Machine settings from the Time Machine menu.
- Click on Options and choose from Back up frequency.
To Restore:
- Open Time Machine, browse the available backups, select the files you want, and click Restore.
ALSO:
If you have forgotten to take a backup of your files or experienced a sudden shutdown or corruption issue in the hard drive, you can still recover the data from the external hard drive.
All you need to do is stop using the hard drive to avoid overwriting data and use data recovery software like Remo Recover to retrieve the backup files.
Conclusion:
Though setting up automatic backup to an external hard drive takes time, it's worth it. It's always better to be safe than sorry, which also applies to digital data.
We hope this article was helpful to you in getting detailed insights on “how to automatically backup files to an external hard drive?” on both Windows and Mac.
Frequently Asked Questions
You can use USB, SSDs, and Cloud storage services for automatic backups.
The cons of using an external hard drive as a backup are:
1. Risk of theft.
2. Physical damage.
3. Corruption or other malfunctions.
To automatically sync files to an external hard drive: