Finding hidden photos is easy. As long as you remember where they are stored, you should not have a problem. This article is for you if you do not remember the location or simply can't find your hidden pictures.
When it comes to hidden images, there can be 2 causes-
- Hidden by a User- Users tend to hide private and extremely confidential images.
- Hidden by an application- malicious third-party programs such as viruses and malware tend to hide files without the user's knowledge.
Methods Locate Hidden Photos on Mac
Below, We have 5 DIY methods that can help you find your hidden images on Mac.
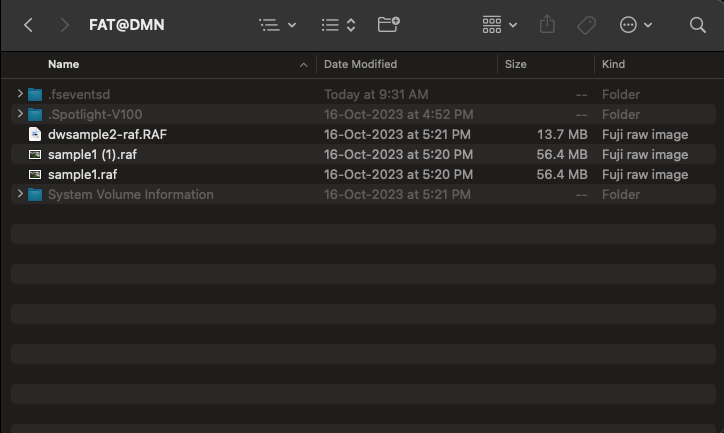
1. Check the Hidden Option in the Finder
Finder can help reveal your hidden pictures, you can use it by following the instructions below-
- Use the Finder feature to locate the folder that holds your hidden images.
- Press “Command+Shift+.” to make hidden folders visible.
2. Use Spotlight Search to locate the Hidden Folder
While Spotlight is a fairly common feature, it is often overlooked. Follow the steps below and try it out.
- Click on the Spotlight icon located in the top-right corner of your screen.
- Type the image name.
- If you can locate your file, click on it to access it.

3. Check Trash to locate the Hidden Folder
There may be a minor chance that you accidentally deleted the hidden images. See if you can locate them in Trash.
Once located, move the images to a location of your choice.
4. Use Terminal to locate the Hidden Image Folder
While it may seem intimidating initially, with the instructions provided, Terminal is fairly easy to use when a user wants to see hidden folders. You can do so, too, by following the steps provided-
- Open Terminal.
- Use the “cd” command to navigate to the location of the hidden photos.
- Use the “ls -a” command to list all files.

5. Use Remo Photo Recovery to Locate Hidden Photos
If you cannot locate your hidden images using the above methods. Professional data recovery software such as Remo Photo Recovery Mac is recommended. A third-party data recovery software is a good option when image files are lost, hidden, or deleted.
Conclusion
When it comes to hidden files on Mac, it is a good option if the hidden photos are visited or managed regularly. An external storage device is a better long-term option for storage purposes. If your MacBook has multiple users, that could threaten your hidden images in the long run. I hope this article helped you recover your hidden photos, and if you have any queries or suggestions, please let me know.
Frequently Asked Questions
1. Click on View, located in the Menu Bar, and click on Show Hidden Photo album.
2. You can view your hidden Photo album on the sidebar. Click on it to access it.
3. If you wish to Unhide it, right-click on the image and select Unhide Photo.
1. Select the Photo that you wish to hide.
2. Control-click on the photo and select Hide Photo.
There are several tools and features that you could use to locate hidden images on your Mac, and they are listed below-
1. Check the Hidden Option in the Finder
2. Use Spotlight Search to locate the Hidden Folder
3. Check Trash to locate the Hidden Folder
4. Use Terminal to locate Hidden Folder
5. Use Remo Recover Mac to Laocate Lost Files