Flash drive write protected!!! You can’t access it anymore…
Do you think so? Well, indeed, you can’t access write write-protected flash drive. But you can remove the write protection from the flash drive to make it accessible. Here I have listed out a few techniques that can be useful to remove the write protection from flash drives. Try it out-
How To Remove Write Protection of USB Drive?
Procedure 1: Unlock the Write Protect Switch To Fix the Write Protection Error
Some flash drive comes with Write Protect Switch. So first, check whether your flash drive has this switch or not. If the flash drive has the switch and is locked, move it to the unlocked position. And try to open your flash drive.
If you are still getting the Write Protected error? Then try the next one…
Procedure 2: Change The Attributes of the USB Drive Using The DiskPart
- Go to the start menu and run Command Prompt
- Type diskpart in the command prompt and click Enter
- In a new command line window, type list disk and then press Enter
- Check here for the disk number, which is write protected
- Next, type select disk number ex: select disk 3, and Enter
- Now, type attributes disk clear read-only and hit Enter
- Type Exit
Go to your flash drive and now try to open it. If you are still unable to open your flash drive, then move to the next procedure.
Procedure 3: Change the Windows Registry To Remove the Write Protection on USB
I recommend you use this method only if you are technically aware of the registry. Otherwise, it is better to take any expert advice.
- Type regedit into the Search programs and files field and click on enter to open the Registry Editor window.
- In the Registry Editor window, search for a key named WriteProtect in the path: HKEY_LOCAL_MACHINE\SYSTEM\CurrentControlSet\Control\StorageDevicePolicies
- If you find WriteProtect, right-click on it and click on Modify and set it to value 0
- Click ok and close Registry Editor.
Remove your flash drive and connect it back to check whether it is write-protected.
Procedure 4: Format the USB Drive That Was Showing Write Protection Error
If all the methods mentioned above fail to remove write protection from the flash drive, the next option is to format the flash drive. I know what you’re thinking. Yes, formatting erases all the data, but at least you can reuse your flash drive, and by using the USB Drive Recovery Software, you can get back your erased data from a flash drive. You know how to format the flash drive, right? Right-click on a flash drive and press Format option.
If your flash drive shows a write protection error due to corruption, you can’t even format it.
But you can recover your data from a flash drive with the help of Remo Recover.
Recover Data from Flash Drive shows Write Protected Remo
Remo Recover is a powerful USB data recovery software that is built to recover more than 500 types of files that were lost due to any reason from any USB drive with absolute ease.
Download the tool now and recover files from the write-protected USB drive.
How to Use Remo to Recover Data from Flash Drive shows Write Protected?
Download and install Remo USB Drive Recovery software. Then, attach a flash drive to the system on which you have installed the software and do as follows:
- Download and install Remo on your Windows or Mac system.
- Connect your formatted USB drive and start the recovery process.
- Choose the formatted USB drive you want to recover and click on Scan
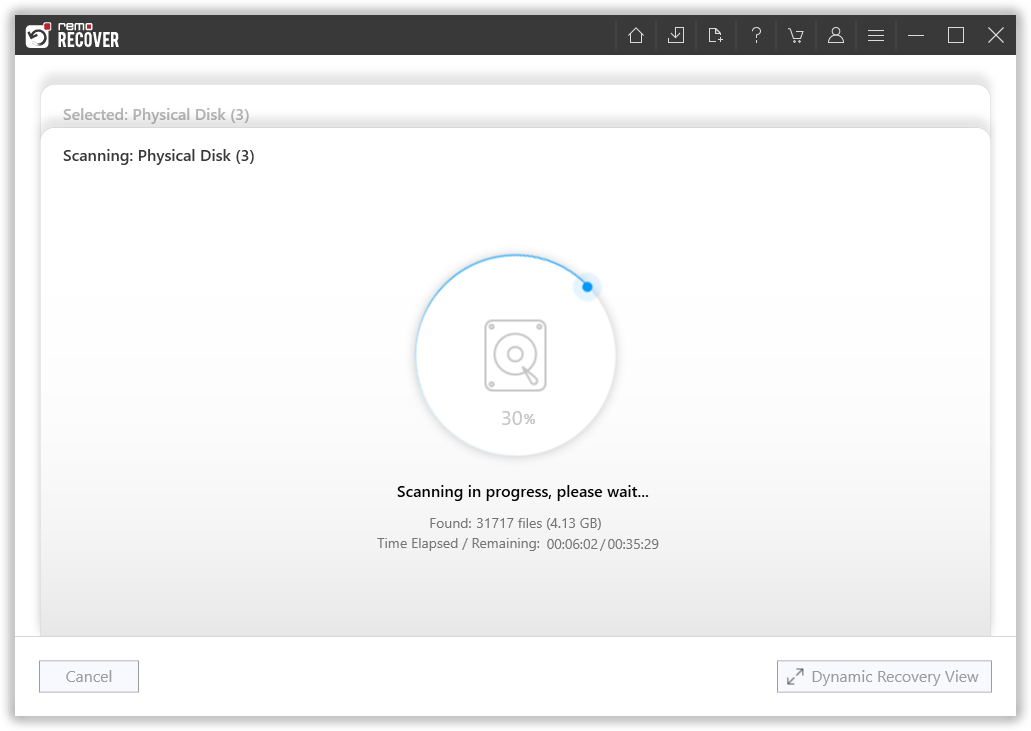
- The tool will automatically initiate Quick Scan. Once the Quick Scan is completed, the tool runs Deep Scan, where it restores data sector by sector. Open the Dynamic Recovery View to recover the files while the Deep Scan runs.
- You can also search for the specific file format in the search bar with the Advanced Filter option.
- After the partition USB drive is scanned, the recovered data will be presented to you, which can be Recovered.
- Make use of the Preview option to view the recovered USB files.

- Choose the files from the formatted USB drive, and click on Save a browse for a location to save the recovered data.
Conclusion:
Here we end our article on removing the write protection on the USB flash drive. Where I have explained 4 DIY solutions, such as unlocking the Flash Drive, talked about changing the Windows Registry and the attributes using the Diskpart, and formatting the drive. In the end, I have also explained to you how to recover files lost during or after encountering the write protection error.
I hope you have found this article helpful in answering your question.