Losing valuable data can be frustrating, but there are ways to recover files deleted by chkdsk. In this article, we will explore several methods you can use to recover chkdsk deleted files.
CHKDSK or Check Disk is a built-in utility in Windows that checks the file system and hard drive for errors and ensures that it is not corrupted. This tool can identify and fix logical file errors caused by various actions, such as improper computer shutdown, removing USB drives without properly ejecting them, and malware infections.
Logical file errors may cause data loss or system instability, and running CHKDSK can help prevent or mitigate such issues. CHKDSK can help keep the computer running smoothly and ensure data integrity by detecting and repairing file system issues.
However, chkdsk may delete files it deems corrupt or damaged to complete the repair process. While this is meant to improve the overall health of the hard drive, it can result in unintended data loss for many Windows users.
How Does CHKDSK Work?
CHKDSK, as mentioned earlier, is a handy utility in Windows to fix any logical issues in Windows computers. CHKDSK, used without any commands, will only display the status of the volumes. However, it can fix volume errors when combined with commands like /f, /r, /x, or /b.
Here is how CHKDSK works:
- It scans the hard drive for errors in the file system, like bad sectors, cross-linked files, or lost clusters.
- If it finds any errors, CHKDSK will try to fix them. This might mean moving data or repairing files.
- CHKDSK also checks metadata, like file locations, sizes, and permissions. It tries to fix any issues it finds.
- If it finds any bad sectors on the hard drive, it marks them as bad so that they won't be used again.
- Once CHKDSK is done, it reports its findings, including any fixed errors and any bad sectors marked.
How Can CHKDSK Delete Files?
CHKDSK is not designed to delete files intentionally. However, in certain situations, CHKDSK may end up deleting files or data without your intention. Here are a few scenarios where this could happen:
- File System Corruption: If the file system on the hard drive is severely corrupted, CHKDSK may need to delete some files to repair the system. In some cases, CHKDSK may be unable to distinguish between corrupted and intact files, and it may end up deleting files you want to keep.
- Bad Sectors: If CHKDSK encounters bad sectors on the hard drive, it may be unable to recover data from those sectors. If a file is stored in a bad sector, CHKDSK may end up deleting that file.
- Cross-Linked: CHKDSK can delete files if it detects that they are cross-linked, meaning that two or more files point to the same cluster on the hard drive. When this happens, CHKDSK will attempt to resolve the cross-link by deleting one of the files. Cross-linking can occur for various reasons, such as improper shutdowns, disk errors, or hardware failures. When files are cross-linked, it can cause data corruption and other issues, which is why CHKDSK attempts to fix it by deleting one of the files.
- Human Error: It is also possible for users to accidentally delete files while running CHKDSK. For example, if you accidentally mistype a command or enter the wrong parameters, you may delete files by mistake.
Now that you know the scenarios when chkdsk can delete your files, let's quickly find out how to recover chkdsk deleted files.
4 Effective Methods To Recover Files Deleted By CHKDSK?
Below we have mentioned effective methods to recover files deleted by chkdsk:
Method 1: By Using A Professional Data Recovery Software to Recover CHKDSK Deleted Files
By using a professional hard drive recovery tool like Remo Recover you can easily recover lost files deleted by chkdsk.
Remo Recover is a powerful data recovery software that specializes in retrieving files lost or deleted by CHKDSK. Whether your files were deleted due to a disk error, a corrupted file system, or any other reason, Remo Recover has you covered. It employs advanced scanning algorithms to locate and restore your lost data, ensuring a high recovery success rate.
Steps to Recover CHKDSK Deleted Files Using Remo Recover
Follow these steps to recover files deleted by chkdsk using Remo Recover software:
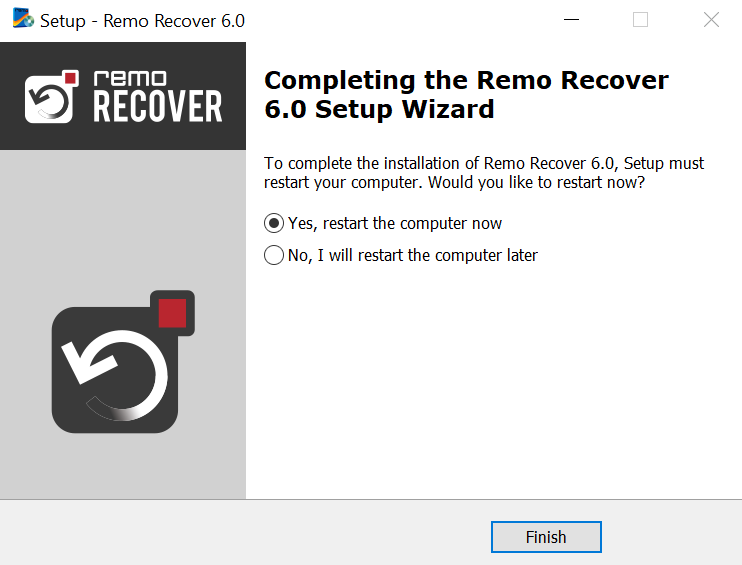
Step 1. Start by downloading Remo Recover Windows software. Once the download is complete, locate the setup file and run it to begin the installation process. Follow the on-screen instructions to install the software on your computer.
Step 2. After the installation is complete, launch Remo Recover Windows. You will see the main interface of the software. From there, select the hard drive or partition from which you want to recover the files that were deleted by chkdsk. Click on the "Scan" button to start the scanning process.
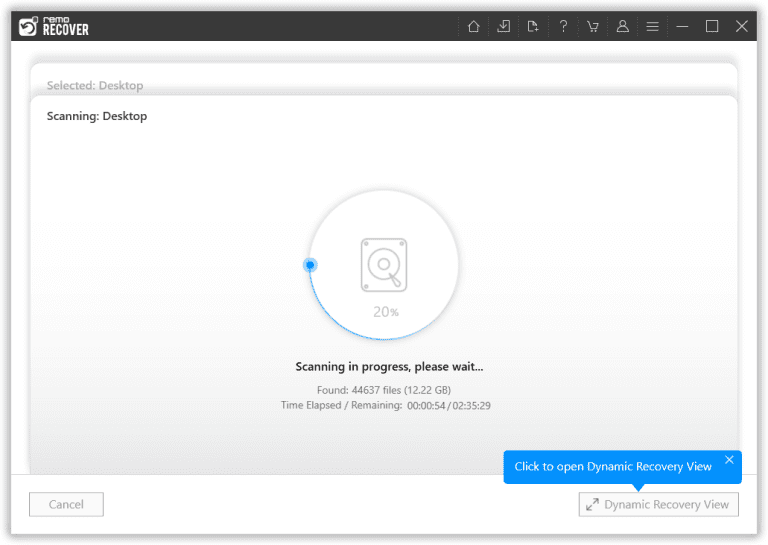
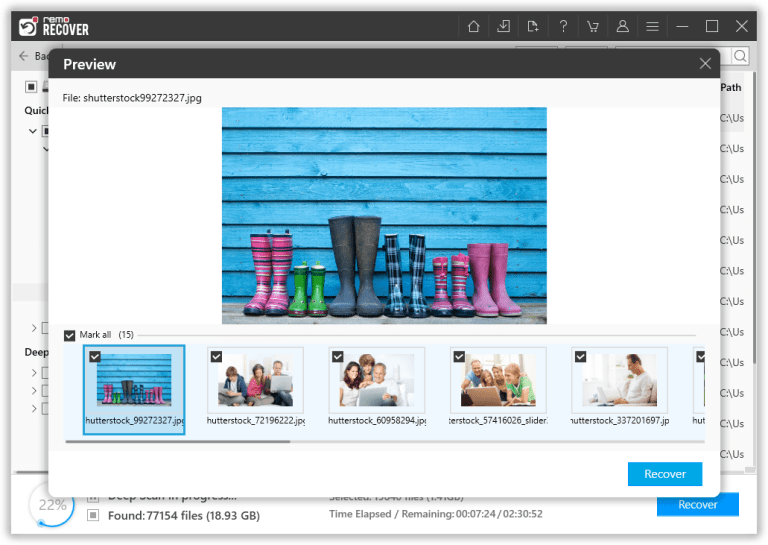
Step 3. During the scanning process, you can use the Dynamic Recovery View feature to preview the files that are being recovered. This allows you to verify the recoverable files before proceeding.
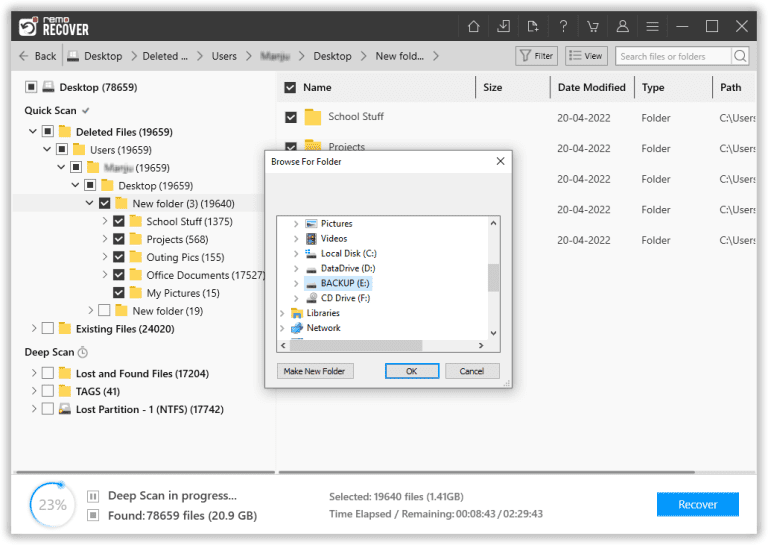
Step 4. Once the scan is complete and you have previewed the recovered files, you can proceed to save them. The recovered files will be listed under the "Lost and Found" or "Lost partition" folder. Select the files you want to recover, click on the "Recover" button, and choose a safe location on your computer where you want to save the files. Finally, click the "OK" button to initiate the file-saving process.
If you have a backup of the deleted files, then you can try restoring those files from the Backup. The next solution talks about the File History option.
Method 2: Recover Files Lost After CHKDSK With Backup
If you have a backup of your files, you can quickly recover files lost after CHKDSK. Here are the steps to recover files using a backup:
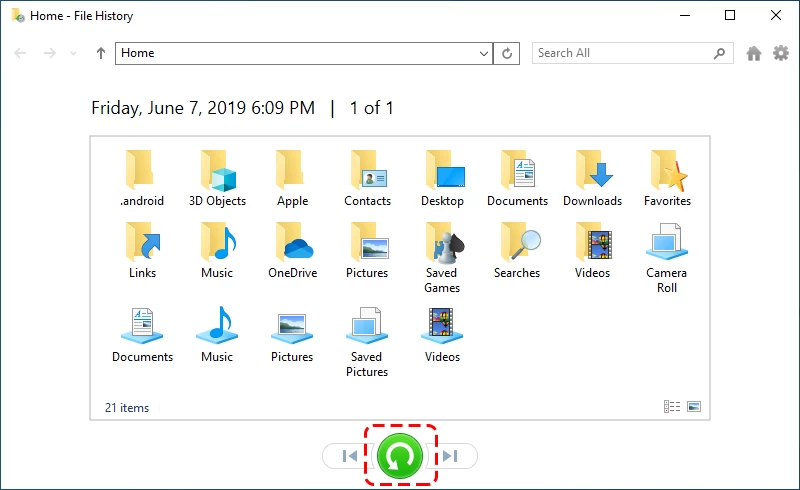
- First, open the Start menu and search for "File History."
- Next, select "Restore your files with File History" from the search results.
- Use the left and right arrows to navigate through the available versions of your files until you find the version you want to restore.
- Select the files you want to restore by clicking on them.
- Click the "Restore" button in the lower-right corner of the window.
- If you want to restore the files to a different location than the original, click the "Settings" icon and select "Restore to" to choose a new destination folder.
Once the restore process is complete, you can access the files lost after CHKDSK from their original location or the location to which you chose to restore them.
Important Note: In case you don't have a backup, it's high time to take a backup of your important files to prevent them from data loss. You can refer to this article to learn various ways to take a backup of your computer.
Method 3: Use System Restore
If you have System Restore enabled on your Windows computer, you can recover files lost after CHKDSK. Here are the steps to use System Restore:
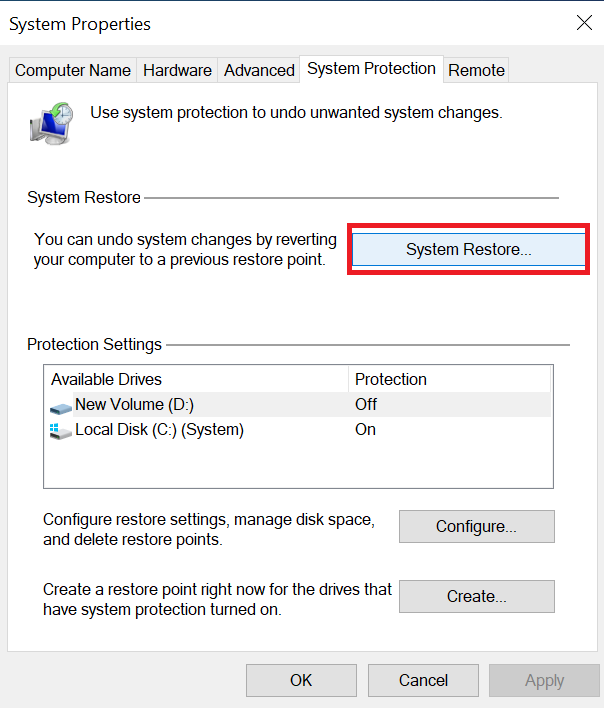
- In the Windows search box, type "System Restore," From the results, select the "Create a restore point” option.

- Now, click on "System Restore" in the System Properties window that appears.
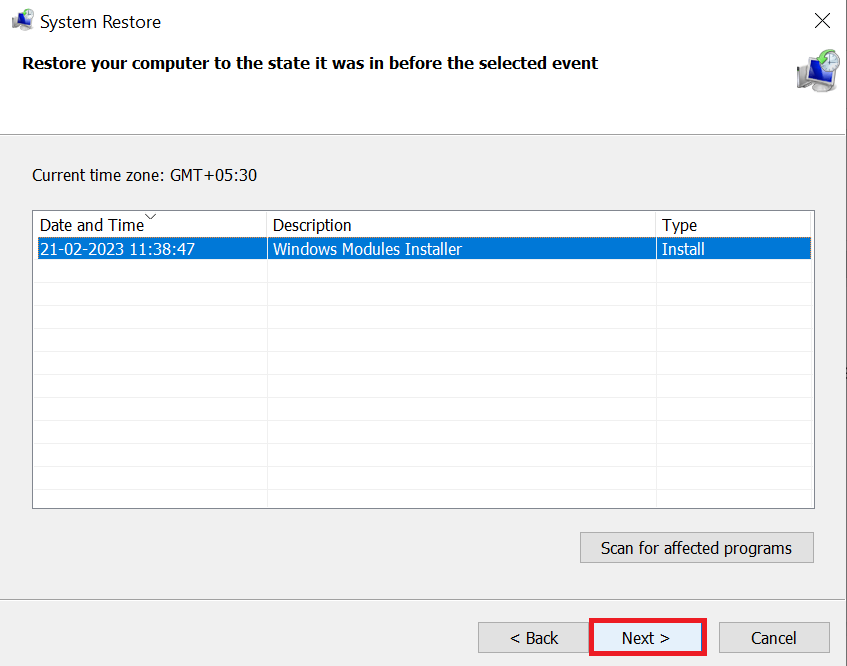
- Choose a restore point that was created before the CHKDSK operation was performed.
- Confirm the restore by clicking "Next" and then "Finish."
- Wait for the restore process to complete.
- Check to see if the lost files have been restored. If not, try searching for them using the Windows search box.
Note: System Restore may only sometimes be able to restore lost files, mainly if the restore point was created long before the files were deleted. Refer to this article to recover deleted files from an external hard drive.
Method 4: Check the Windows.old folder
When you upgrade your Windows operating system to a newer version, Windows may create a folder named Windows.old to preserve a backup of your previous system files. This folder will provide a safety net if you encounter any issues with the new operating system, allowing you to revert to your previous setup.
During the upgrade process, the CHKDSK utility may be used to check the integrity of the disk and fix any detected errors. In some cases, CHKDSK may delete files that are no longer necessary or are causing issues with the new operating system.
If CHKDSK deleted any files during the upgrade process, these files might still be present in Windows.old folder. However, not all deleted files will be in this folder, as it only contains a backup of your previous system files and not every file on your disk.
Also Read: Warning!! CHKDSK Reduces Your Disk Space
Conclusion
In conclusion, losing files due to CHKDSK can be a frustrating experience, but there are ways to recover them. Whether you use a data recovery tool, backup, or System Restore, acting quickly and with care is essential to increase your chances of successful file recovery.
Frequently Asked Questions
Generally, running the chkdsk command itself does not delete files. However, if it finds errors that it cannot fix and you choose to proceed with the repair, it may mark the affected clusters as bad and allocate them to the system, potentially causing data loss.
You can run chkdsk with the /f (fix) parameter to automatically fix errors on the disk. Open a command prompt with administrative privileges and type: chkdsk /f C: (replace "C:" with the letter of the drive you want to check and repair). Afterward, restart your computer to allow the tool to scan and fix issues.
CHKDSK may delete data if it encounters severe file system corruption that cannot be repaired. In such cases, it might mark corrupted clusters as bad and attempt to recover what it can. It's crucial to have a backup of your important data before running CHKDSK, as there is a risk of data loss in extreme cases.
To run CHKDSK with the /f parameter, follow these steps:
a) Open a Command Prompt with administrative privileges (right-click on the Start button, select "Command Prompt (Admin)" or "Windows PowerShell (Admin)").
b) Type the command: chkdsk /f C: (replace "C:" with the letter of the drive you want to check and repair).
c) Press Enter and confirm that you want to schedule the disk check for the next system restart.
d) Restart your computer to allow CHKDSK to run before Windows fully loads.