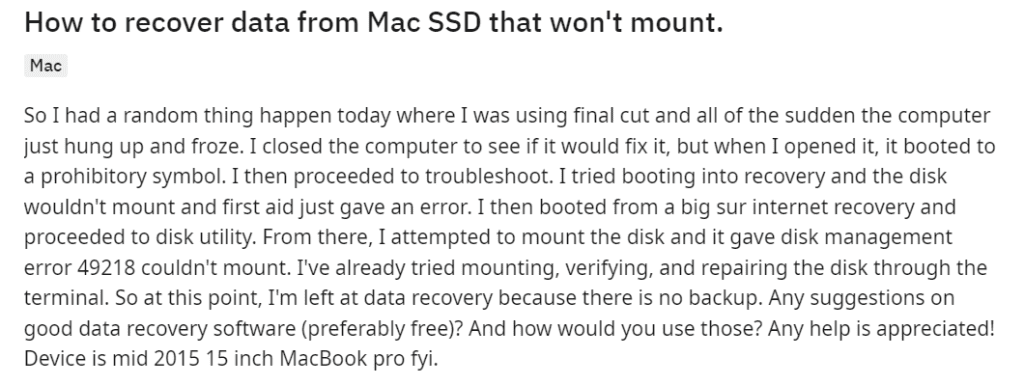
User Query: How To Recover Data From Mac SSD that won't mount?
SSD (Solid State Drive) is a storage device that is more advanced than normal HDDs. Solid State Drives are known for faster response time and a quick send / receive process.
Regardless of the advanced features of an SSD, it is always vulnerable to data loss due to corruption, accidental formatting, deletion of files, and even malware attacks. Read this informative write-up till the end and know how to recover data from Mac SSD.
Is Data Recovery from Mac SSD Possible?
Yes, recovering data from a crashed, failed, or formatted Mac SSD is possible only if the TRIM option is disabled. If the TRIM feature is enabled, the Mac system deletes the index of the files that were present before to have a fast read/write process. This complicates file recovery from Mac SSD, even with the best SSD recovery software.
Impact of TRIM on Mac SSD Recovery
TRIM is a unique command for SSDs that informs the drive which data is safe to delete. Unlike traditional HDDs, where data is overwritten but recoverable, TRIM permanently deletes data as soon as it's marked as free. Enabling TRIM can improve SSD performance but could lead to irreversible data loss in the event of accidental deletion.
How to Check If TRIM Is Enabled on Your Mac System?
To determine whether TRIM is enabled on your Mac's SSD, follow these steps:
- Open the Apple menu in the top-right corner.
- Click "About This Mac."
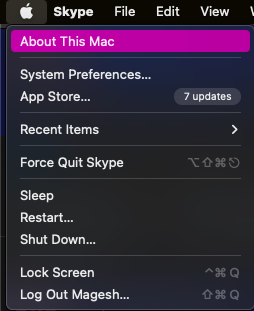
- In the Overview tab, click "System Report."
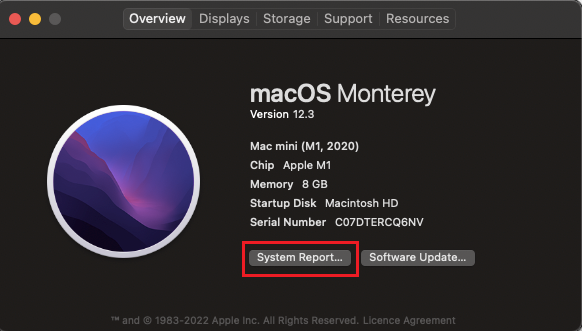
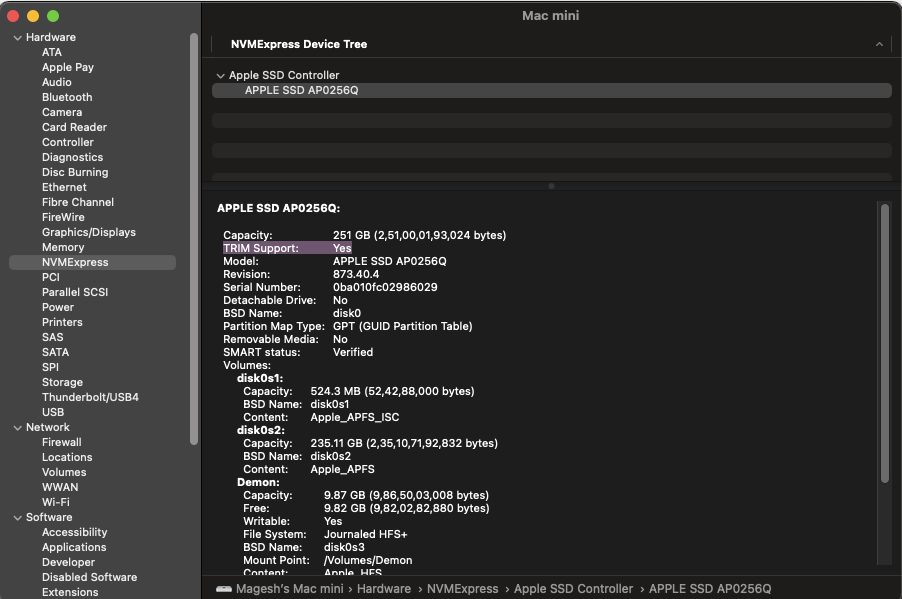
- Under Hardware, select either "NVMExpress" or "SATA/SATA Express" depending on your Mac.
- Look for "TRIM Support" on the right. If it says "Yes," TRIM is enabled.
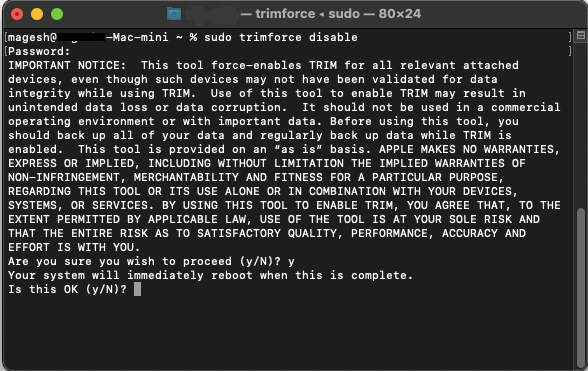
If you wish to disable TRIM for potential data recovery, open the Terminal app and enter "sudo trimforce disable." Keep in mind that this may affect SSD performance.
3 Proven Methods To Recover Data From Mac SSD
Below, we have added three tried and tested methods to recover data from Mac SSD.
Method 1: Disk Utility
If your Operating System can't recognize your SSD drive and you've lost access to your files, start by using Disk Utility. This method is effective for non-physically damaged SSDs and can revive a seemingly unresponsive drive. Remember that it won't recover your lost files, but it's a crucial step to regain access. Here are the steps to follow:
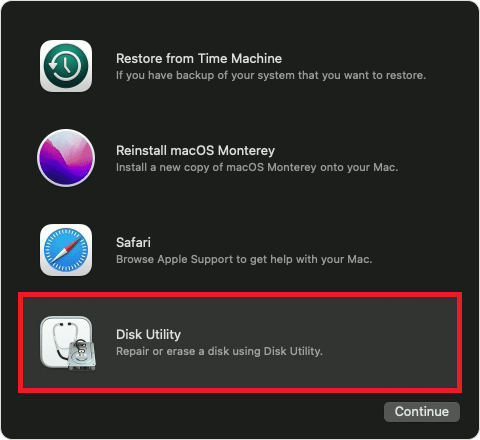
- Launch Disk Utility.
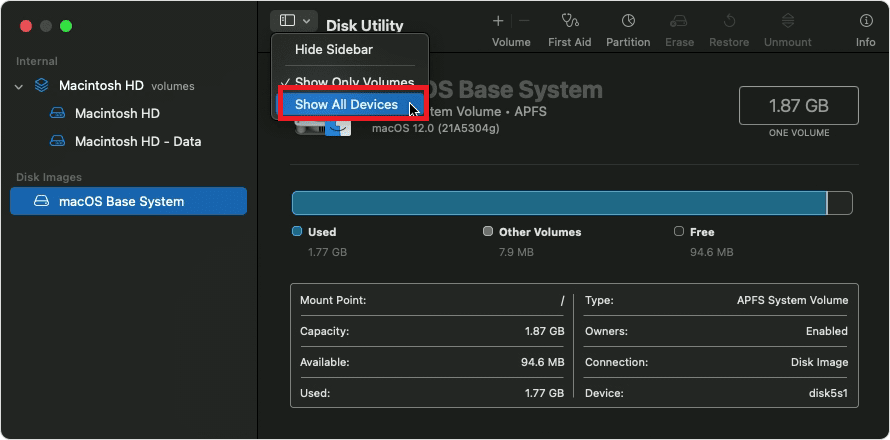
- Choose your SSD from the left-side list.
- Click "First Aid" at the top.
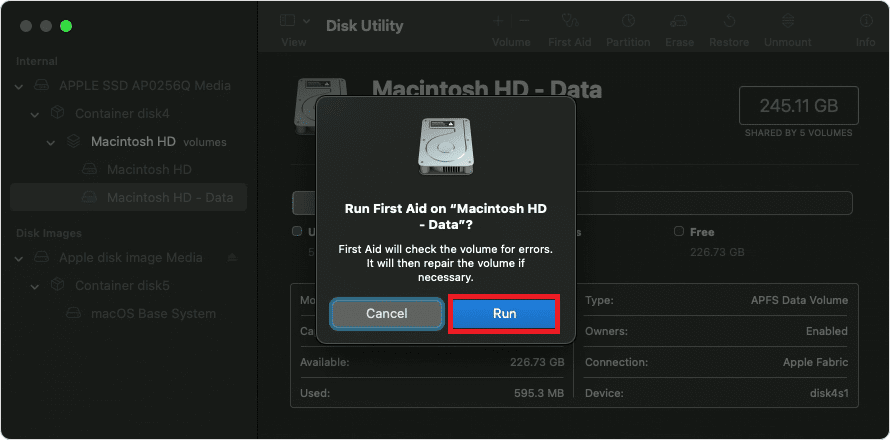
- Click "Run."
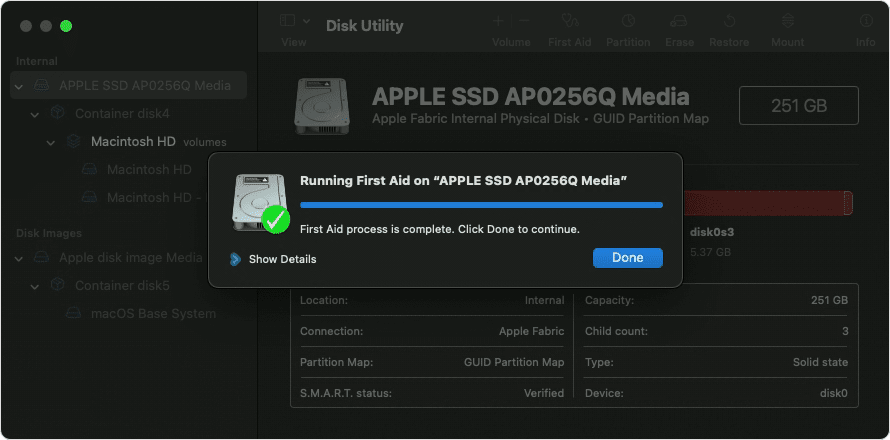
This process attempts to recover and mount the SSD properly, allowing you to access it through the Operating System.
Method 2: Data Recovery Software
Specialized tools like Remo Recover Mac can recover data from Mac SSD with ease. This software is built with a robust scanning algorithm to scan and recover over 500+ file types from your Mac SSD. Remo Recover is designed with a self-explanatory user interface to keep data recovery from Mac SSD effective and easy.
One of the standout features of this tool is its trial version, allowing you to test the software for free. Moreover, you can preview your recovered files from your Mac SSD without cost. It boasts compatibility with various SSD brands and types, including NVMe and SATA, covering renowned manufacturers like Samsung, Western Digital, Crucial, etc.
To initiate the Mac SSD data recovery process, simply download the tool and follow the steps below.
Steps to Recover Data From Mac SSD Using Remo Recover Mac
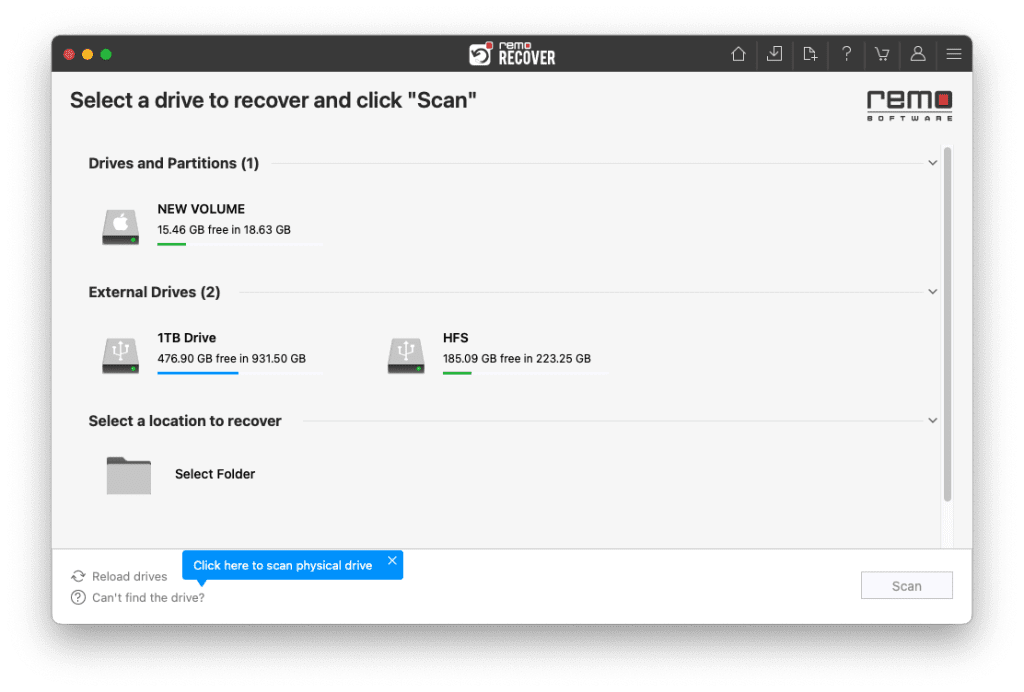
- Download, install, and launch Remo Recover for Mac.
- Select the SSD from which you want to recover data. If your drive isn't visible, click the "Can't Find Drive" option to locate the physical drive, then click "Scan."
- Observe the scanning progress in the Dynamic Recovery View.
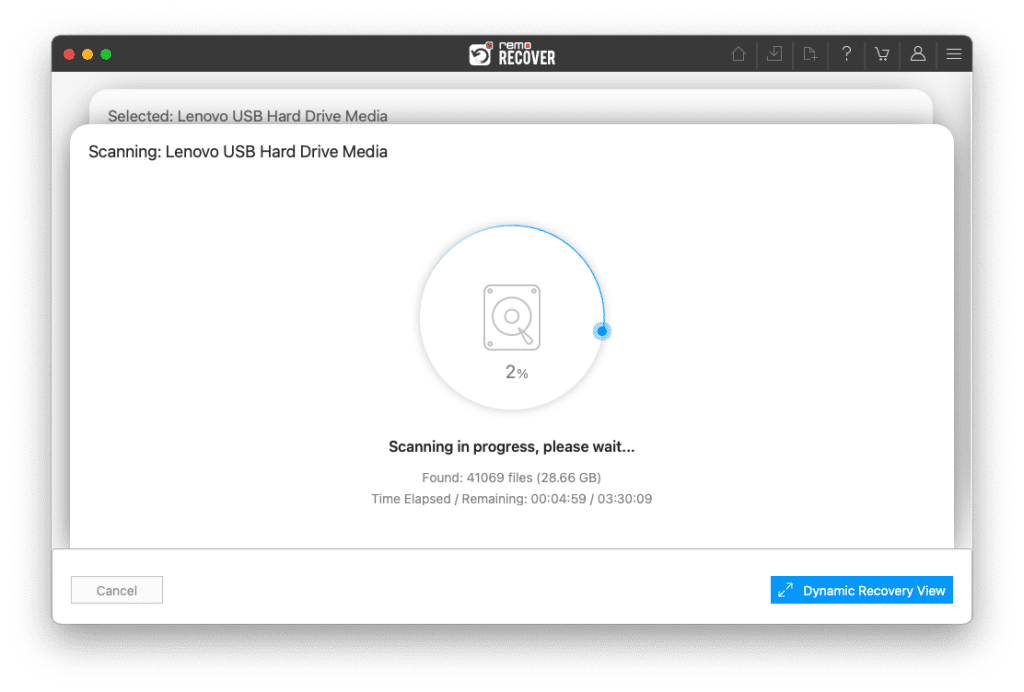
- Once the scan is complete, this tool will list all the recovered files.

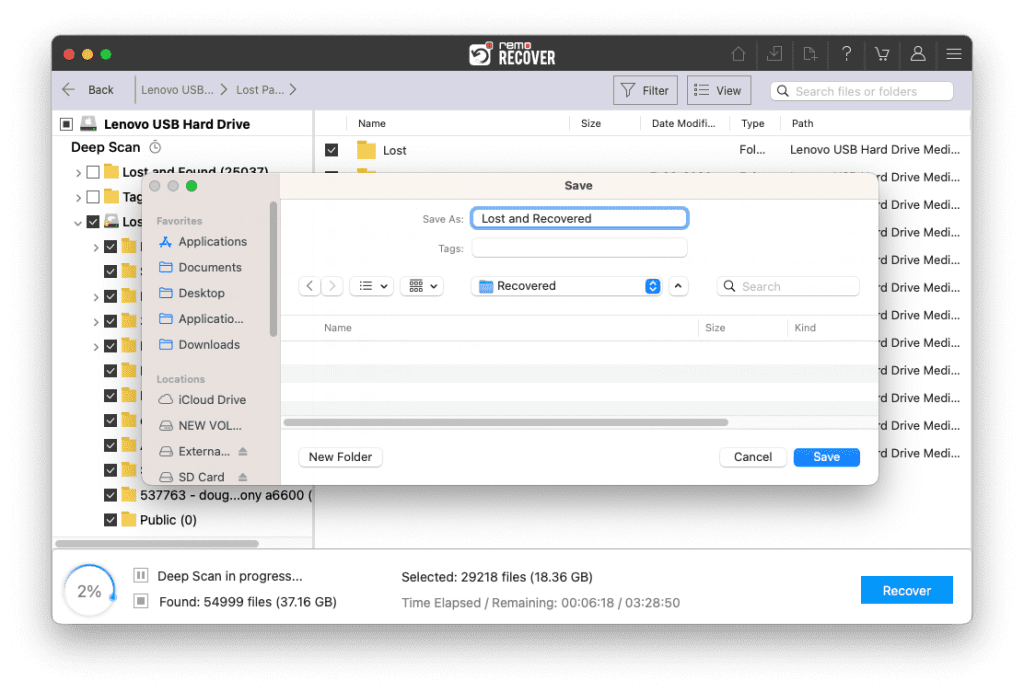
- Use the Preview feature to verify the recovered files and folders obtained during Deep Scan.

- If you're satisfied with the recovery, select the files you wish to retrieve and click "Recover" to save them to your desired location.
Method 3: Professional Data Recovery Services
For recovering data from a SSD, a reliable tool like Remo Recover is often the go-to solution with a high success rate. However, some scenarios require professional data recovery services.
Here are the situations where you should consider professional data recovery services:
- Corruption or Damage: If your SSD is physically or logically damaged, rendering it inaccessible, you can't access your data.
- Accidents: In cases like dropping your laptop or liquid spills resulting in SSD failure.
- TRIM Enabled: If your SSD is TRIM enabled and you've accidentally deleted or formatted files, TRIM erases data immediately, making recovery challenging.
When choosing data recovery services, you have to consider certain factors for a smooth Mac SSD data recovery process:
- Thorough Data Analysis Guarantee
- ISO Certification
- Class 100 Clean Room Utilization
- Secure and Confidential Handling
- "No Recovery, No Charge" Policy
- Complimentary SSD Shipping
To explore additional data recovery options for your SSD, consider checking with the manufacturer. They may provide specific data recovery services or offer optional plans tailored to your SSD brand.
Also Read: How to Recover Data From NVMe SSD
Tips to Protect Your SSD on Mac
Unlike HDDs, SSDs lack moving parts, making them less susceptible to physical damage. However, SSDs have a limited lifespan based on read/write cycles. Typically, an SSD can last 7-10 years, but heavy usage, like gaming, may shorten its lifespan. To protect your SSD:
- Protect your Mac from malware and viruses by installing trusted antivirus software and keeping it up to date.
Note: At times, you might find that your Antivirus software might have deleted some of your data. Refer to this article to find out how to recover files deleted by Avast Antivirus.
- Activate FileVault encryption to secure your data and prevent unauthorized access in case your Mac is lost or stolen.
- Set up automatic backups using Time Machine or reliable backup software to ensure your data is safe in case of SSD failure or data loss.
- Avoid filling your SSD to capacity, as it can affect performance and reduce the lifespan of your drive. Aim to keep at least 10-15% of your SSD space free.
- Use disk utility software to check the health and performance of your SSD regularly.
- Always eject external SSDs via the Operating System.
- Do not defragment your SSD; it is unnecessary and can harm its lifespan.
Conclusion
Recovering data from a Mac SSD is possible if you follow the steps and precautions. Act promptly to prevent further data loss and consider professional help when needed. You can maximize your chances of successful Mac SSD data recovery with the help of professional SSD data recovery software like Remo Recover Mac.