What is S.M.A.R.T Error?
S.M.A.R.T. stands for (Self-Monitoring, Analysis, and Reporting Technology) which acts as a warning system for you. It is mainly responsible for monitoring, detecting, and reporting the state of your hard drive and detecting drive failure or bad sectors.
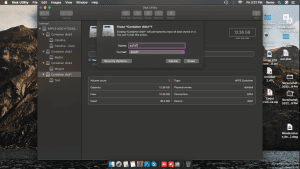
It looks like this on your computer screen:
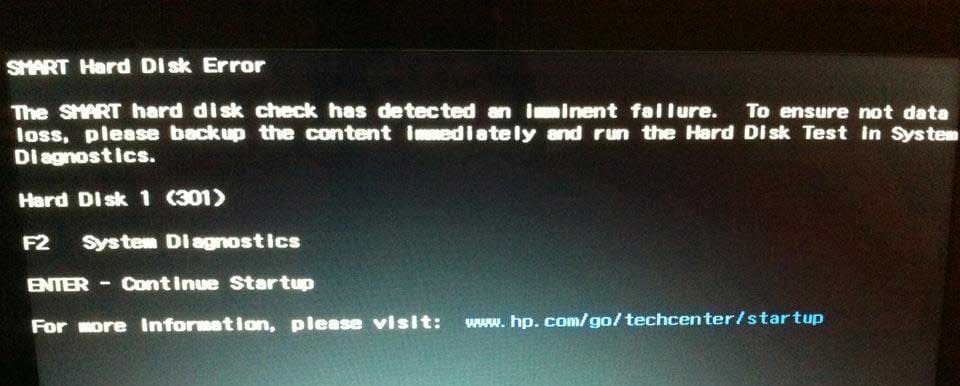
What Does “This Disk has Smart Errors” mean?
The SMART Status informs you that your hard drive has accumulated bad sectors, or your files might have been corrupted, eventually damaging your hard disk. The SMART hard drive detects an imminent failure. As someone rightly said, “an ounce of prevention is better than a pound of cure,” so take a backup of your data and replace your hard disk as soon as feasible.
If you have a Mac Hard Drive, we suggest you use Time Machine to take a backup.
As discussed earlier in the article, if an error called smart pops up on your screen, your hard drive will sooner or later eventually fail and render your data inaccessible. To prevent your data from getting damaged or lost. Here’s an easy guide to recovering data from Windows or Mac systems with absolute ease and various ways to repair SMART disk errors on Mac and Windows.
Table of Contents:
How to Recover Data from a SMART Error Hard Drive?
How to Resolve SMART Disk Error on Mac?
How to Fix the Error on Windows?
How to Recover Data from a SMART Error Hard Drive?
The easiest and probably safest way to recover data from any hard drive that is about to fail is by using Remo Recover. A robust data recovery utility specifically built to locate, identify, and retrieve any data from any hard disk (HDD) or Solid-state drive (SSD) that has gotten corrupted, damaged, or is accumulating bad sectors.
Download and try the tool for free now!!!
How to Retrieve Data from a Hard Disk Detected by S.M.A.R.T?
Follow the steps carefully to get back your data.
Step 1: Download and install the Remo Hard Drive Recovery Software if you are a Windows user and Remo Mac Data Recovery if you are a Mac user on your system.
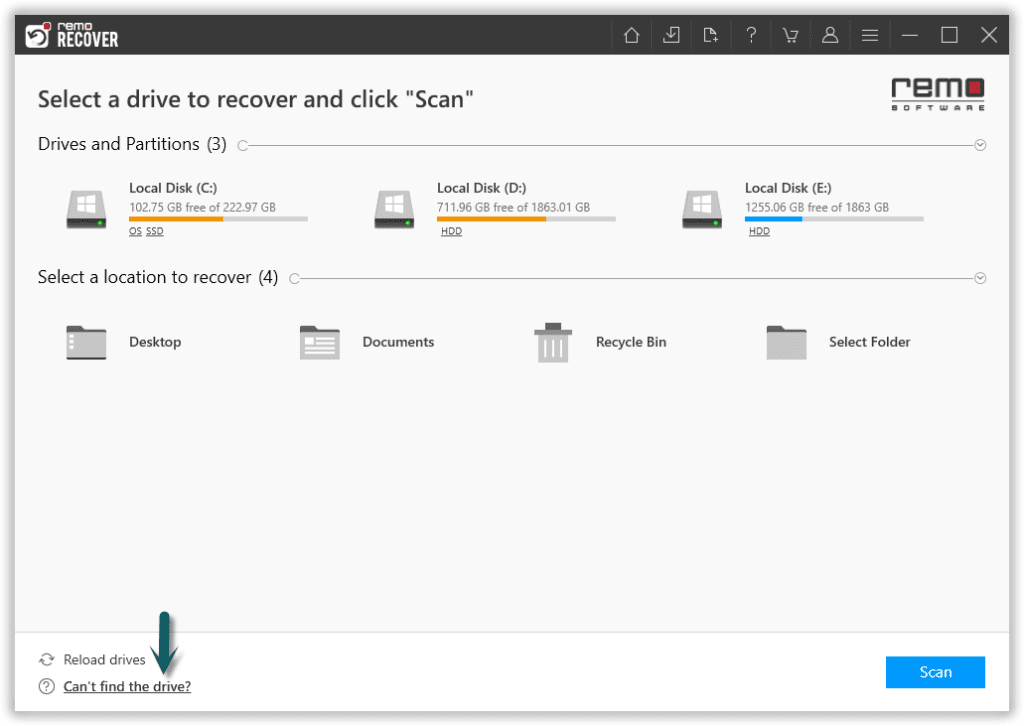
Step 2: Launch the tool from the main screen and select the drive where you want to recover data; hit the Scan button. If you didn't find your drive, click on the Can't find the drive? Option.
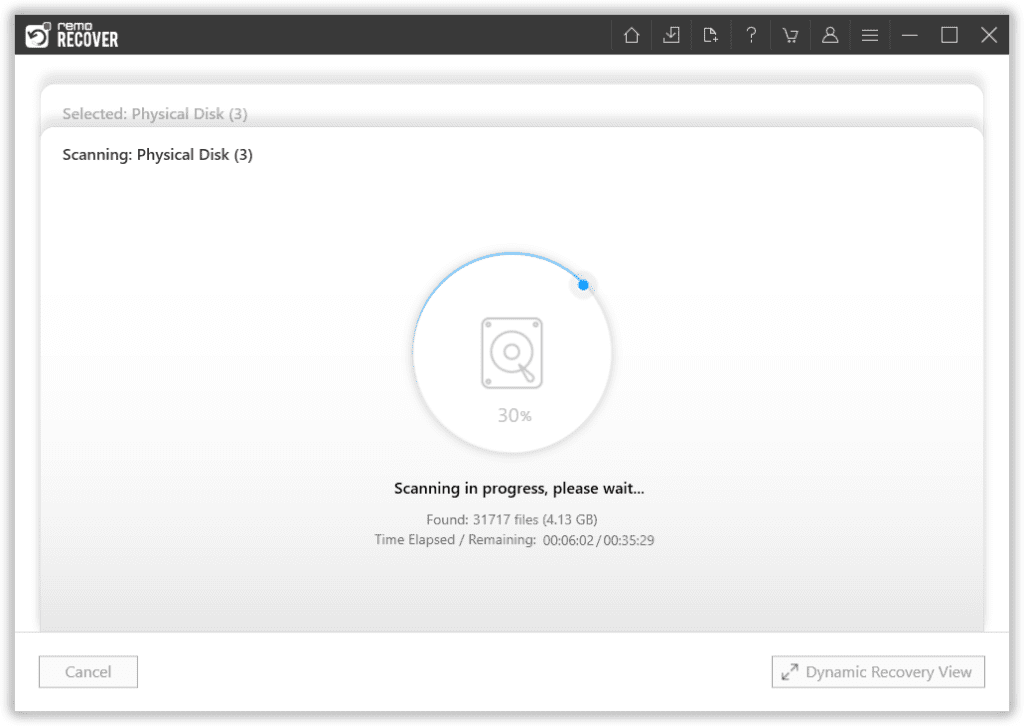
Step 3: You can also use Dynamic Recovery View to see the files the tool has recovered as and when the scan progresses.
Step 4: Once the scan is complete, the tool will display a complete list of all recovered files.
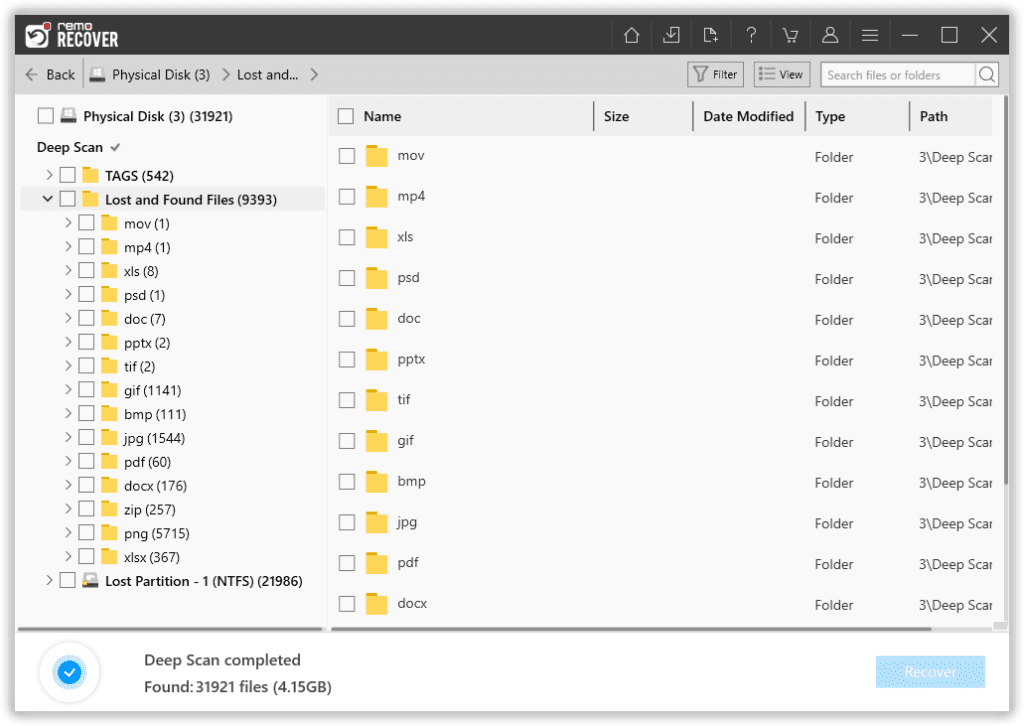
Step 5: You can preview and verify the tool's efficacy by tapping twice on the files.
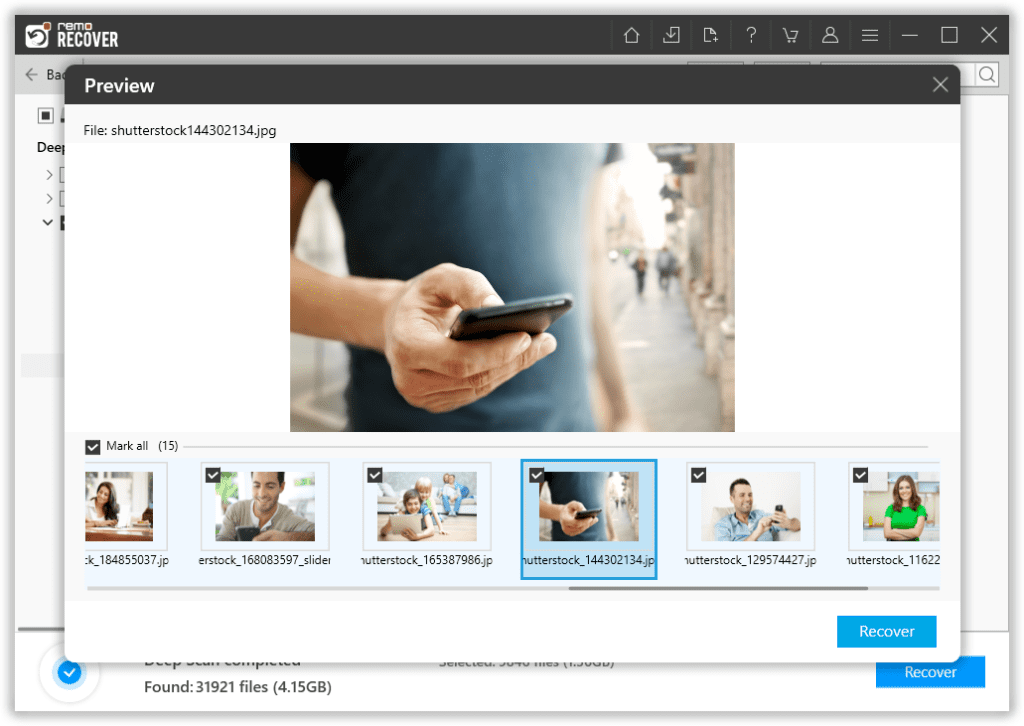
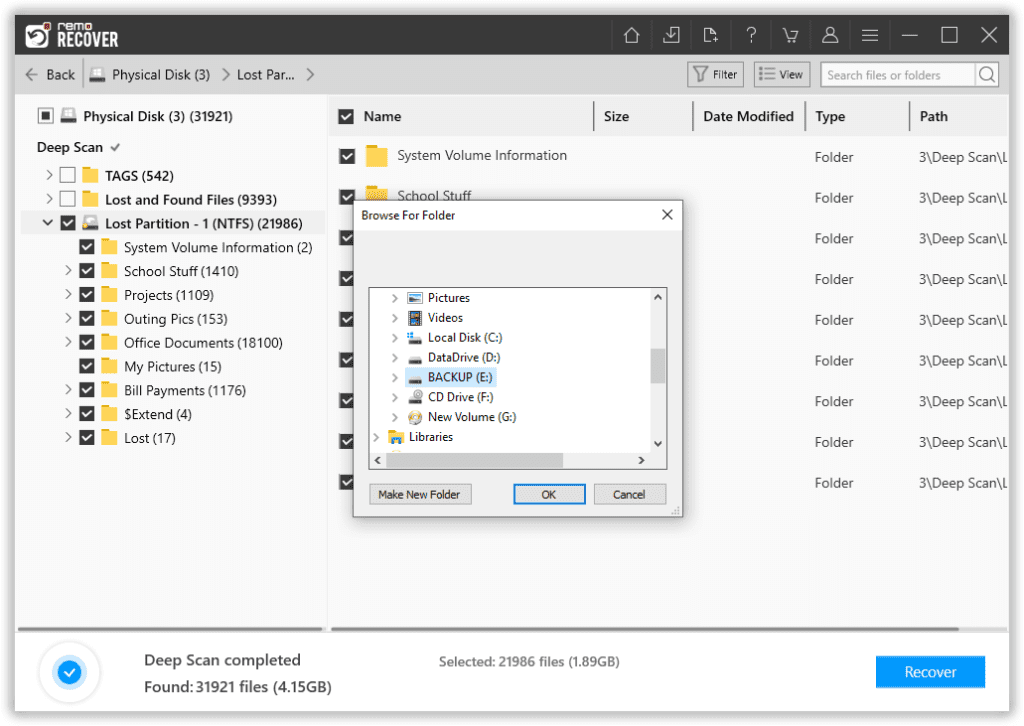
Step 6: Select the files that you want to recover. Click the Recover button and decide on the location to save them. Click the OK button to start the data-saving process.
Recovering data is just a part of the solution; follow the next section to find ways to clear smart, hard drive errors and make your hard drive fit for reuse.
How to Fix SMART Errors on Mac?
Method 1: Repair the Disk to get Rid of S.M.A.R.T Error from Mac OS-
Step 1: Insert your Restore disc and start the computer, holding down the "C" key
Step 2: When the screen appears, select the language
Step 3: Click on the Installer tab and select Open Disk Utility from the menu
Step 4: Click the Utilities option followed by the Disk Utility option.
Step 5: Next, press the Repair Disk button and wait until the repair process is complete
Step 6: After completing the repair process, reboot the computer.
This method will only fix minor issues in the disk. If the error persists, then try the following method.
Method 2: Run an antivirus scan to find and get rid of viruses-
As discussed earlier, the main reason why you might be getting the smart error is a virus might have infected your system. The easiest way to get rid of viruses is by running a scan.
Method 3: Format the Disk-
The sure-shot way to resolve the smart error or fix “this disk has SMART error mac” is to erase the disk. Once you are sure that you have successfully recovered and saved the data onto any safe location (device), then kindly follow the steps to learn how to format the disk and reinstall a new file system.
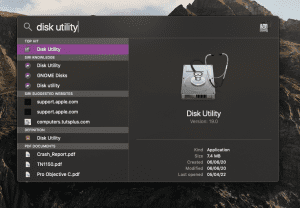
Step 1: Run Disk Utility on your computer. Hit CMD and Spacebar simultaneously and type in Disk Utility in the search bar.
Step 2: Select the drive that needs to be formatted.
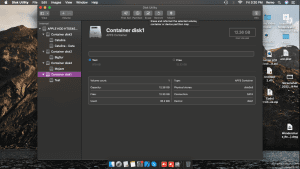
Step 3: Choose the Erase option from the options bar.
Step 4: Name the partition and choose exFAT as the file system format.
Step 5: Hit the Erase button to complete the formatting process.
Hopefully, the above methods have helped you to repair smart errors on Mac
How to Fix SMART Hard Disk Error on Windows?
Method 1: Use the Check Now option to scan and Repair S.M.A.R.T Error on Windows-
Step 1: On your Windows desktop, click on the Computer icon.
Step 2: Select the drive and click the Properties option.
Step 3: From the Properties window, select the Tools tab and click on the Check option.

Step 4: Check the Automatically Fix File System Errors option and the Scan for and Attempt Recovery of Bad Sectors option.
Step 5: When you click the Start button, the Disk utility checks the drive for errors and attempts to repair the errors.
Step 6: After completion, reboot the computer.
Method 2: Run CHKDSK to Fix Minor issues with the Disk-
CHKDSK is an inbuilt tool designed to find and fix minor issues with the internal hard disk of your Windows system.
Follow the steps to run CHKDSK to repair SMART errors on Windows.
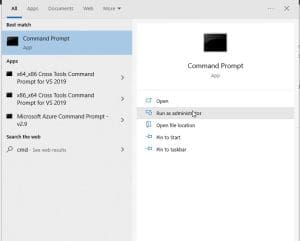
Step 1: Type cmd in the search box and click Run as Administrator.
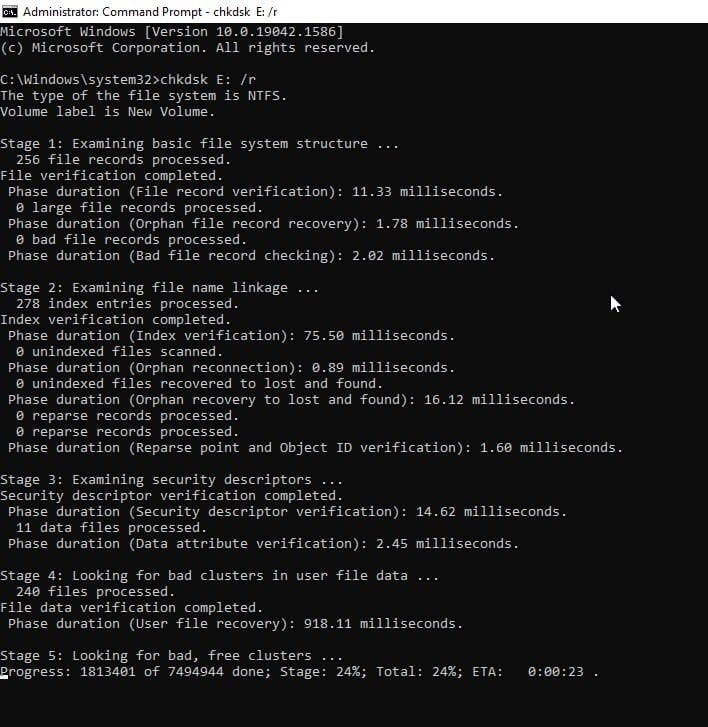
Step 2: Type chkdsk c: in the command prompt window and hit enter. (replace C with any other drive letter to scan the matching disc).
Step 3: The following information is displayed after completing three scan phases on the HDD.
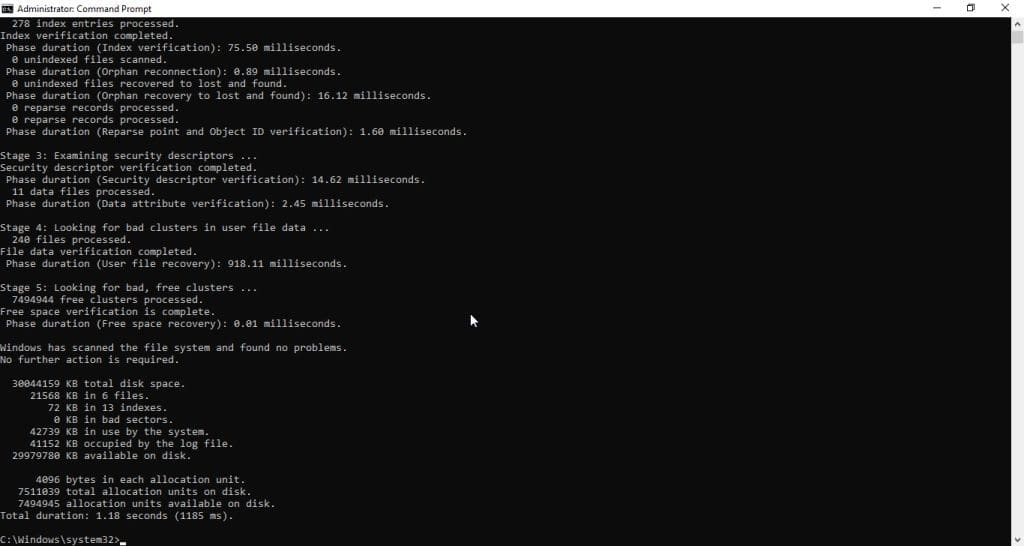
Step 4: If the final report looks like the one below, your hard disk is in top form.
Method 3: Format the Disk-
The most effective way to get rid of the “this disk has s.m.a.r.t errors” issue is by formatting the smart error hard drive.
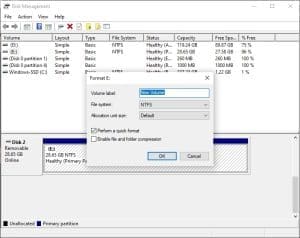
Step 1: Search for Disk Management in the Start menu.
Step 2: The Disk Management application will run once you select the search result. Your hard disc and partitions should be visible in the left sidebar.
Step 3: Choose the disk on which you wish to create a partition. Select Shrink partition from the context menu when you right-click the Windows partition.
Step 4: Select the desired file system under File System in the Format dialogue box (NTFS). To finish the formatting process, click OK.
A Quick-Recap:
So, with these methods, you can reset or eliminate the SMART error on your computer. These errors indicate the mishandling of your drives.
However, you can avoid these errors by adequately using the drive and monitoring it regularly. Remo Optimizer tool will help you in that way as it keeps track of your hard drive stats. Also, monitor/manage data on the drive and keep your hard drive away from failure. Thus avoiding unwanted hard drive errors and lessening the chances of failures.