What is a Startup Disk on Mac?
A startup drive is a volume on your system's hard disk where the operating system and other apps get installed by default. Users can also save any additional apps and data on the startup drive. The disk's original name is Macintosh HD, which you can change or modify as per your needs.
Why does the Error “Mac Startup Disk is Almost Full” occur?
Every internal or external storage device that you use has a fixed storage limit. As and when the disk is used to save any new data or any other applications. The size of the disk starts to reduce and eventually shows “Macbook Disk is almost Full Error”.
What Triggers the Mac Startup Disk is almost Full Error?
The below-mentioned are a few reasons:
- Saving unnecessary and unwanted files in the startup disk of your system.
- Moreover, not deleting the files that are no longer needed.
- Installing applications on the startup volume.
- Not using any external drive to save backup files.
- Not using the cloud backup to save important files.
Now that you are aware of what exactly is the startup disk and what triggers the “the Startup disk is almost full” error. Keep reading to find out how to clear up disk space on Mac.
How to Clean up Startup Disk Space on Macbooks and iMacs?
Mentioned here are 6 ways that are tried and proven to help you get rid of unwanted stuff off your disk and increase the storage space thereby fixing MacBook disk space is almost full problem.
Method 1: Quickly Remove apps that you don't need
Method 2: Empty the Trash Bin and Download the Folder
Method 4: Delete Cache/ Temp Files
Method 5: Transfer old yet vital files onto any external storage device
Method 6: Get Rid of Duplicate Files within a few minutes
Method 1: Uninstall applications that are no longer needed to free up disk space on Mac
Beginning with the easiest solution to fix the Mac disk is almost full. If installing any new apps consumes space on your disk. Then, uninstalling them will help get back space on your disk that can be better utilized.
Try to identify the applications, add-ins, or any extensions that you might have installed but are no longer using them. Erasing these applications helps you increase the storage space on the disk.
Step 1: Click on the Finder button from the main screen of your Macbook or iMac.
Step 2: Click on your startup disk or the internal hard disk, and click on the applications folder.
Step 3: You will find all the applications installed on your system.
Note: Just uninstalling the applications won’t delete the files associated with them. So you have to thoroughly clean the system to get rid of all the unnecessary applications and other things related to it.
Step 4: In the search bar, type the name of the application that you have decided to uninstall.
Step 5: Click on the Plus button, and click on the Kind option menu.
Step 6: From the drop-down menu, click on the Other option.
Step 7: in the search bar, type in system files. Check the system files option and click on the Ok button, Select are included option.
Step 8: You will find all the files related to that particular application, simply drag all the files and drop them in the Trash Bin of your system.
Follow the next method to permanently remove the applications and associated files from your system.
Method 2: Empty the Trash Bin and Download the Folder
The files you have downloaded end up in the downloads folder and the files that you have deleted recently end up in the Trash Bin of your system for a few days (normally 30 days). At times these files might be no longer needed. But they are still residing on the hard disk of your system consuming a lot of space. Therefore it makes perfect sense to get rid of them in order to make space for other important data.
If you are having any trouble deleting files from Mac trash, then follow this article to learn how to permanently delete files from Mac trash.
How to Delete Downloaded Files from the Downloads Folder
Open the Downloads folder. You can manually delete every single file one by one, which will take a lot of your time or you can follow the below-mentioned steps.
Step 1: To select all files, hold the command key on your Mac’s keyboard and then press the A key.
Step 2: Right-click and choose the Move to Bin option.
Click here to learn how to recover accidentally deleted files from the downloads folder.
How to Empty the Trash Bin?
Here are a few ways that can help you empty the trash bin.
1. Press the control key and click on the Trash Bin icon from the Dock and select Empty Bin.
2. Open the Trash folder and, in the upper right corner, click on the Empty option.
3. Open the Trash folder and right-click anywhere, and select Empty Trash or Bin.

Many Mac users complain they at times they are unable to open mac Trash. If you are one of them, follow this article to find out how to fix the unable to open trash on Mac issue.
Method 3: Delete Old Backups to Clear Storage on Mac
You might have earlier taken a backup of your important files either manually or by using a Time Machine and stored them locally instead of storing them onto any external drive. As and when you take the latest backup, we highly recommend you get rid of the older backup. Which might be unnecessarily consuming a lot of space on your computer disk.
Usually, Time Machine deletes old backups automatically. macOS deletes everything that is no longer needed when your storage device runs out of space. If you need to erase your backup manually, follow these steps.
Step 1: Open Time Machine by using Spotlight.
Step 2: Click the Enter Time Machine button.
Step 3: Search through the backups for the one you want to remove.
Step 4: Click on the ellipsis icon (three vertical dots) above the folder contents.
Step 5: Click the Delete Backup button.
Step 6: If asked, enter your password to confirm the deletion.
Method 4: Delete cache/Temp Files
Caches are system files that are produced whenever an application or browser performs a certain job. Both browser and program caches are designed to help your Mac run faster. They're similar to task shortcuts in that they remember how an app or browser performed a job the previous time you did it and help you do it faster the following time.
At the same time, because app caches are files, they create a lot of system garbage. When there are too many stored on a Mac, it might result in the "startup disc almost full" error. This is why we recommend cleaning the cache on a regular basis.
On a Mac, here's how to do it manually:
Step 1: Open Finder.
Step 2: Select Go and click on the folder in the Finder menu bar.
Step 3: Enter ~/Library/Caches.

Step 4: Go to the cache directories and remove the files.
Remo One Prime is a premium collection of 30+ top-notch products that are designed to recover, repair, erase, manage, maintain, optimize and organize your data effectively. The suite comes with a range of useful products that can come in handy when dealing with errors like a startup disk almost full. Some of them are:
- Remo Duplicate File Remover, which can easily identify and remove duplicate files within a few minutes.
- Remo Backup, using which you can back up all of your data onto the cloud.
- Remo Maczimizer, an exclusive product built specifically for Mac - is an all-in-one tool that can boost the performance of your Mac system.
Click here to buy Remo One Prime now.
Method 5: Transfer the Old Files that are important to any External Hard Drive or cloud
In the earlier methods, we talked about deleting stuff that is no longer needed in order to save space on the startup disk.
But what if you have large files that are needed? How to deal with them? The answer is pretty easy. Just transfer all of your important work files and other personal data onto any external hard drive or you can move and store it in iCloud. There are two advantages of this method. One is you get rid of old files from your internal hard disk and the other one is you back up important files that can be used in the unfortunate case of data loss.
How to Transfer Data to an External Hard Drive
Step 1: Connect your external Hard drive to your Mac system using an appropriate cable.
Step 2: Find and select the files you want to transfer.
Step 3: Just drag the desired files and drop them onto the external hard drive.
How to Migrate Data onto an iCloud drive
Step 1: Select the Apple menu, click on system preferences, click on Apple ID and then click on iCloud.
Step 2: Check if the iCloud drive is enabled.
Step 3: Click on Finder, click on iCloud Drive, and just drag and drop the files that you want to move.
Step 4: Click on the Done button.
Method 6: Delete Duplicate Files using a Safe Duplicate File Remover to Fix Mac Startup Disc Almost Full
Users are clueless about the clutter that is getting accumulated on their computers and storage devices on a daily basis. These files originate from various sources but always end up in the same place: your computer’s storage device.
These duplicate files take up a lot of storage space that could otherwise be utilized to save other important files or to secure additional space for future use.
The easiest way to reduce clutter is to remove duplicate files. Make use of Remo Duplicate File Remover, a best-in-class tool that is built with powerful duplicate detection algorithms which can find and remove thousands of duplicate files effortlessly from any storage device or folder.
Get rid of the unwanted clutter by downloading the tool, available now for free!!!
5 Simple Steps to get Clear up Space on Mac
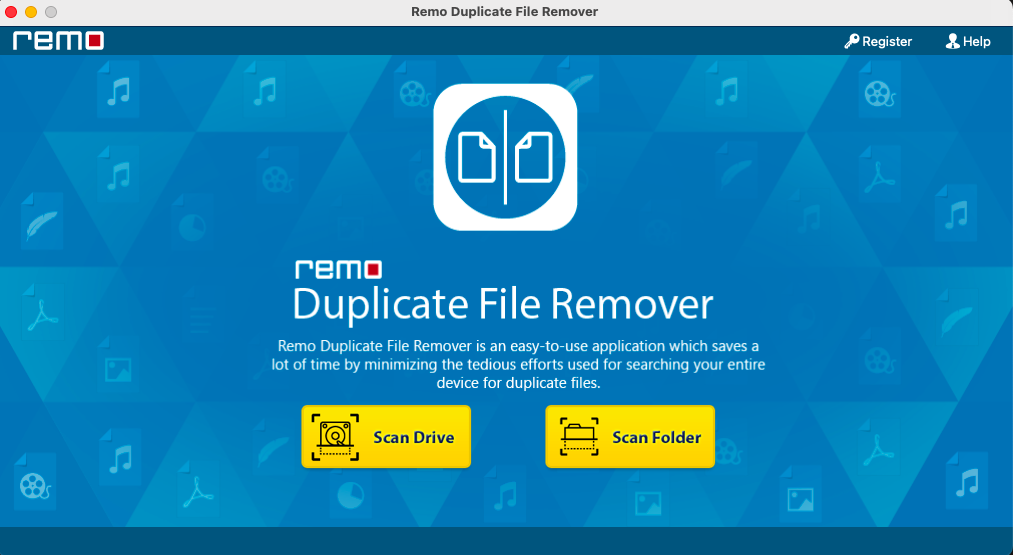
Step 1: Download and Install Remo Duplicate File Remover for Mac on your Macbook or iMac.Launch Remo Duplicate File Remover for Mac on your Macbook or iMac.
Step 2: Launch the tool, from the main screen depending upon your need choose between Scan Drive or Scan Folder option.
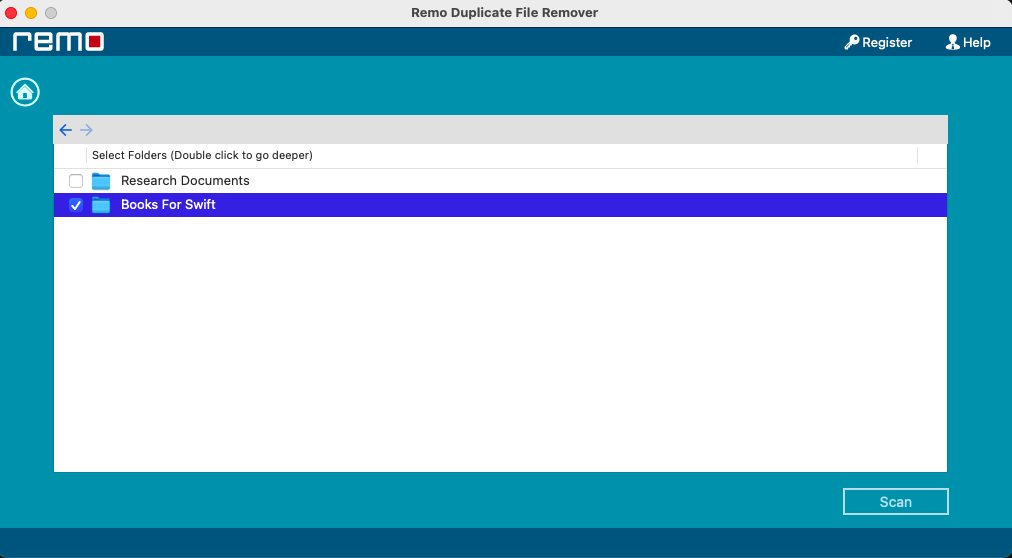
Step 3: Select the drive or the folder that you want to scan and click on the scan button.
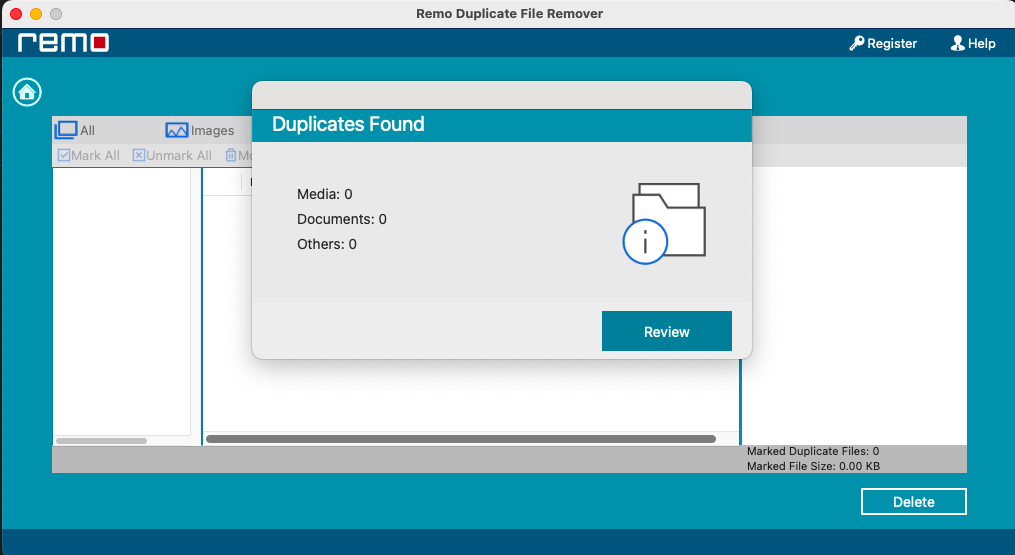
Step 4: The tool will display all the files that it thinks are duplicates.
Step 5: Click on the Delete button to get rid of all the cloned files.
Voilà, Your system no longer has any duplicate files.
If you have accidentally deleted any important files then refer to this article to find out how to recover data from MacBook or iMac using Remo File Recovery Software for Mac and other manual solutions.
Conclusion:
After following the above methods you might have gotten rid of the unnecessary clutter that can be consuming a lot of space on your computer's hard disk. Hopefully, by now you are aware of what to do when you receive a notification stating your disk space is almost full Mac.