Can you Change the Location of the Outlook Data file?
Yes, with the help of this guide, you will be able to easily change your Outlook data file location. You can do so by trying out the 3 methods provided below-
Note - It’s not recommended to change the default location of the OST file if you are not well acquainted with configuring Outlook. When you are playing with Outlook settings you are putting your important data at risk, do follow the methods mentioned below precisely to relocate your Outlook Data file.
How to Change the Location of the PST Outlook Data File Manually?
To begin changing the Outlook ost file location, you will need to find the current location of your .pst file. Below you can find information about the storage path of the Outlook data file(PST) according to the Outlook version. You can begin by navigating through by clicking on “File” at the top left corner of your Outlook application and then choosing according to the version of Outlook as shown below.
Part 1: Locating the .pst File
The below-mentioned steps will allow you how to access your Personal storage table with ease
Outlook 2007 -
File-> Data File Management.
Outlook 2010 / 2013 / 2016 / 2019 / Office 365
File-> Info-> Account Settings-> Accounts Settings.
1. After following the above steps, you will be able to see a tab. Click on the “Data files” tab to access your Outlook data files.
2. Open your Outlook data file and click on the option saying “Open file Location”
3. After this, you can change the location of your Outlook data file (.pst) to your desired location
Alternative Method: This strategy is applicable to POP3 and IMAP accounts.
- Close Outlook first, then check that it is not shown in the Task Manager's Processes tab a few minutes later.
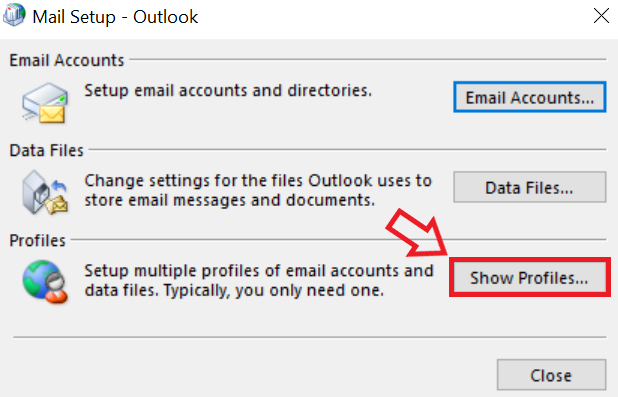
- Open the profile (Control Panel > Mail) and then click on Data files.
- Select the account and then click Open File Location to open the PST folder in Windows Explorer.
- Exit the Account Settings window.
- Place the PST where you want it. POP3 accounts can rename their PST files. (The default name for .pst files created by Outlook for email accounts is [email protected].)
- Reopen the Data Files window and double-click on the data file for the account.
- You will now see a 'can't find data file' error message, such as this: The file C:UsersusernameDocumentsOutlook [email protected] (POP3). The file pst cannot be found. After clicking OK, you can tell Outlook where to look for it.
- You can now restart Outlook after closing the dialogues.
Once you are done with locating your PST file, We can now move on to migrating.
Part 2: Migrate PST file
There are 2 methods that you can use to migrate your PST file-
- Method 1: Migrate PST file using Windows Registry
- Method 2: Use ForceOSTPath Registry Entry
Method 1: Migrate PST file using Windows Registry
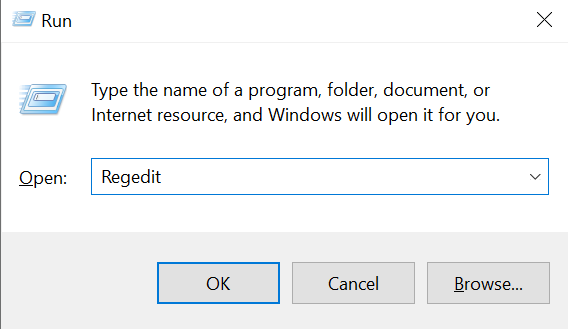
1. First, close Outlook if it is running, make sure it is not open. Then, hit the start button.
2. Type Regedit and press Enter.

3. This will open the Registry Editor and agree to make changes to the computer.
4. Navigate to one of the below-mentioned keys based on the Outlook version you are using.
Outlook 2007: HKEY_CURRENT_USER\Software\Microsoft\Office\12.0\Outlook\
2010: HKEY_CURRENT_USER\Software\Microsoft\Office\14.0\Outlook\
2013: HKEY_CURRENT_USER\Software\Microsoft\Office\15.0\Outlook\
Outlook 2016: HKEY_CURRENT_USER\Software\Microsoft\Office\16.0\Outlook\
5. After selecting, you have to enter a new value to the Outlook Key.
6. Right-click the Outlook button.
Terminate and restart the Outlook application. Outlook allows you to browse to the new desired location. Once you select and browse, you will be changing the location of your Outlook Data File permanently.
Method 2: Use ForceOSTPath Registry Entry
Note: This method contains instructions for modifying the registry. However, if you edit the registry wrong, major issues may arise. As a result, make certain that you properly follow these measures. Back up the registry before making any changes for extra security. If an issue arises, you can then restore the register.
To alter the location of the.ost file, create the ForceOSTPath registry entry as follows:
- Choose Start, Run, put regedit in the Open box, and then click OK.
- Find and select the registry subkey: HKEY_CURRENT_USER\Software\Microsoft\Office\xx.0\Outlook
- Right-click Outlook and choose New, then Expandable String Value.
- Modify ForceOSTPath by right-clicking it.
- In the Value data box, enter the complete path to where you wish to save the .ost file (for example, D:MyOST), and then click OK.
- Exit Registry Editor by selecting Exit from the File menu.
Tip - Sharing a network of PST files is not recommended because PST files are sensitive files that are prone to corruption easily. In order to repair a PST, you need the help of an inbuilt Microsoft repair tool scanPST.exe, or a reliable third-party application like Remo PST Repair.
How to Change the Location of the OST Outlook Data File Manually?
Are you wondering how to change the OST location? In the section below you will learn hassle-free methods on how to move ost file from C to D drive or any storage spaces of your preference
The OST file on your hard drive is responsible for saving all the work progress you have done when offline. Changing the location of your OST file is a bit tricky as it involves making changes in the registry, especially for Outlook 2013 and later versions. However, you will be able to change the pathway of the file by following the steps mentioned below.
There are 2 parts to this process-
- Part 1: Locating the .ost File
- Part 2: Create a New Profile, then Change the Location of the .ost File
Part 1: Locating the .ost File
1. Make sure that Outlook 2016 is closed and the OST files are not opened in any other program/software.
2. Go to “Run” and type “Regedit“on it.
3. Navigate to Outlook 16 and right-click on Outlook Name. You will get an option saying expandable strings.
4. Rename the Expandable strings as “ForceOSTPath”, and then double-click on it. On the” Edit String” dialog, enter your desired path under the ”Value data” box and then click OK. This will change the old/default location of the Outlook 2016 data file (.OST) to the new location.
Note: By following both the above manual methods, you will be able to change the location of the Outlook Data File. As this process involves making changes to the registry errors, it is recommended that you follow the above steps with utmost caution. if you wondering how Fix Error Code 0xc0000005, click here
If you lose your Outlook contacts while changing the location of your PST file, you can know how to recover contacts from Outlook by going through the mentioned article.
Now lets proceed to change the location of your OST file.
Part 2: Create a New Profile, then Change the Location of the .ost File
- Open Control Panel.

- Once you access the Control Panel, search for Mail.
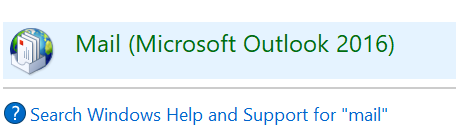
- Note - If there are two Mail items, choose the one that is labeled with your version of Outlook.
- After you have done this, click on Show Profile
- and then Add.
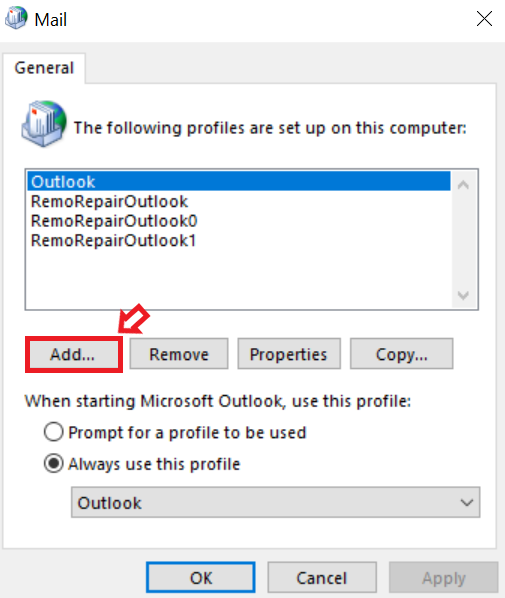
- At the Profile Name box, type the user name that you wish to use for the new email profile, and click OK.
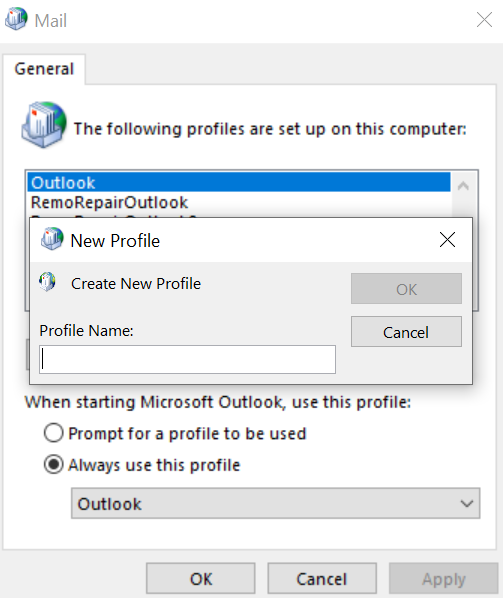
- Select Next.
- After Outlook finishes the setup for your account, click the Change account settings option, and then click Next.
- In the Server Settings section, Click on the More Settings option.
- On the Advanced tab, Click Outlook Data File Settings.
- Select Browse, then click Open. If you wish to create a new .ost file, browse to the location where you want to save the new .ost file, type the file name that you want to use, and hit Open. Outlook will create the new .ost file.
If you are looking for a more convenient and straight forward method, you can make use of a professional Outlook migration software such as Remo Outlook Backup and Migrate.
How to Move Outlook Data Files with Remo Outlook Backup and Migrate?
Extracting an Outlook profile and moving it to another location or a higher Outlook version manually is quite challenging and risky.
Remo Outlook Backup and Migrate tool is an exclusive program built for smoothening the process of Outlook migration without any hassle.
Tired of trying to change the location of the Outlook data file to your desired location manually? However, this tiresome process is also equally risky, which could lead to data loss or corruption of your data files.
Remo Outlook Backup and Migrate is a feasible tool for relocating your Outlook files and for backing them up. Within a matter of a few clicks, you will be able to protect and export your personal Outlook files effortlessly.
- This backup and Migrate utility tool can not only help you transfer Outlook to new computer, but also back them up.
- The tool provides two customized backup options which are Smart backup and Advanced backup
- Smart Backup – This option allows the user to back up all the Outlook attributes like journals, Outlook settings, contacts, and attributes of the Outlook profile.
- Advanced Backup – This customized option allows the user to select and back up the required files and attributes of the user's choice.
- The tool can securely migrate the data files from a lower to a higher version of Outlook. It ensures to secure re-locate the Outlook files from one location to another or export to another PC effortlessly.
Change the Location of Outlook Data File using Remo
Steps to Change the Location of Outlook Data File
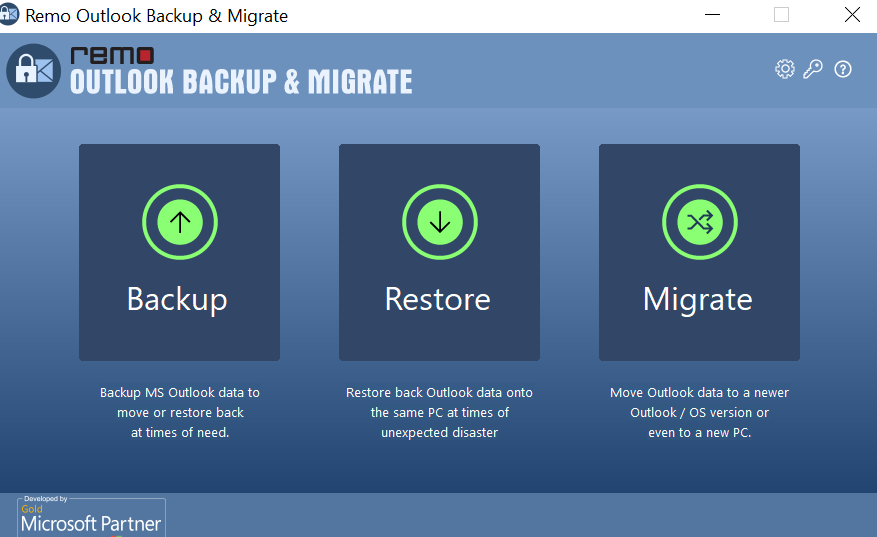
Step 1. Open Remo Backup and Migrate Software and click on Migrate.
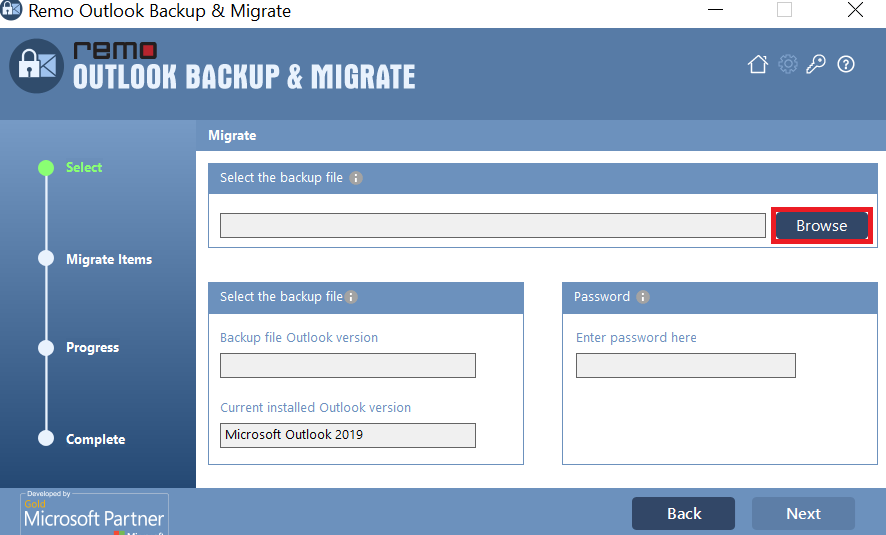
Step 2. Select the backup file by clicking on Browse and click on Next.
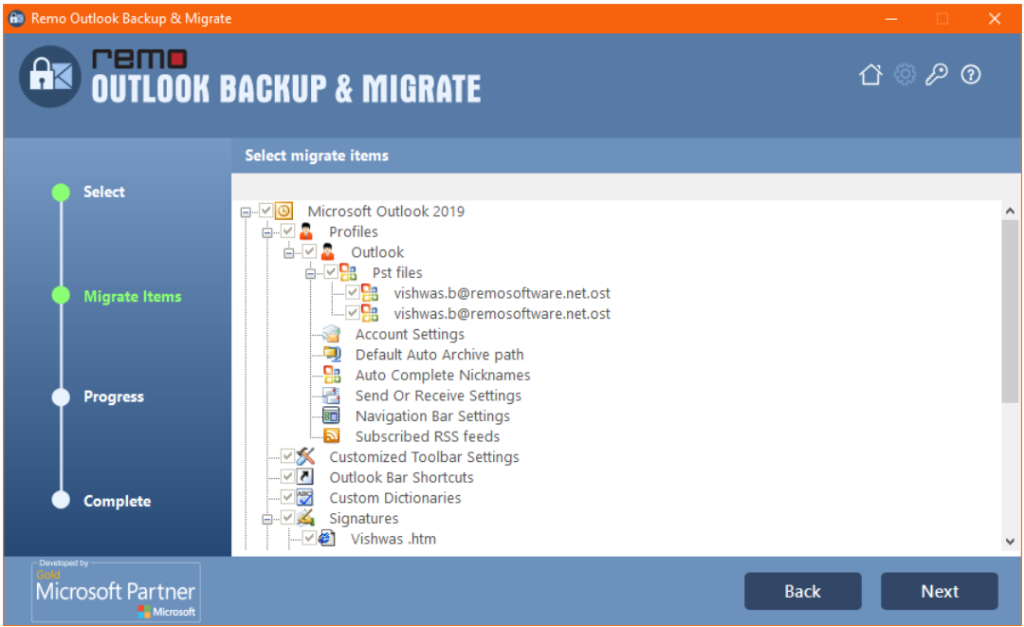
Step 3. In the next screen, select the Outlook items that you want to Migrate and click on Next.
Step 4. The Tool will start the Outlook Migration process. After completion of the process, you can click on View Report to see the list of Outlook items Migrated.
Conclusion
The above article emphasizes how to change the location of the Outlook data file. If you have any further queries regarding the article, make use of the comment section below to effortlessly know everything about migrating your Outlook Data file