The .lnk files (Link files, also known as Desktop Shortcuts) are shortcut files that act as digital arrows; when you click on them, they take you straight to your desired destination (files, folders, and application). This means no more navigating through folders and subfolders, one simple click and you end up in the destination location.
For example, Think of the .lnk files as small arrows or pointers that lead you to where you want to go.
Note: Since these .lnk files are just pointers or shortcut files. Deleting them doesn’t affect the original files; it simply removes or erases the handy shortcuts to the original files.
If you have landed here, I am sure you are considering recovering the deleted lnk files from your Windows system or other external storage devices.
If you are unsure whether you want to recover those files, this section might help you decide.
So, let’s start the lnk deleted file recovery process without wasting more time.
- How To Recover Deleted lnk Files from Windows System and External Storage Devices?
- Why Should You Consider Recovering the Deleted, Lost, or Missing lnk Files?
How To Recover Deleted lnk Files from Windows System and External Storage Devices?
Method 1: Recover deleted .lnk files from the Recycle Bin
Recycle Bin is the folder where all your deleted files and folders will reside until you delete them permanently.
So, we highly recommend our readers to undelete .Ink files from the Bin folder.
- Navigate to the Recycle Bin folder.
- Find the .lnk files.
- Select the desktop shortcut files that you want to recover.
- Right-click and click on the Restore button from the option drop-down menu.
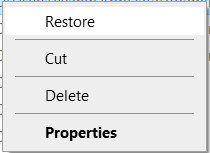
The restored .lnk files will be saved back in their original location from the Recycle Bin.
Method 2: Restore Deleted lnk files Using the Previous Versions Option
Windows Previous Version is a lifesaver in the unfortunate event of data loss. This option takes a snapshot of the various versions of the same file.
Note: If you have not enabled the Previous Version option, you can restore lost .lnk shortcuts using this solution. Try the next solution that talks about using a lnk file recovery software.
Here’s how to restore the lost or deleted .lnk shortcuts using the Previous Versions.
- Right-click on the folder where the lnk files were saved.
- From the Options menu, click on the Properties option.
- In the Folder Properties window, click on the Previous Versions tab.
- A list of all available earlier versions of the selected folder will be displayed on your screen.
- Select the version that contains the missing or deleted .lnk files and click on the Restore option.
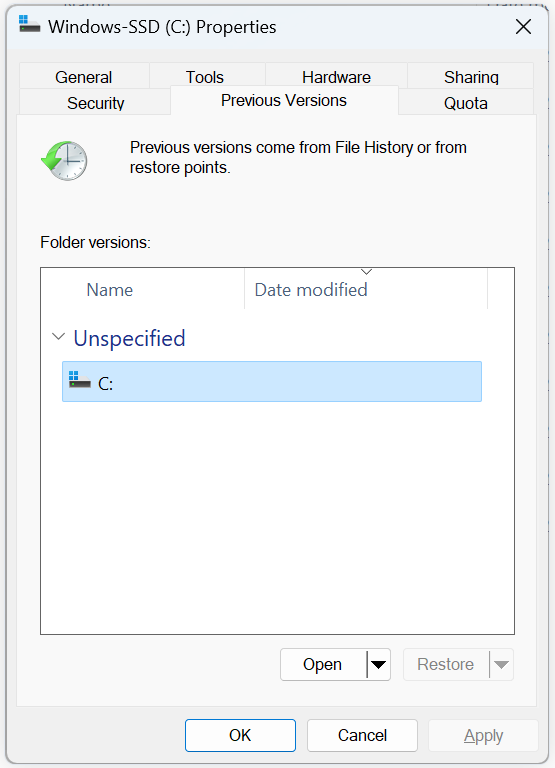
The earlier folder version containing the .lnk files will be restored. You can now access and use the files.
Note: you can also use this solution to recover missing files from a USB drive and other external storage devices such as SD Card and Hard Drive.
Method 3: Recover Missing lnk Files Using Remo File Recovery Software
Specialized data recovery tools like Remo File Recovery Software are the last option when all other solutions to recover files from the Windows system fail to bring back your data.
Remo is built with advanced file identifiers to identify and recover more than 500+ file types, including the link files from all versions of the Windows operating system and 1000+ storage devices.
Steps to Recover, Deleted, Lost, or Missing .lnk Files From Windows System and Other External Storage Devices
1: Download and install Remo File Recovery Software on your Windows.
2: Launch the tool, and from the main screen, select the folder from where you want to recover desktop shortcuts and click on the Scan button.
Note: If you want to recover files from any external storage device, you want to recover .lnk files from a NAS device, or some of you might want to recover .Ink files from the external hard drive. In this stage, you must connect the device to your system and click the Scan button.
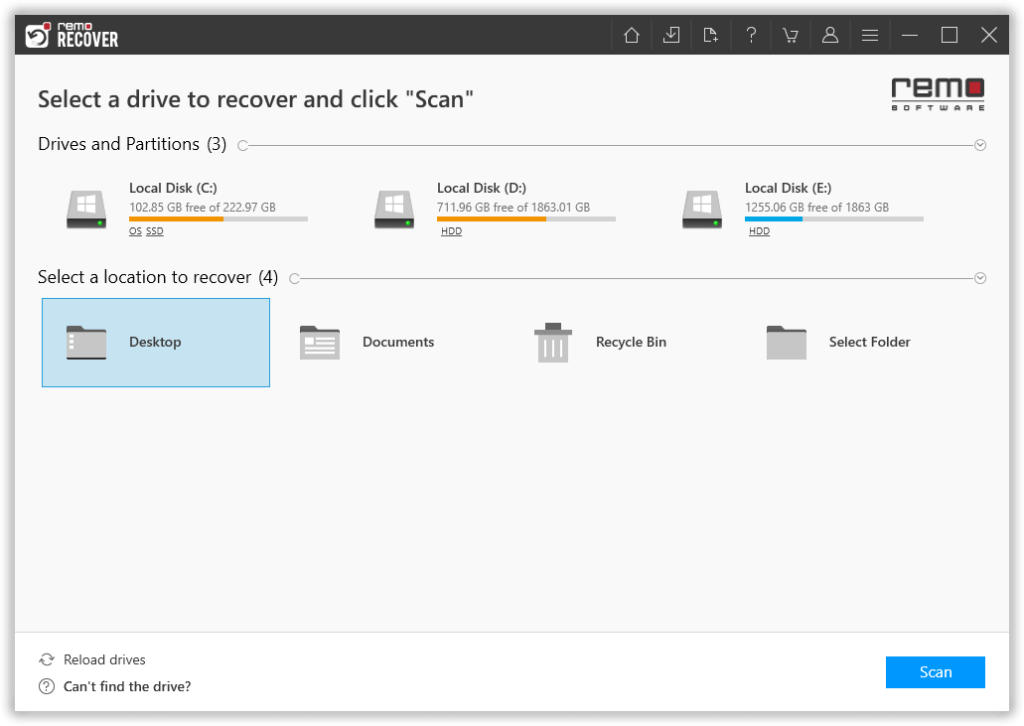
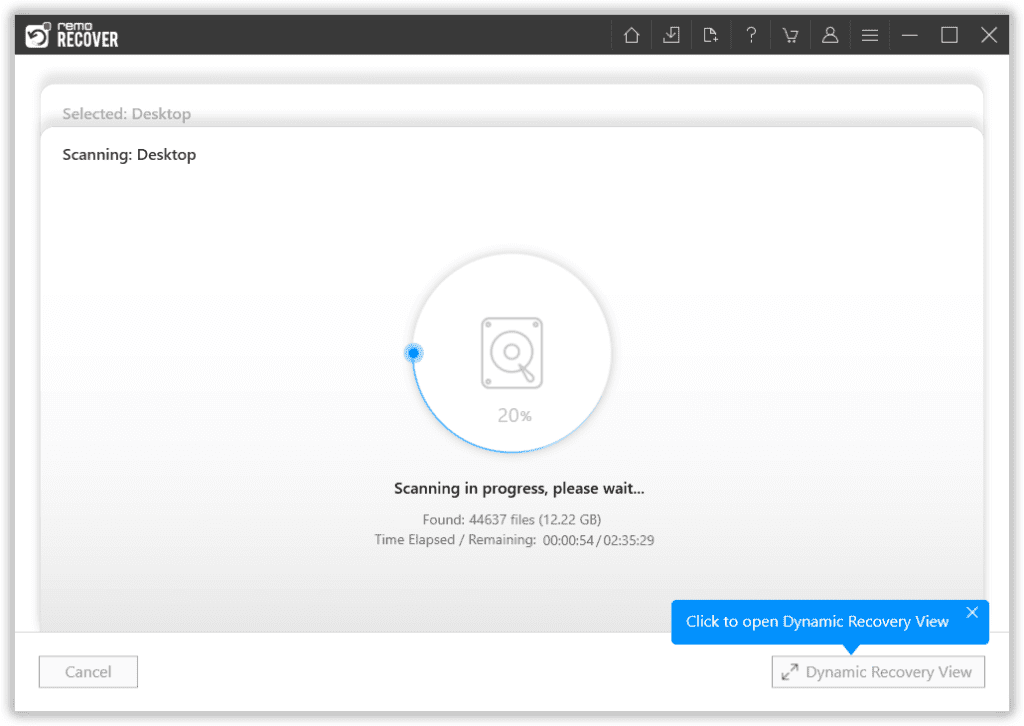
3: Remo will start scanning the selected folder or the external drive. Upon completing the Quick Scan, you can view the recovered files and folders using the Dynamic Recovery View option.
4: A list of all the recovered data will be displayed on your screen from the selected location.

5: Use the Search Bar or the Advanced Filter option to find the shortcut or the .lnk files.
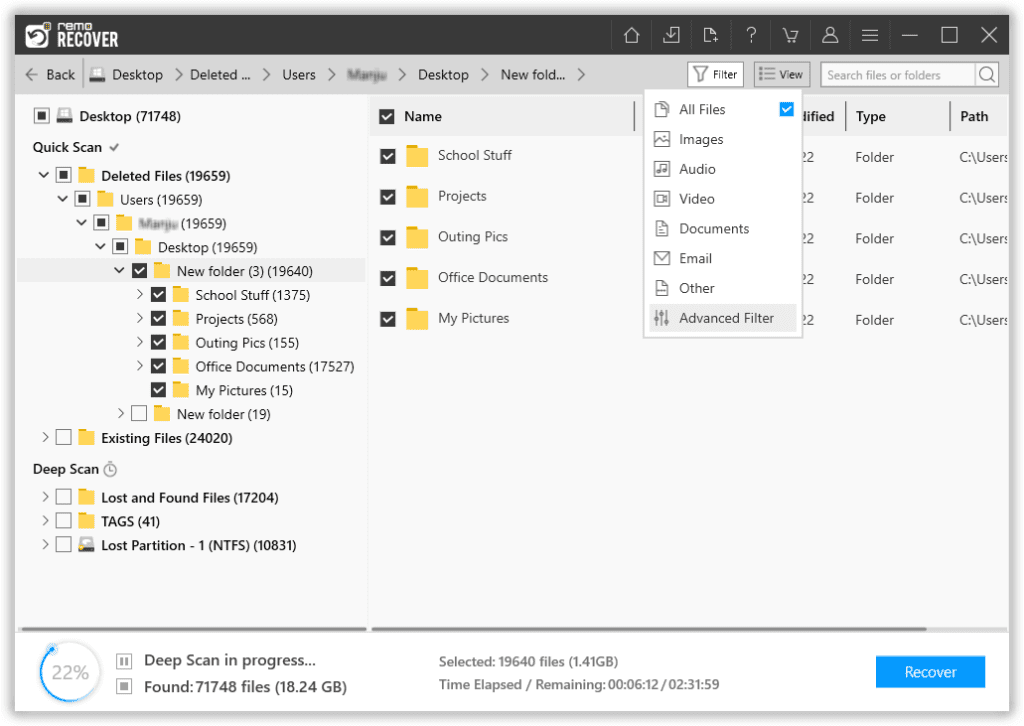
6: The recovered lnk files will be displayed on your screen. Here, you need to select the files that you want to restore.
7: Upon selecting the files, you must now click the Recover button. The software will now prompt you to select a location to save the files.
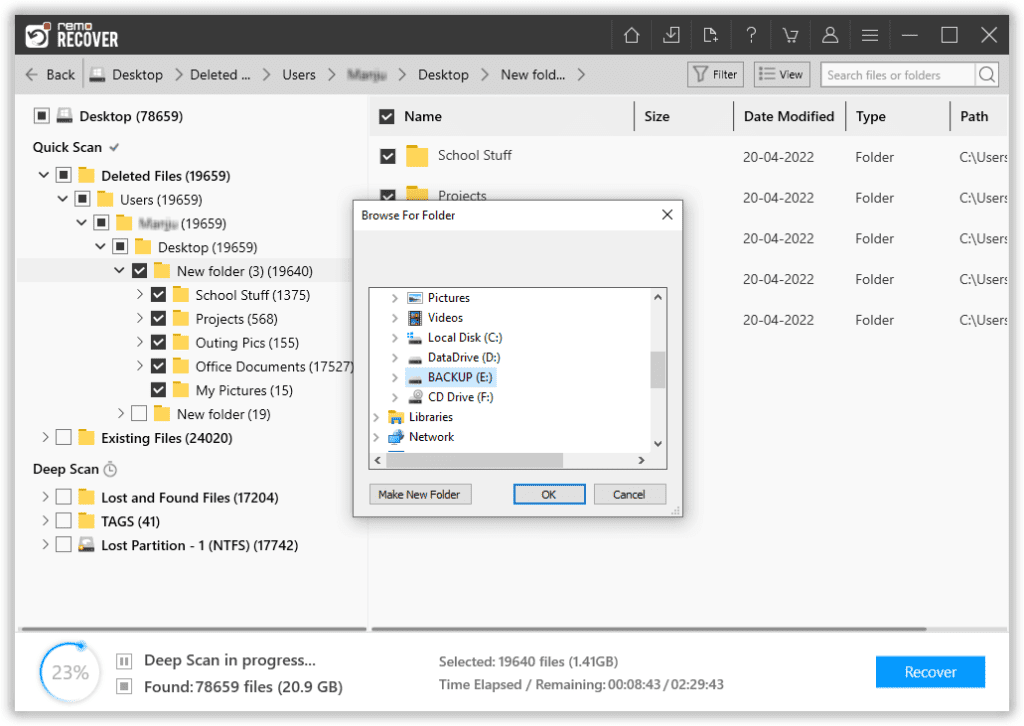
Remo will now start saving the selected files on the provided location. Upon completion of the file-saving process, you can start using the files normally.
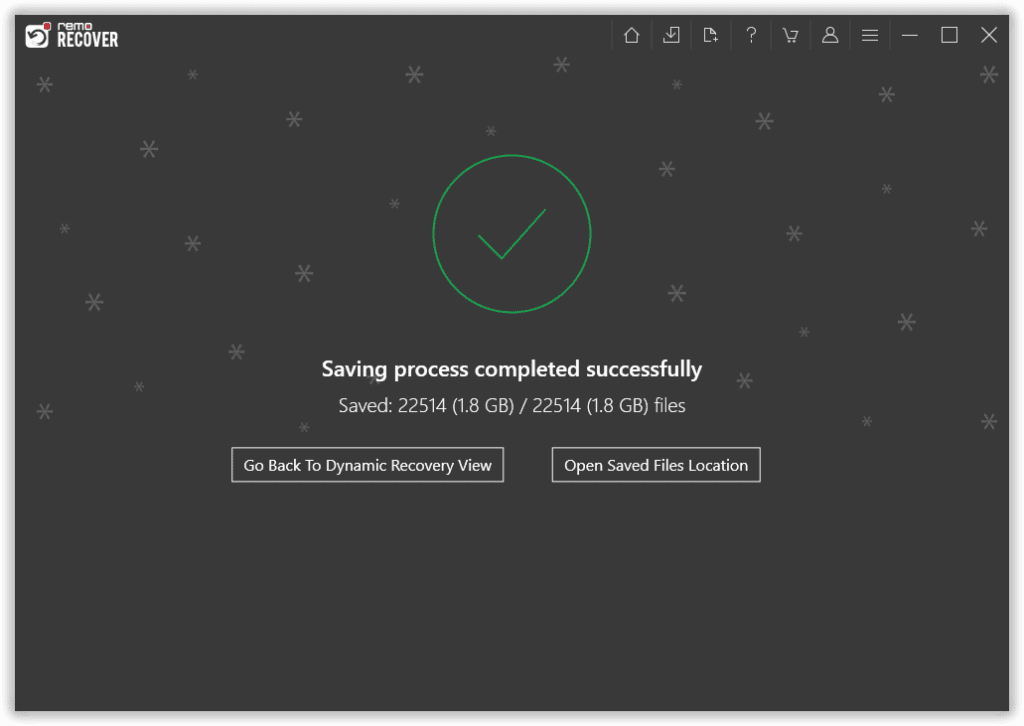
I am sure by now you have safely recovered your desktop shortcuts after using the solutions mentioned above.
Note: While recovering lost .lnk files can help restore shortcuts, for files missing from your Windows Quick Access itself, head over to our guide on recovering missing files in Windows!
Not sure whether you want to recover the shortcut files. This section talks about the importance of recovering the .lnk files.
Why Should You Consider Recovering the Deleted, Lost, or Missing lnk Files?
Here are five reasons you should seriously consider recovering the .lnk files.
Reason #1: Practicality
The .lnk files are a time saver, giving users easy access to some of the most frequently used files, folders, and programs. So, recovering them makes it convenient for users to access the regularly used files.
Reason #2: Specified Configurations
Many users might have customized their .lnk files with custom icons, names, or preferred target locations, even though you can easily recreate new .lnk files. But recovering them makes more sense, especially if you have many shortcut files.
Reason #3: Easy Access To Network Drives and Computer
The .lnk files are pointers that quickly point to the destination location. Recovering these files reestablishes your access to this destination or resources easily.
Reason #4: Well Organized Workspace
A neatly organized .lnk file means a clutter-free and absolutely clean workspace. Recovering the missing shortcut files preserves the already existing organization structure.
Reason #5: Restores Productivity
Certain .lnk files might be the shortcuts to important projects or vital documents. Restoring them might also restore seamless workflow, thereby restoring your productivity.
These reasons might convince you to consider restoring your .lnk files seriously. However, recovering your files might also be time-consuming. If your desktop shortcuts are pointed to easily accessible files and folders, recreating them makes more sense than recovering them. Recreating shortcut files is also easier, especially if you have a few link files.
In the end, the decision to recover the lost or deleted .lnk files is a personal one. I recommend you weigh the advantages of recovering the files, which means restoring the conveniences of easy access compared to the disadvantages, such as required resources such as time taken, effort put in, etc.
If you have decided to restore those files, you can try the solutions mentioned earlier in this article.