In this article, you will learn how to fix the Stuck “Scanning and Repairing Drive” in Windows 10. The Windows 10 error stuck “Scanning and repairing drive” is usually encountered while booting your operating system. Unfortunately, Windows sometimes gets stuck in scanning and repairing the C drive or D drive while trying to boot the operating system.
The progress of the scan and repair will get stuck or keep repeating itself from 0%-100% and then back to 0% again. It can also be a never-ending loop.
So let us understand the common causes and simple methods on how to fix stuck “scanning and repairing drive” Windows 10 error.
Why does Windows get stuck while Scanning and Repairing?
Scanning and Repairing the drive is an automatic Windows repair process that checks the disk drive for any errors before booting the computer. This process generally gets triggered when problems with reading the disk are encountered due to the scenarios mentioned below :
- Abruptly shutting down Windows
- Power failure
- Incorrectly configured driver issues
- Faulty cables or improperly connected drive
- Virus infections affecting that will modify the registry.
- Bad sectors on the hard disk.
How to Fix Windows 10 Scanning and Repairing drive stuck issue?
In some cases, the users may encounter the scanning and repairing process taking too long or maybe stuck. In such cases, you will need to follow the below methods to fix the “scanning and repairing drive” issue.
- Use Windows Error Checking Tool
- Check the drive status
- Run the CHKDSK command in Safe Mode
- Run the Repair-Volume-Drive Letter command in Safe Mode.
- Try System Restore
Method 1 - Use the Windows Error Checking Tool to Fix Stuck "Scanning and Repairing drive" in Windows 10
Windows Error-checking tool finds and automatically fixes any potential issues that can cause Windows disk repair to get stuck. Here’s how you can do it:
Step 1: Click the File Explorer at the taskbar.
Step 2: Click This PC, then expand Devices and drives.
Step 3: Right-click the drive that Windows is scanning and repairing. You can tell it from the scanning screen. For example, if you see “Scanning and repairing drive (C:)” on the screen, right-click (C): drive, then click Properties.
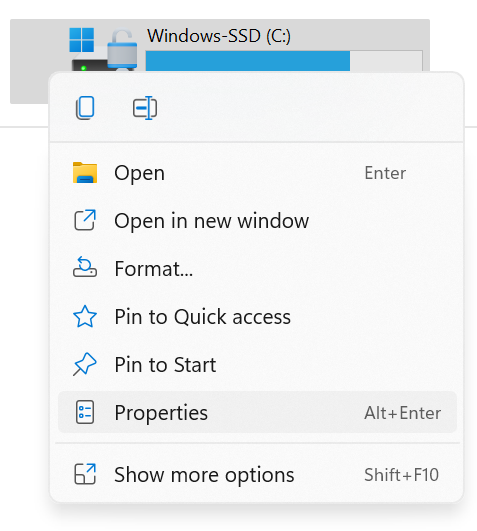
Step 4: Go to the Tools tab and click the Check button under Error-checking.
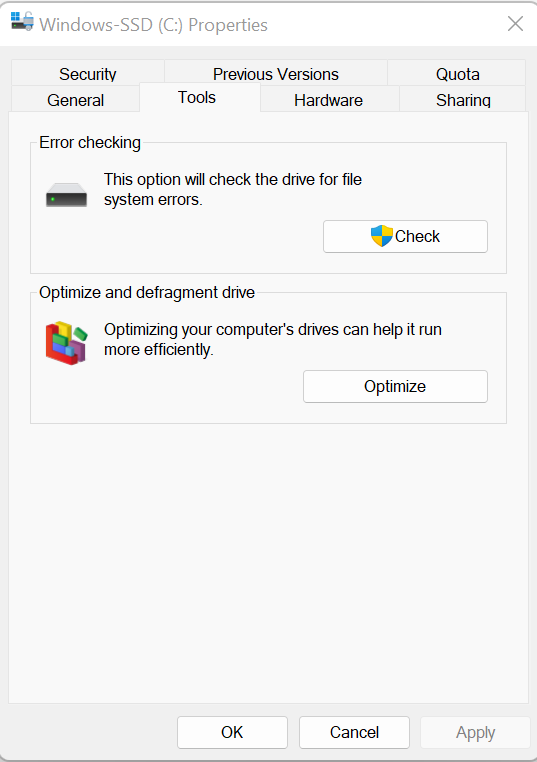
Step 5: If Windows found errors on this drive, you’ll see one pop-up. Click Repair drive to scan the drive. If no errors are found, click Scan Drive Then Windows will scan and repair the drive.
Step 6: Reboot your PC and check to see if the issue is resolved.
Method 2: Check the drive status
If there are problems with the drive, Windows will detect it and allow you to scan and repair it. If the process of scanning and repairing the drive is stuck at 100, you can fix the issue by checking the drive status.
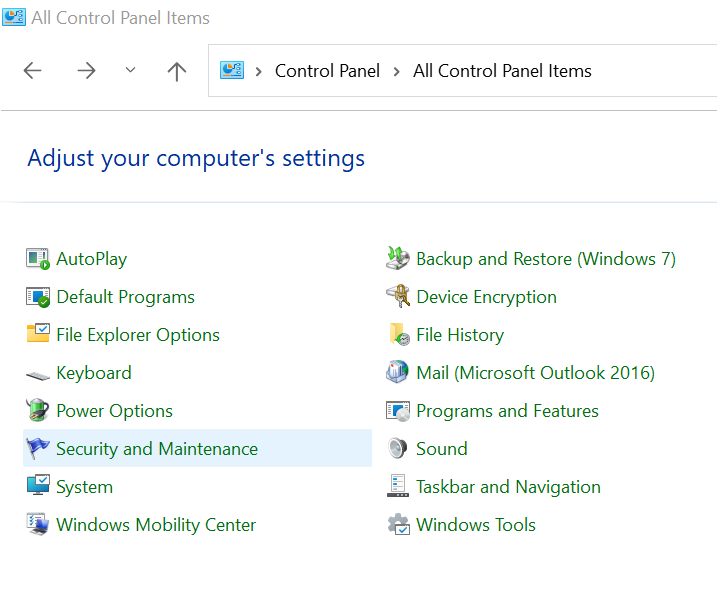
Step 1: Open Control Panel.
Step 2: View by Small icons, click Security and Maintenance.
Step 3: Click Maintenance.
Step 4: Under Drive status, you may see issues listed here and a link that allows you to click to repair the drive. Click the link.
Method 3: Run the CHKDSK command in Safe Mode.
By booting into safe mode you can bypass any third-party applications to interrupt the scanning and repairing process on your drive. You can access Safe Mode using the steps below and then try running the CHKDSK command to fix the Windows drive repair process.
A CHKDSK scan is a quick and easy way to check your computer drive for system files for errors and repair any issues that may be found. CHKDSK is the easiest way to fix driver issues and can potentially resolve the “scanning and repairing drive C stuck” issue.
Step 1: Start Windows 10 in Safe Mode
Step 2: On your keyboard, Hit on the Windows logo key and the R key at the same time to initiate the run command
Step 3: Type cmd and press Shift + Ctrl + Enter to open a command prompt in administrator mode. (Do not click OK or just press Enter as that won’t allow you to open a command prompt in administrator mode.)
Step 4: Type the command chkdsk x: /f and press Enter on your keyboard. Note that the letter x means the drive that you want to scan and repair for. In most cases, you will want to scan and repair the C drive where most of the system or program files exist, hence replace x with C.
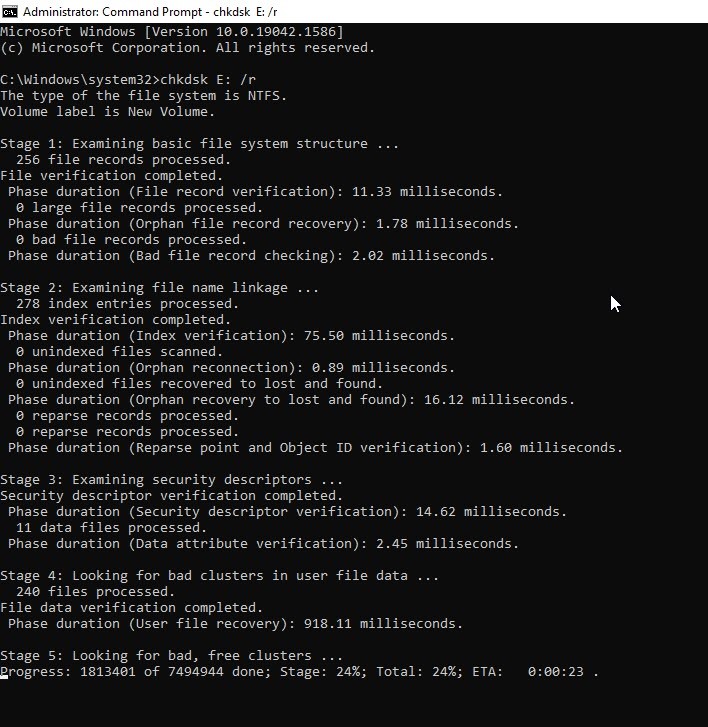
Step 5: Once the scanning and repairing process is done, restart your PC and check to see if the issue is resolved.
Remember - If any files are lost while performing CHKDSK, it is possible to recover files after checking the disk using reliable data recovery software.
Method 4: Run the Repair-Volume-Drive Letter command in Safe Mode
Repairing the volume drive in safe mode -
This method is to use PowerShell to run the command Repair-Volume -DriveLetter to scan and fix the hard disk errors. Follow the steps below:
Step 1: Start Windows 10 in Safe Mode
Step 2: Type PowerShell in the search box to bring up the menu. Right-click Windows PowerShell and click Run as administrator to open PowerShell in administrator mode.
Step 3: Type the command line Repair-volume –drive letter x and press Enter key on your keyboard.
Step 4: Once the process completes, restart your PC and check to see if the problem is resolved.
Important Note - If your computer is stuck in Safe Mode, please refer here to know how to get a computer out of Safe mode.
Method 5: System Restore
To complete the process of System Restore.
Step 1: Hold the Power Button down for five seconds or until the computer shuts down
Step 2: Press the Power button again to turn it on
Step 3: The PD should say Windows failed to start or something along those lines
Step 4: Choose Advanced Repair Options > Troubleshoot > Advanced Options > System Restore
Step 5: Choose a date/time before the problem occurred
Step 6: Click Next, Finish, and Reboot
If you encounter any issue while performing a system restore, you can go through the given link on how to fix system restore error 0x80070091 in Windows 10 effortlessly.
Lost Data due to the Stuck “Scanning and Repairing” error?
After following the above methodologies, you will be able to resolve the error. Unfortunately, while fixing this issue, the data that have been recently stored on the C drive and D drive can be lost depending on the troubleshooting method involved.
Also if the drive is totally inaccessible due to bad sectors or severe corruption even after trying the CHKDSK command, keep reading the below section to find out more about a powerful data recovery tool that can assist you in getting back your data.
How to Recover Lost Data after Scanning and Repairing drive on Windows 10?
Remo Recover uses deep scan engines to locate lost data due to bad sectors or severe corruption with just a few simple clicks. If you wish to recover your data easily in a secure manner, download Remo Recover Now!
You can also recover data after drive format or reinstallation using the award-winning Remo Data Recovery Software.
5 Steps to Recover Data from Any Drive that Gets Stuck at Repair:
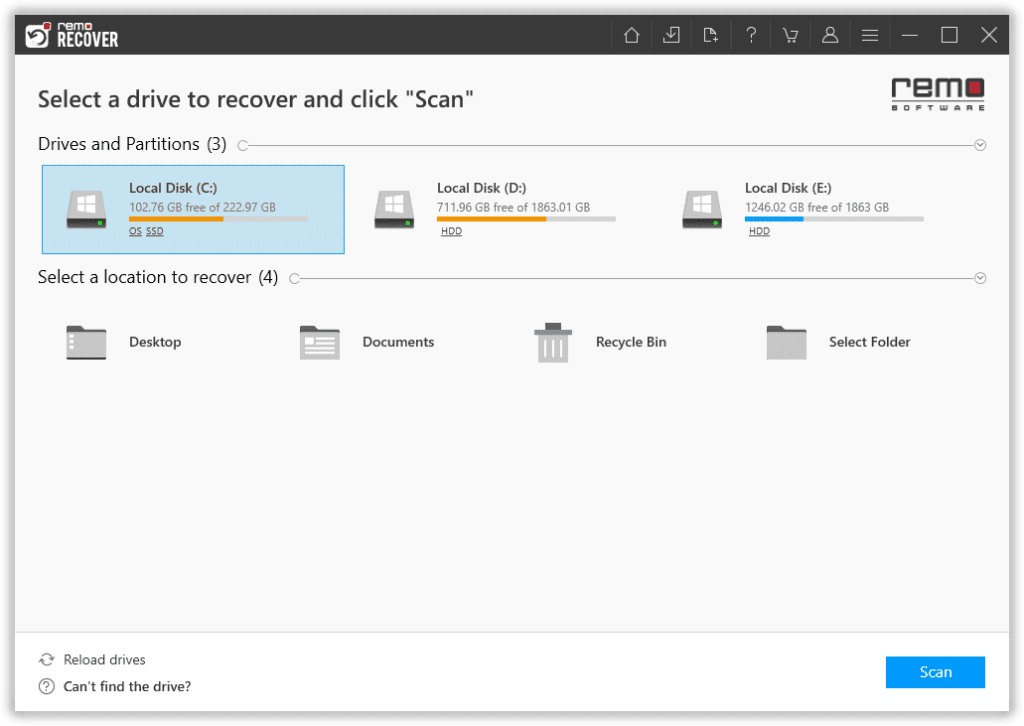
Step 1: Download and install Remo Recover Windows software.
Step 2: Launch the tool and click Scan after selecting the drive from which you wish to recover data.
Step 3: During the scanning process, you can click on the Dynamic Recovery View option and preview the recovered file.
Note: This tool also gives you an option to sort your files using Advanced Filter.

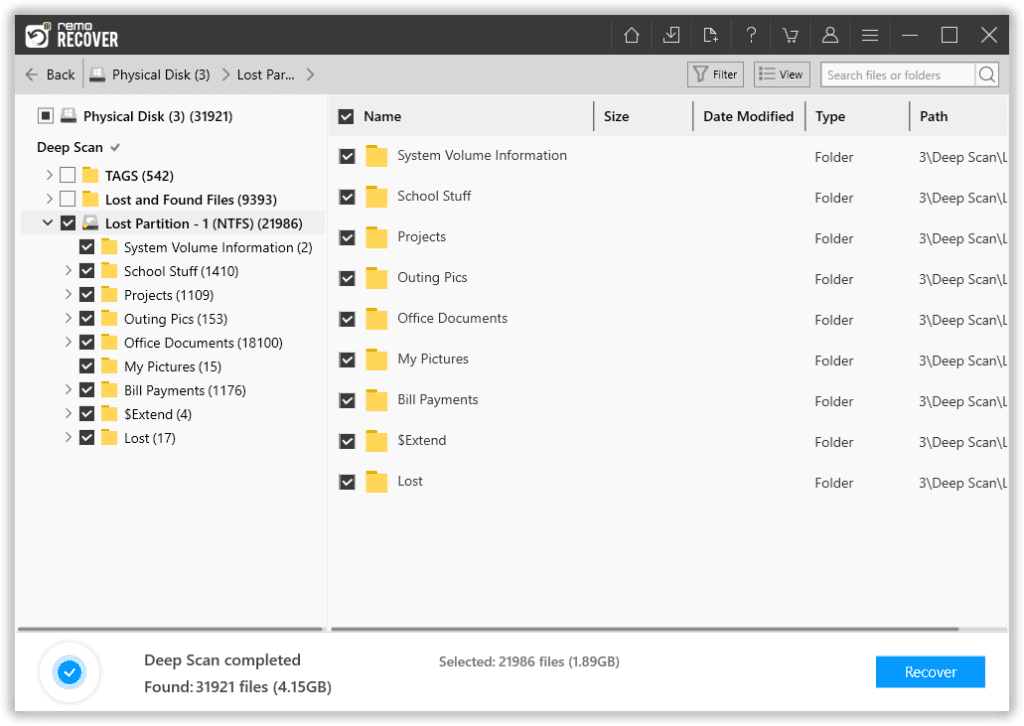
Step 4: Once the scanning is completed, all your deleted files from the unallocated hard drive will be located under the Lost and Found folder.
Step 5: Select the files you want to restore and click on the Recover button.
To conclude...
Losing Hard disk data is never a pleasant experience. Today, we have discussed several methods in depth to help you restore your hard disk data to what it once was. We genuinely hope that this article was able to help you recover your data. To prevent such a scenario from occurring again, maintaining a backup and installing an antivirus are always good choices.
Frequently Asked Questions
While the time may vary depending on the drive and its contents, scanning and repairing a drive generally takes 2 hours. The scan percentage is not a reliable indicator for completion time as it may take an hour to reach 11% and then suddenly jump to 100%.
While it is theoretically possible, it is not recommended to do so as interrupting the scan and repair process may lead to data file corruption or even data loss.
The most common reason would be that your system detects some level of corruption within the drive. If you find your system scanning and repairing your drives regularly you should get your system checked by a professional or get it scanned by professional software.
2 thoughts on “Fix - Windows 10 ‘Scanning and Repairing Drive’ Stuck”
Comments are closed.
Thank you very much to the writer for sharing 5 methods with detailed analysis and step-by-step instructions for scanning and repairing the drive.
Hi Nathan, Good to know it worked for you.