Performing formatted partition recovery can be a stressful situation, but there are steps you can take to retrieve your lost files. However, it's important to act quickly because continued use of the partition can potentially overwrite the data and reduce the chances of successful recovery. Before proceeding with any recovery attempts, it's crucial to cease using the hard drive or partition.
Possible Reasons for Formatted Partitions:
Disk Errors:
Sometimes, when connecting a hard disk, you may encounter error messages like:
- "You need to format the disk in drive before you can use it."
- "The disk is not formatted. Do you want to format it now?"
- "Disk not initialized."
- "The volume does not contain a recognized file system."
- "The drive is not accessible. The parameter is incorrect."
- "Windows cannot find the file or directory. Make sure the path is correct and try again."
- "Invalid system disk. Replace the disk and press any key."
- "No bootable device - insert boot disk and press any key."
- "Disk boot failure. Insert system disk and press enter."
Such error messages force you to format your partition, and you ended up losing all your valuable data. Here is a real instance of one such incident:
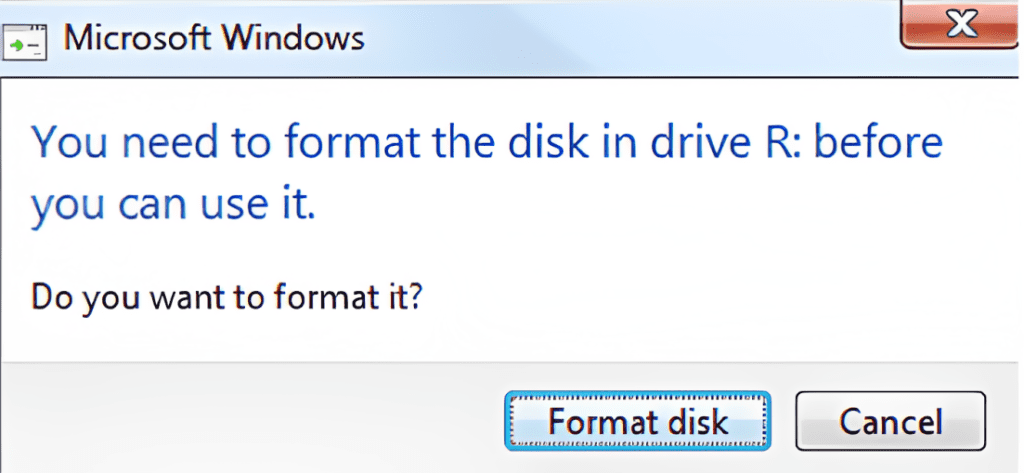
I have a 4-year-old "WDC My Passport Ultra" 2 TB external hard drive that I use for archiving my files. When I plug in my PC last night, I get the message, "You need to format the disk before you can use it." I've tried inserting it into another PC and getting the same result. Is it possible to recover and restore data in it?
Source: Microsoft
Reinstalling Windows:
During the reinstallation process, you may accidentally format a partition, resulting in the loss of important files such as photos, videos, documents, and more.
Inaccessible Partition:
If you encounter an error message stating that a particular partition is not accessible and it shows as RAW Partition in the Windows Disk Management Utility, you might perform a quick format in an attempt to make it work. Unfortunately, this action leads to data loss.
MBR Corruption:
The Master Boot Record (MBR) is a crucial part of the Windows operating system that holds information about the partitions on your hard drive. However, events like an improper shutdown can cause MBR corruption, making it difficult to boot up your system and access important files.
Improper Shutdown:
Unexpected shutdown of your computer or experiencing a sudden power outage can disrupt the proper functioning of Windows. In such cases, the system log files, which store vital information about system activities, may become inaccessible. This can make it challenging to diagnose and troubleshoot issues effectively.
Virus or Malware Attack:
Viruses and malware are malicious software programs that can attack your hard drive partitions, causing them to become corrupted or compromised. As a result, you may be forced to format the affected partitions, resulting in the loss of valuable data such as personal documents, media files, and more. You can refer to this article to learn how to recover data from a virus-infected hard drive.
Whether intentional or accidental, formatting a partition can result in the loss of valuable data if you don't have a backup. However, there is hope for recovering your files using reliable data recovery software.
How To Perform Formatted Partition Recovery?
When you format a partition, the references to the stored data are removed, making the data inaccessible. To recover your files, it is recommended to use professional partition recovery software like Remo Recover.
This software performs a thorough sector-by-sector search on the formatted partition, analyzing file headers to identify and recover deleted files. It is a fast, effective, and user-friendly solution for formatted partition recovery, ensuring your files are retrieved in their original form.
Additionally, Remo is capable of recovering over 500 file formats. The software provides efficient data recovery from various partitions, such as NTFS, FAT, FAT32, HFS and HFS+, exFAT, and more. It even supports the recovery of lost partitions from SSDs.
Download this tool now to recover your data from formatted partitions.
Steps To Recover Formatted Partition Using Remo Recover
Follow the below simple steps to perform formatted partition recovery using Remo Recover:
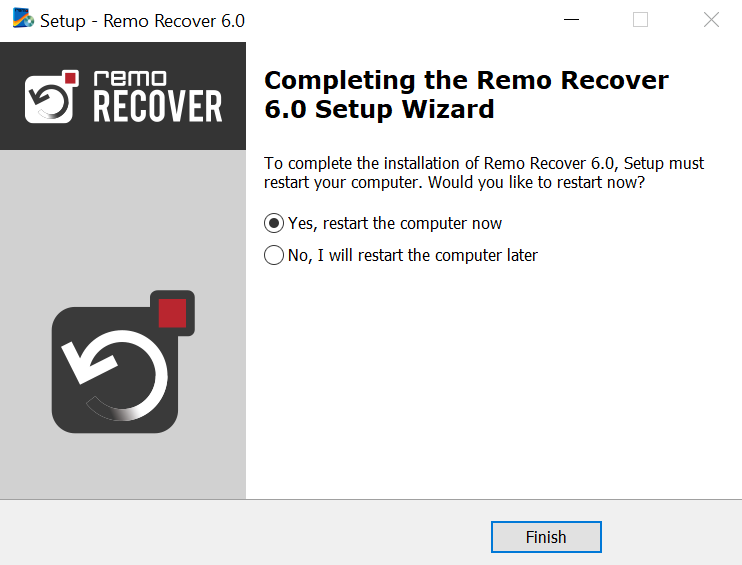
Step 1. Download Remo Recover and follow the on-screen instructions to complete the installation process.
Step 2. After successfully installing the tool, launch it and navigate to the home screen. From there, choose the formatted partition from which you wish to recover your data.
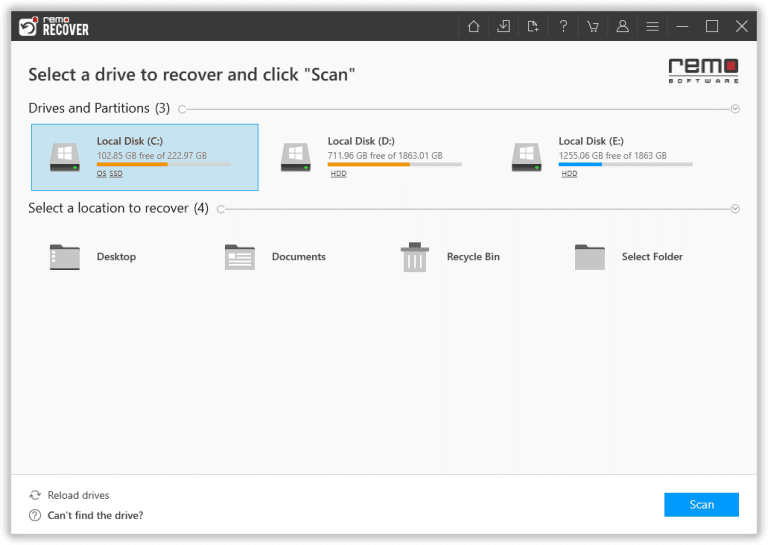
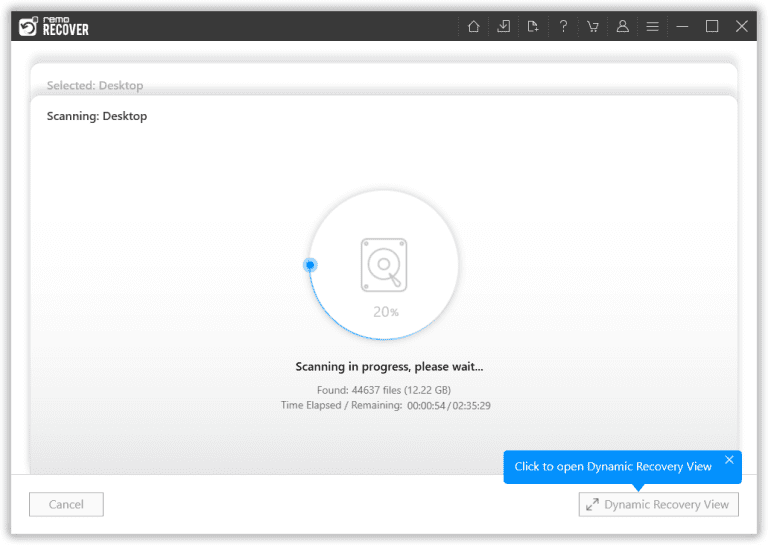
Step 3. Once you have selected the formatted partition, click the Scan button to initiate the scanning process. Remo Recover will perform a Quick Scan initially and then automatically proceed with a comprehensive Deep Scan. This deep scan meticulously examines the formatted partition sector by sector to ensure the recovery of 100% of the data.
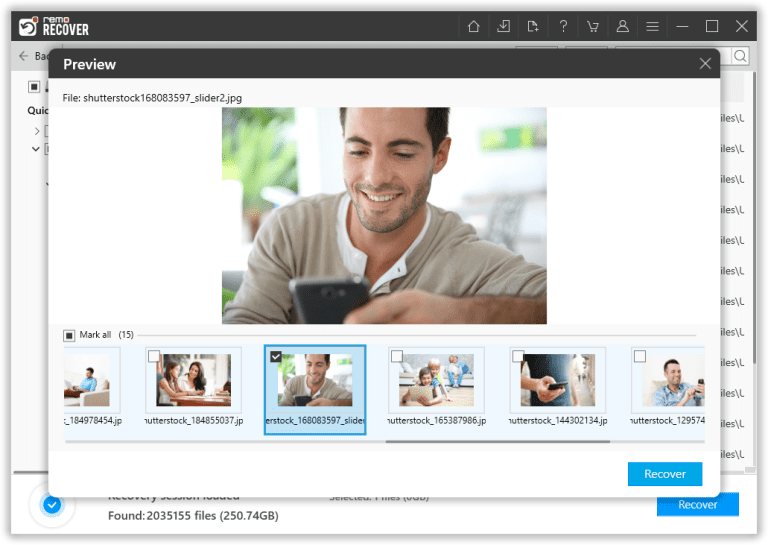
Step 4. After the scanning process, you can see all the recovered files under the "Lost Partition" folder. You can Double-click on any file to Preview and verify the integrity of the recovered data for free.
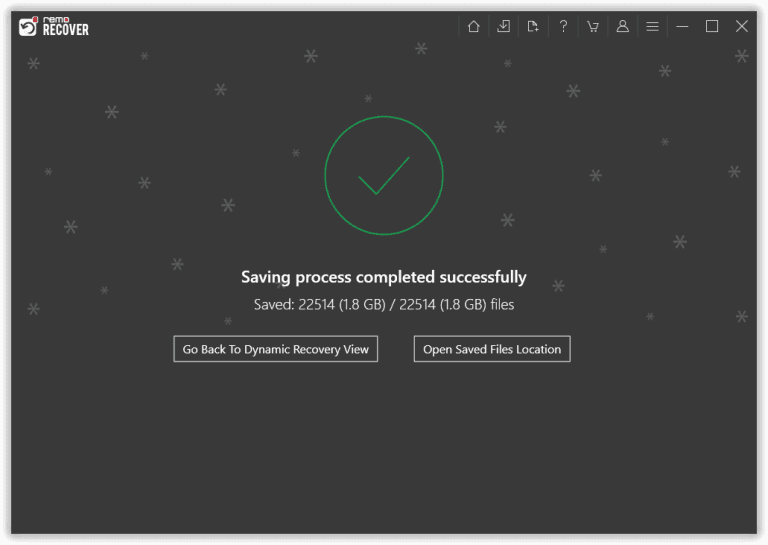
Step 5. Once you are satisfied with the recovery results, select the files you wish to recover and click on the Recover button. This will prompt you to choose a secure location to save the files. Ensure you select a safe destination and click OK to complete the formatted partition recovery process.
Important Tips For Successful Formatted Partition Recovery
To maximize the chances of successfully recovering your files, consider the following tips:
- Cease Disk Usage: Stop using the affected hard disk or partition immediately after formatting to prevent data overwriting.
- Trusted Software: Only use genuine and trusted software for data recovery. Avoid using pirated software, as it may contain viruses that can further damage your hard drive. We strongly suggest you use one of the best partition recovery software to recover files from formatted partitions.
- Separate Storage: Save the recovered data to a different disk or storage device to avoid overwriting and permanent data loss.
Conclusion
In conclusion, recovering data from a formatted hard drive or partition is possible with the help of reliable software such as Remo Recover. Remember to act swiftly, use trusted tools, and avoid using the formatted partition to increase the chances of successful recovery. By following these steps, you can increase the likelihood of retrieving your valuable files.
Frequently Asked Questions
Yes, you can recover data from a formatted partition. When you format a partition, the files are still on the partition; your operating system can't access them. You can use professional partition recovery software like Remo Recover to recover data from a formatted partition.
You can recover a formatted partition for free using tools like Windows File Recovery. This command-line tool has the capability to recover data from partitions on Windows computers. To recover files from a formatted partition on a Windows computer, refer to the guide on the Windows File Recovery tool.
To recover data from a formatted partition on a Windows 10 computer, follow these steps:
a) Download and install Remo Recover Windows.
b) Select the formatted partition and initiate the scan.
c) Preview the recovered files.
d) Save the files to a safe location.
Recovering a formatted partition on Linux can be tricky, but it is possible. Linux uses specific file types different from other Operating Systems, so regular recovery tools may not work. If you are comfortable with the command-line interface, you can try using the TestDisk Recovery Tool, which is open-source and free.
To recover data from a formatted partition on a Mac, follow these steps:
a) Download and install Remo Recover Mac on your macOS computer.
b) Launch Remo Recover Mac.
c) Select the formatted partition you want to recover.
d) Scan the formatted partition.
e) Save the recovered data to a secure location.